The Swing Project Breakdown
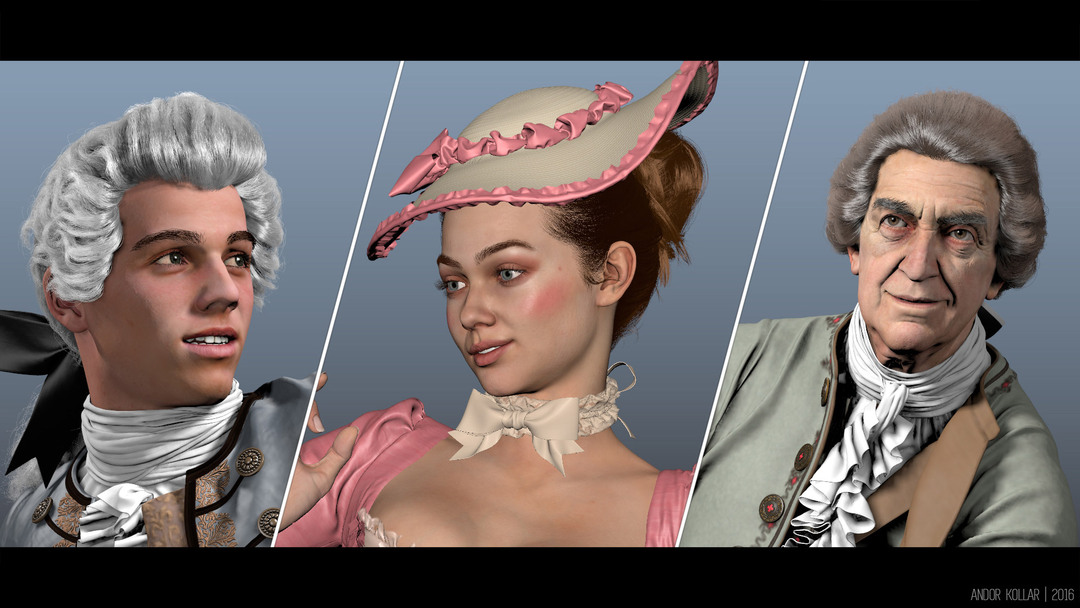
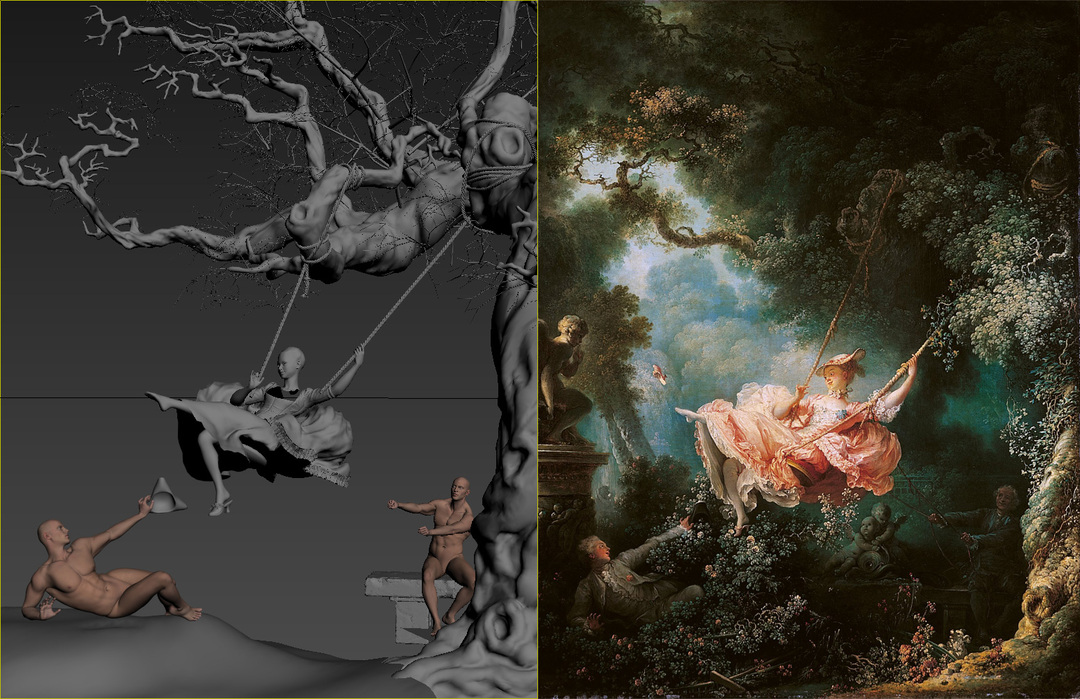
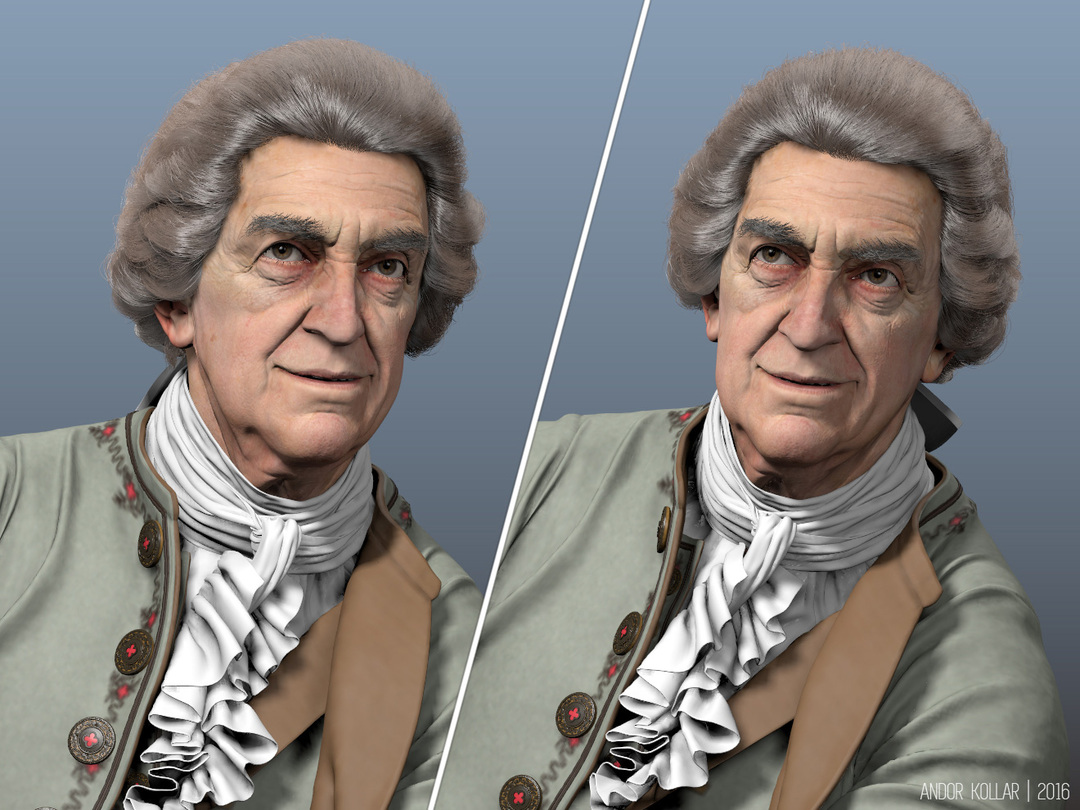
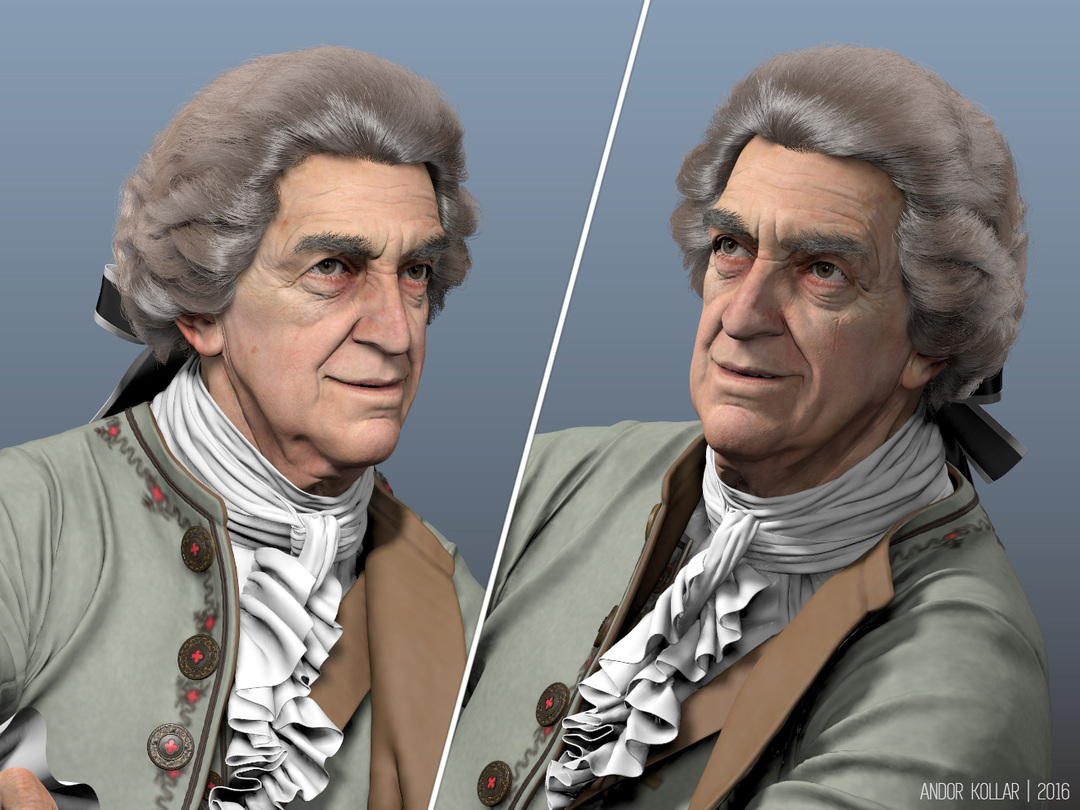
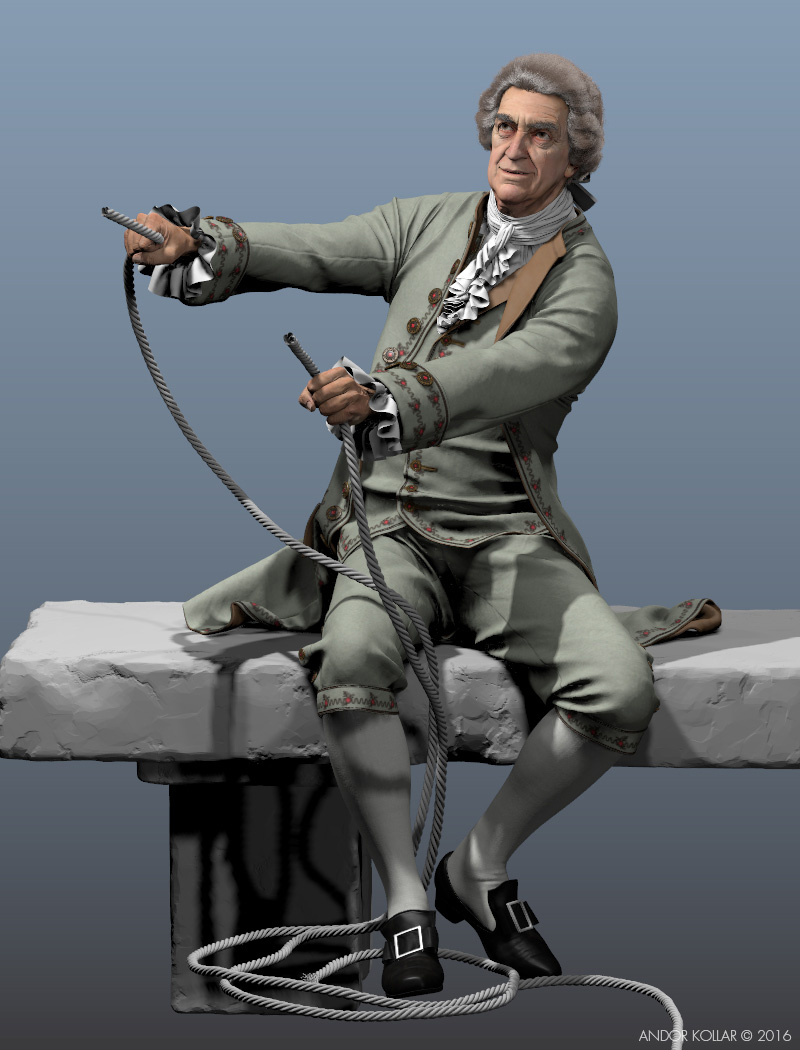
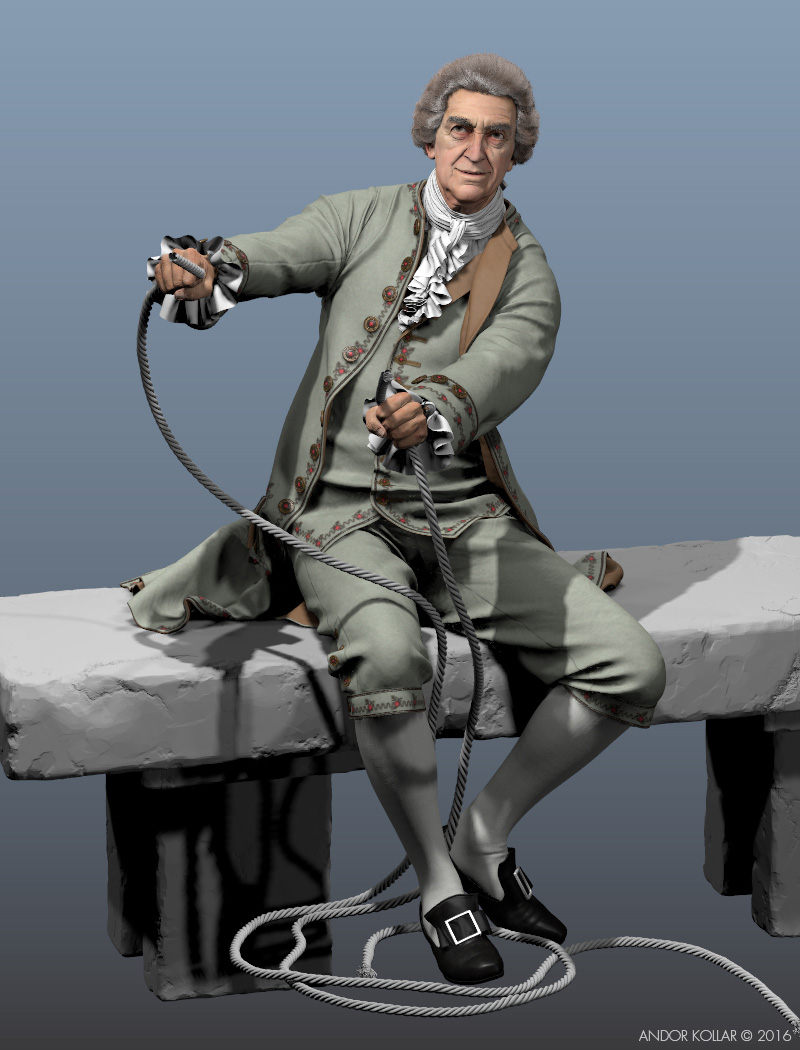
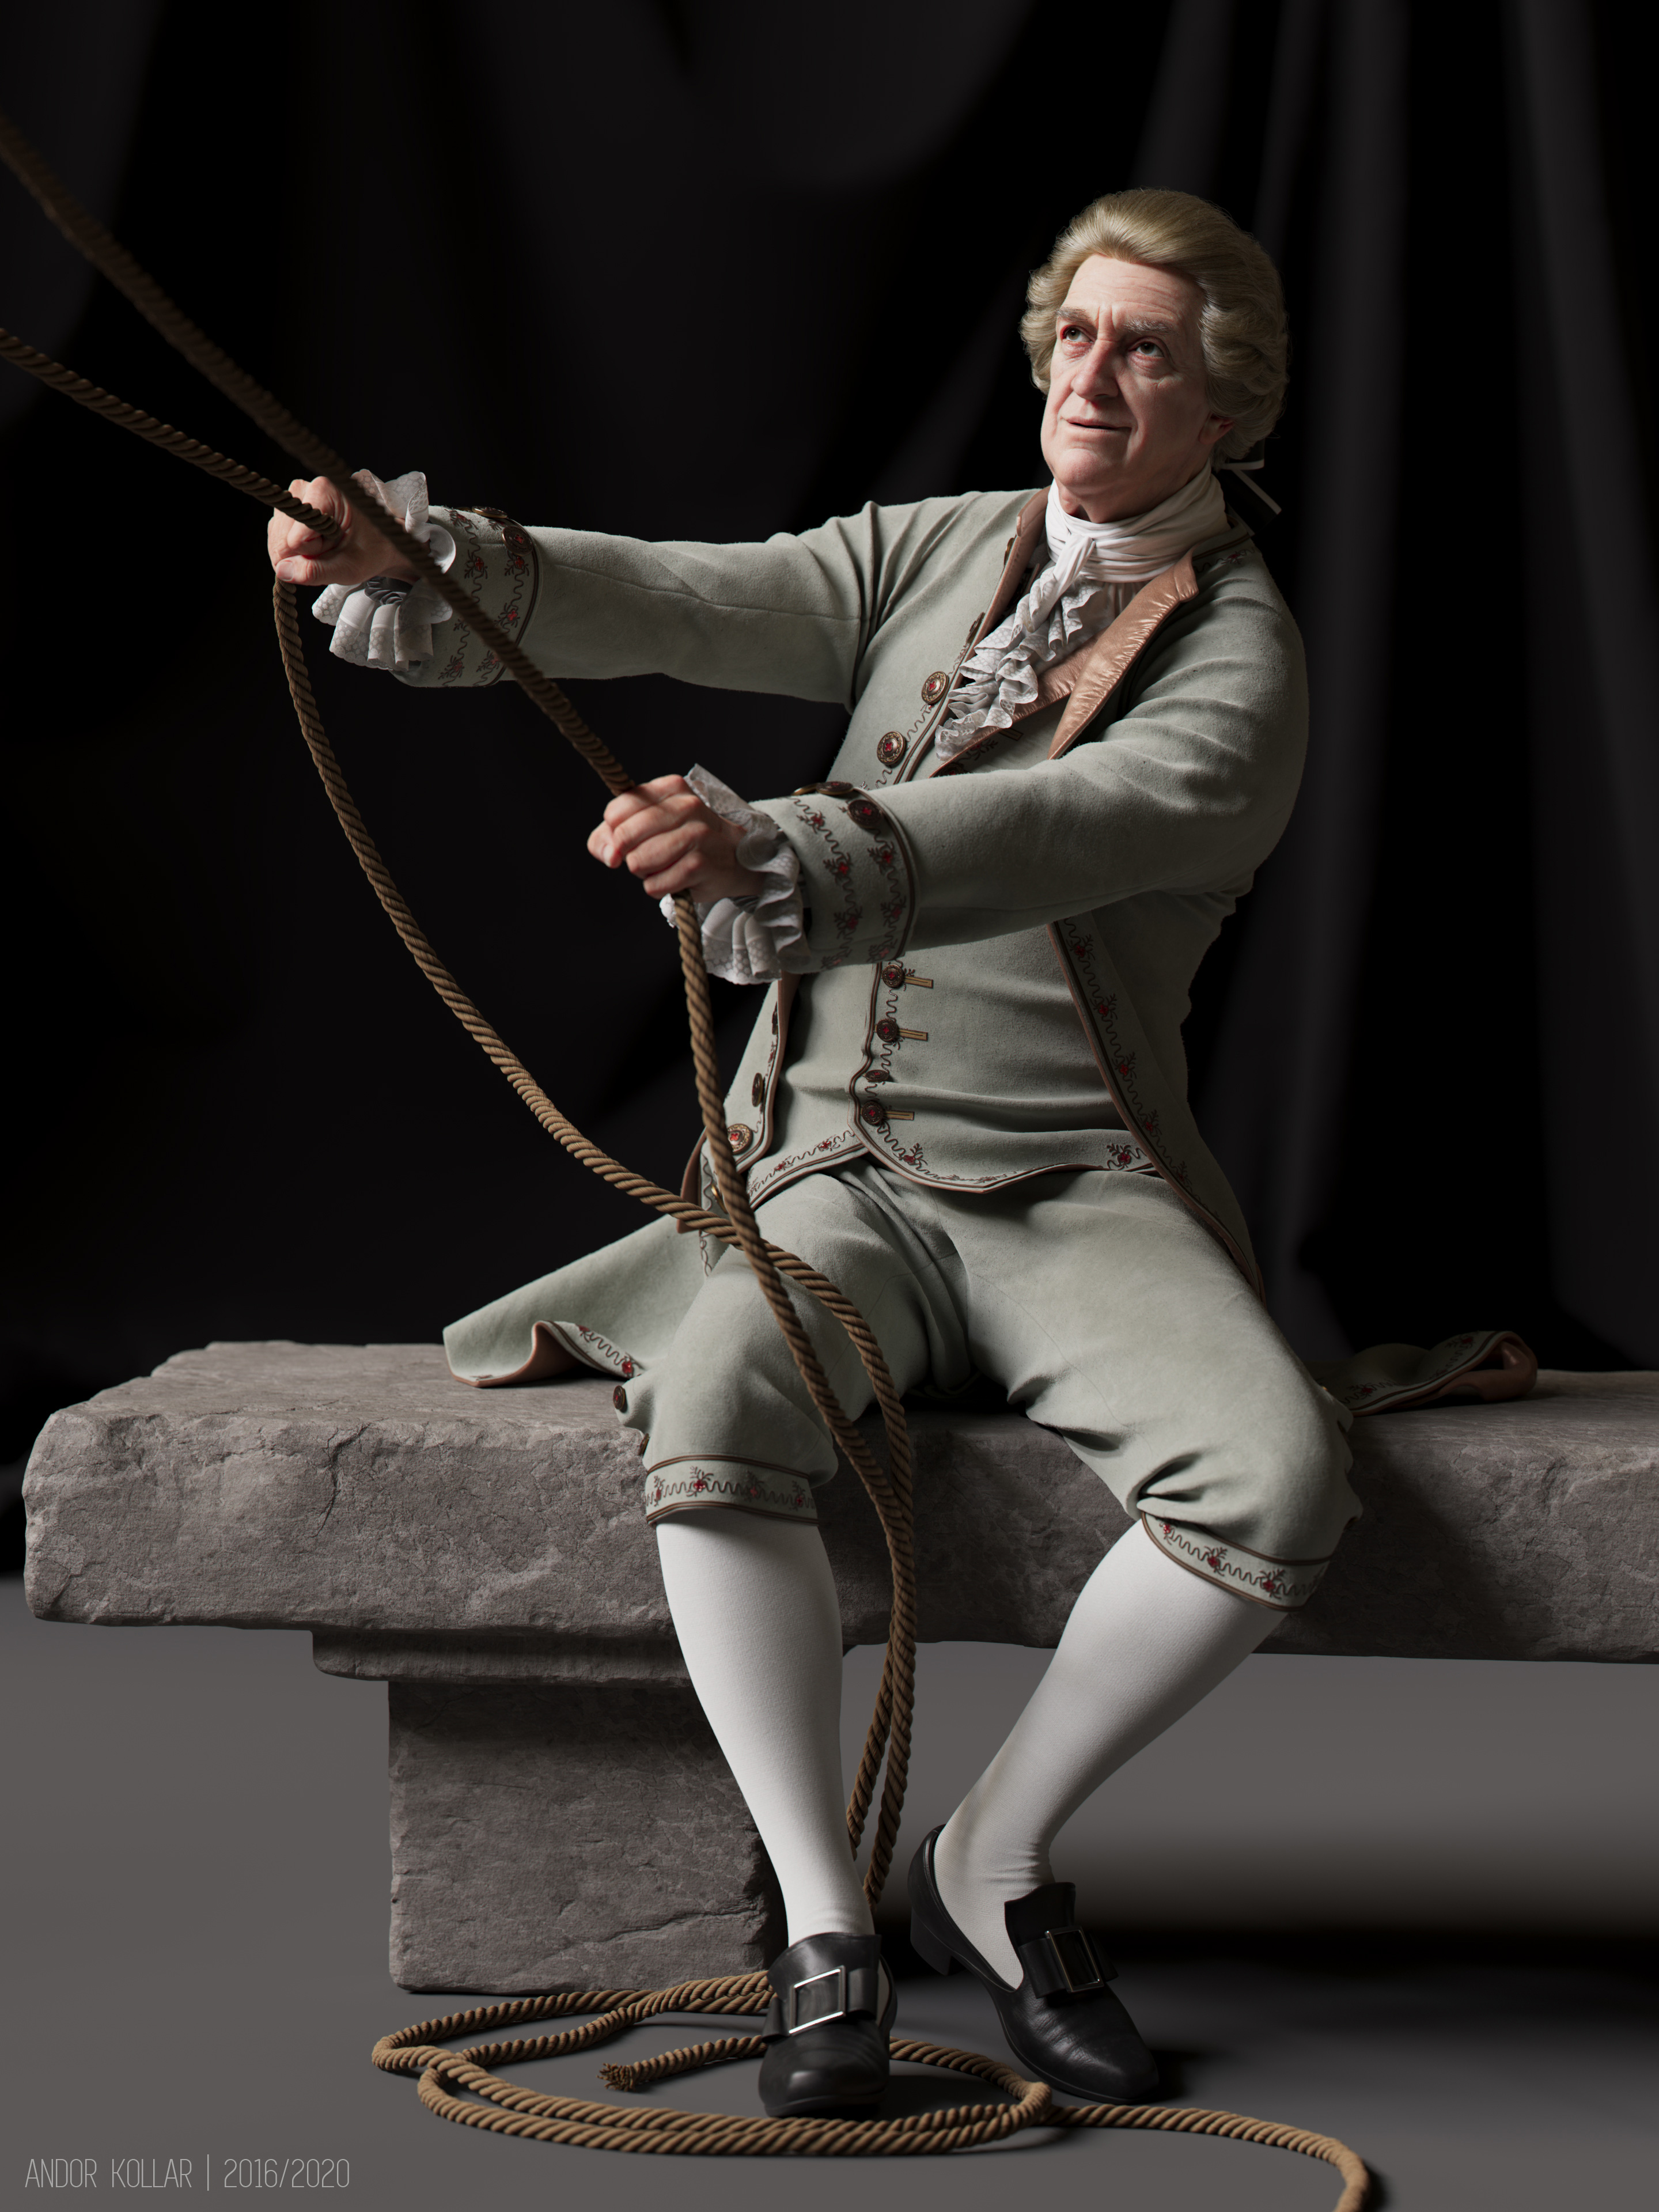
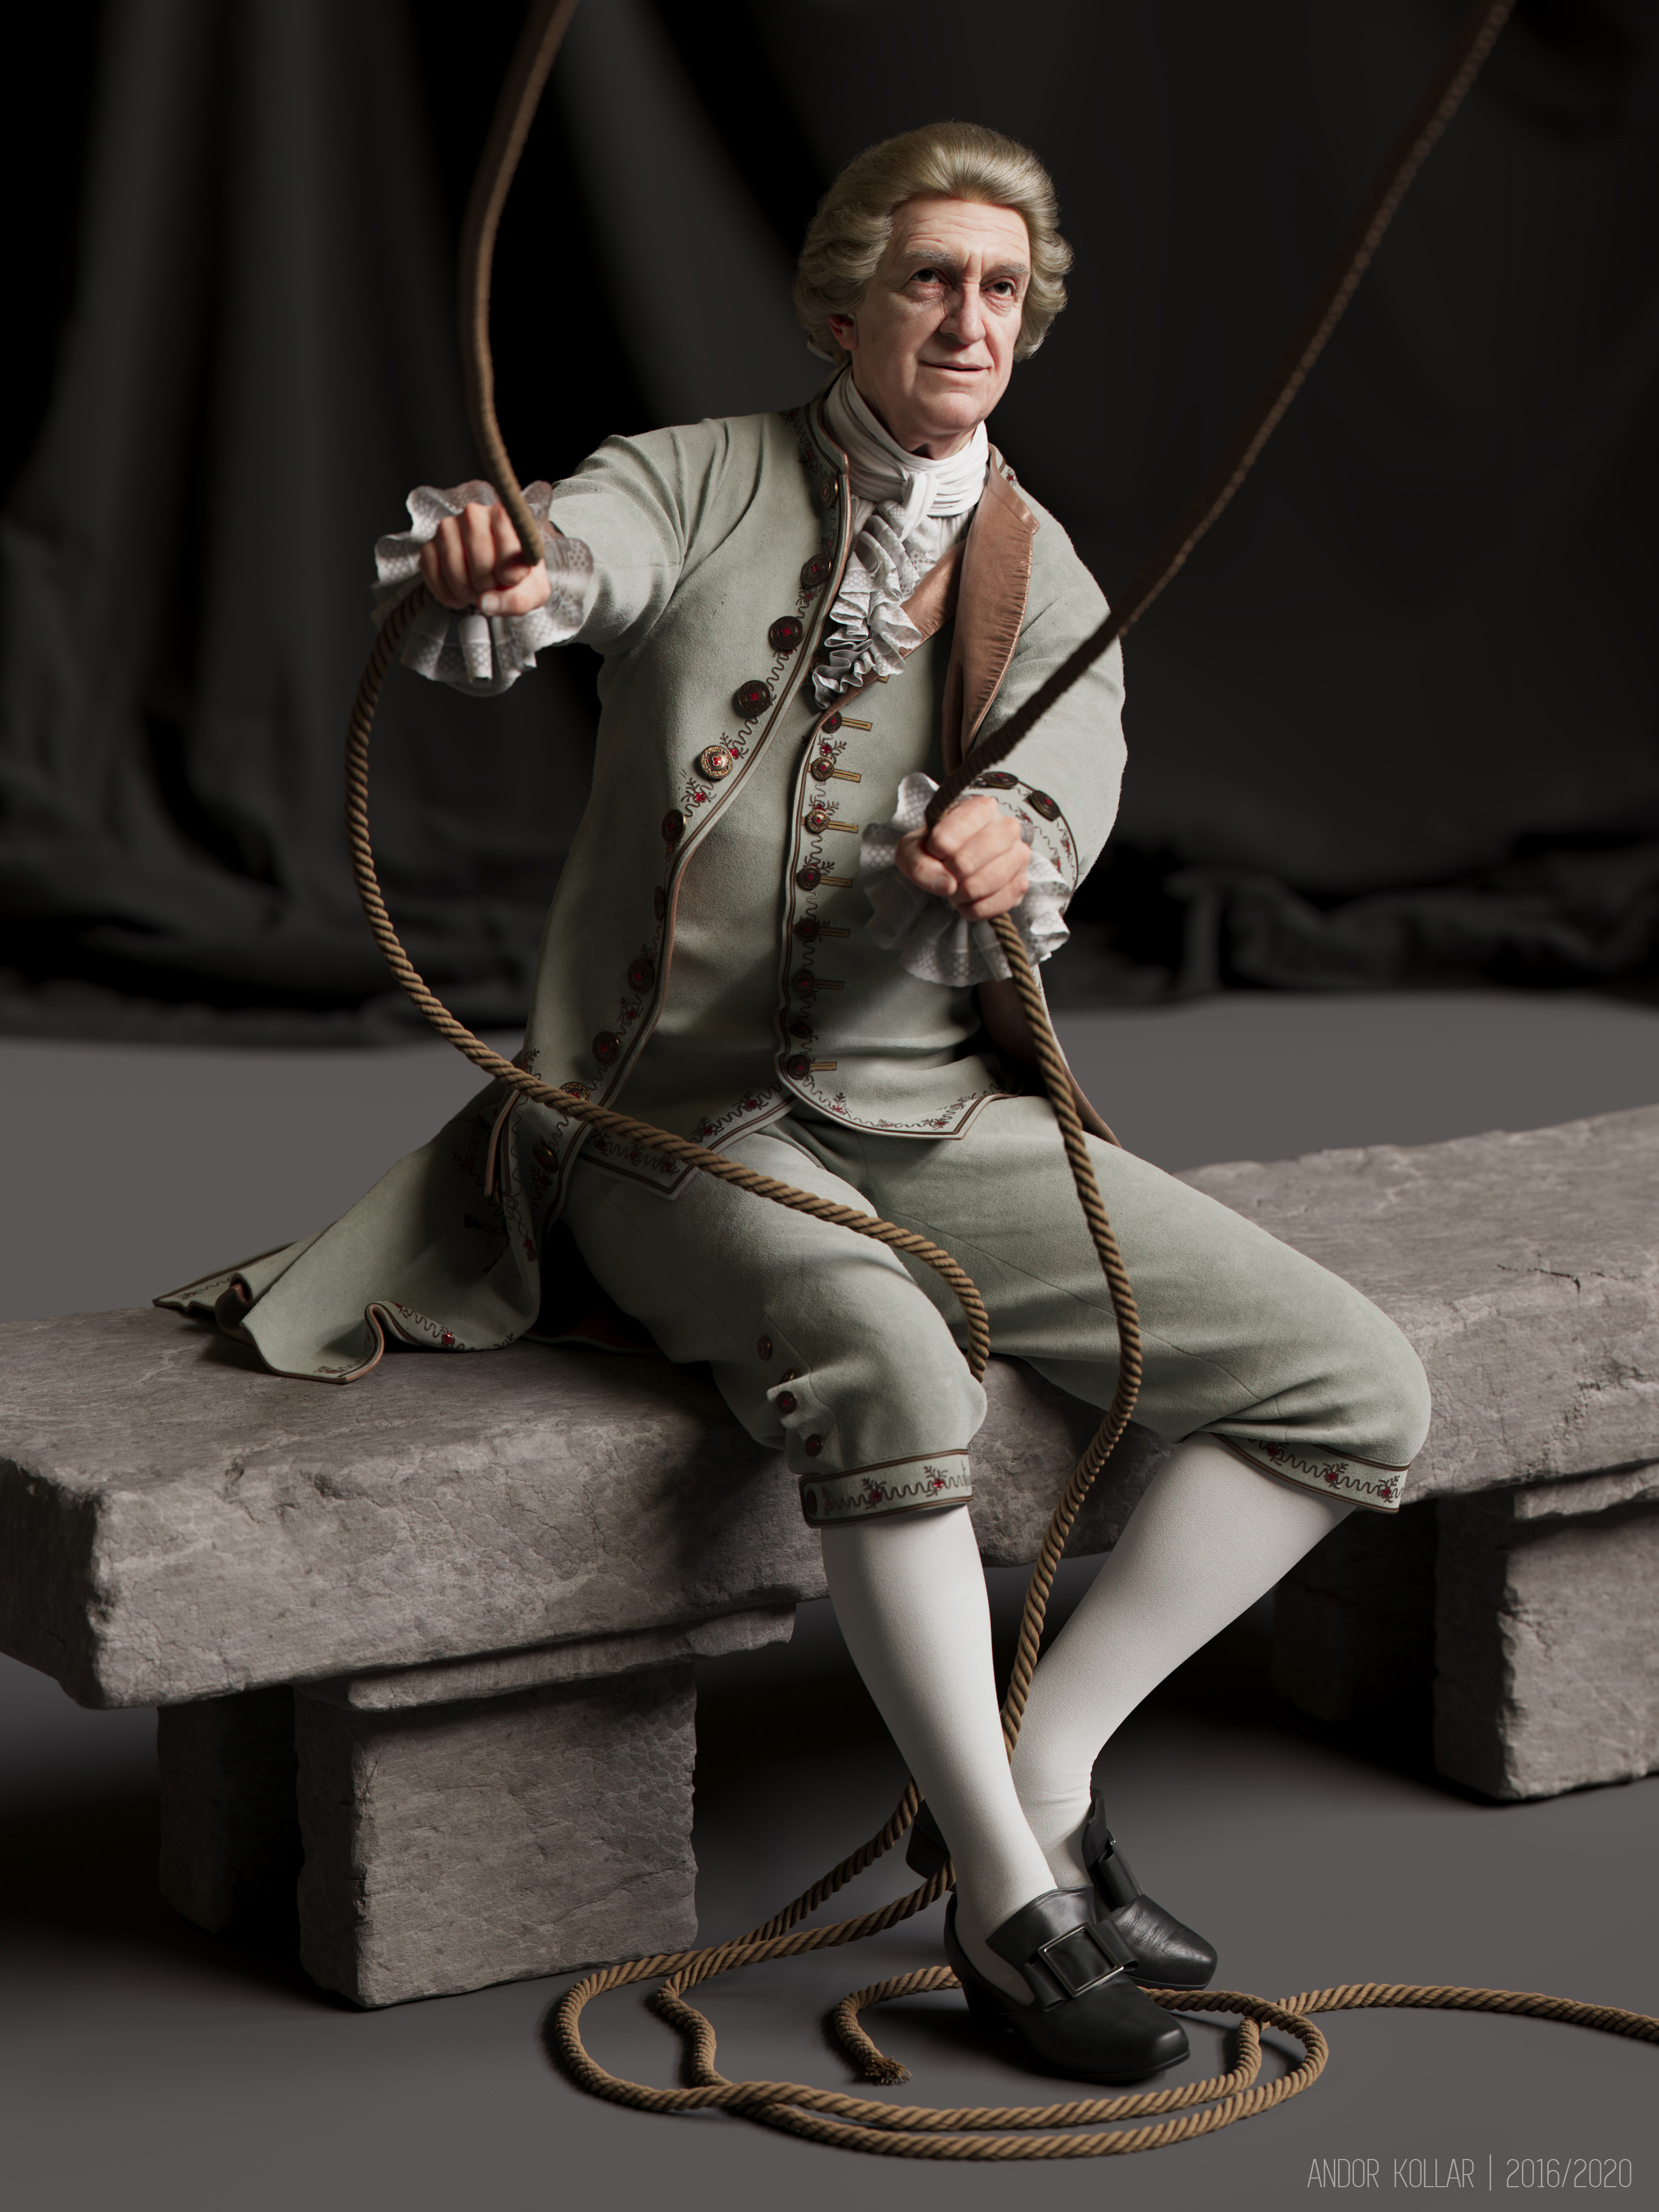
Greetings everyone! In this post I will show you how I approached creating characters for this art project, a 3d revision of The Swing, the famous 1767 Rococo painting by Jean-Honore Fragonard. The painting depicts an elegant young lady on a swing. A smiling young man, hiding in the bushes on the left, watches her from a vantage point that allows him to see up into her billowing dress. A smiling older man, who propels the swing with a pair of ropes. The older man appears to be unaware of the young man. You can check the final characters here: The Swinging Lady, The Young Man, The Old Man Screenshots and The Old Man Renders.
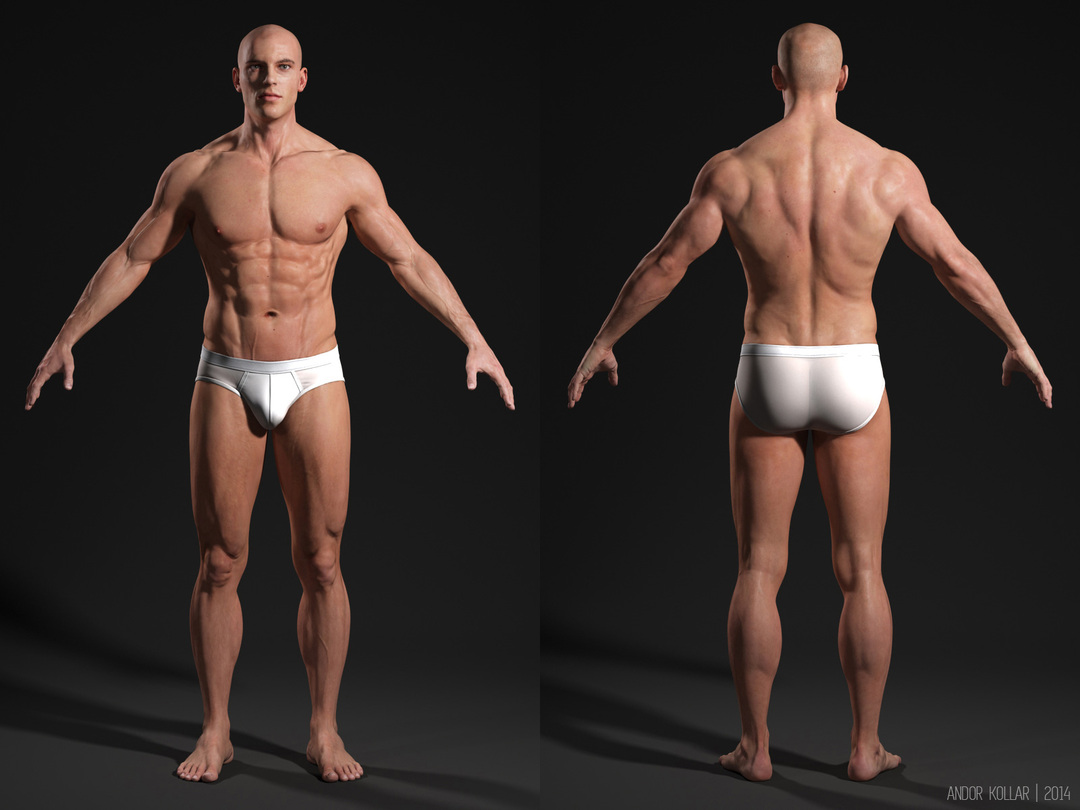
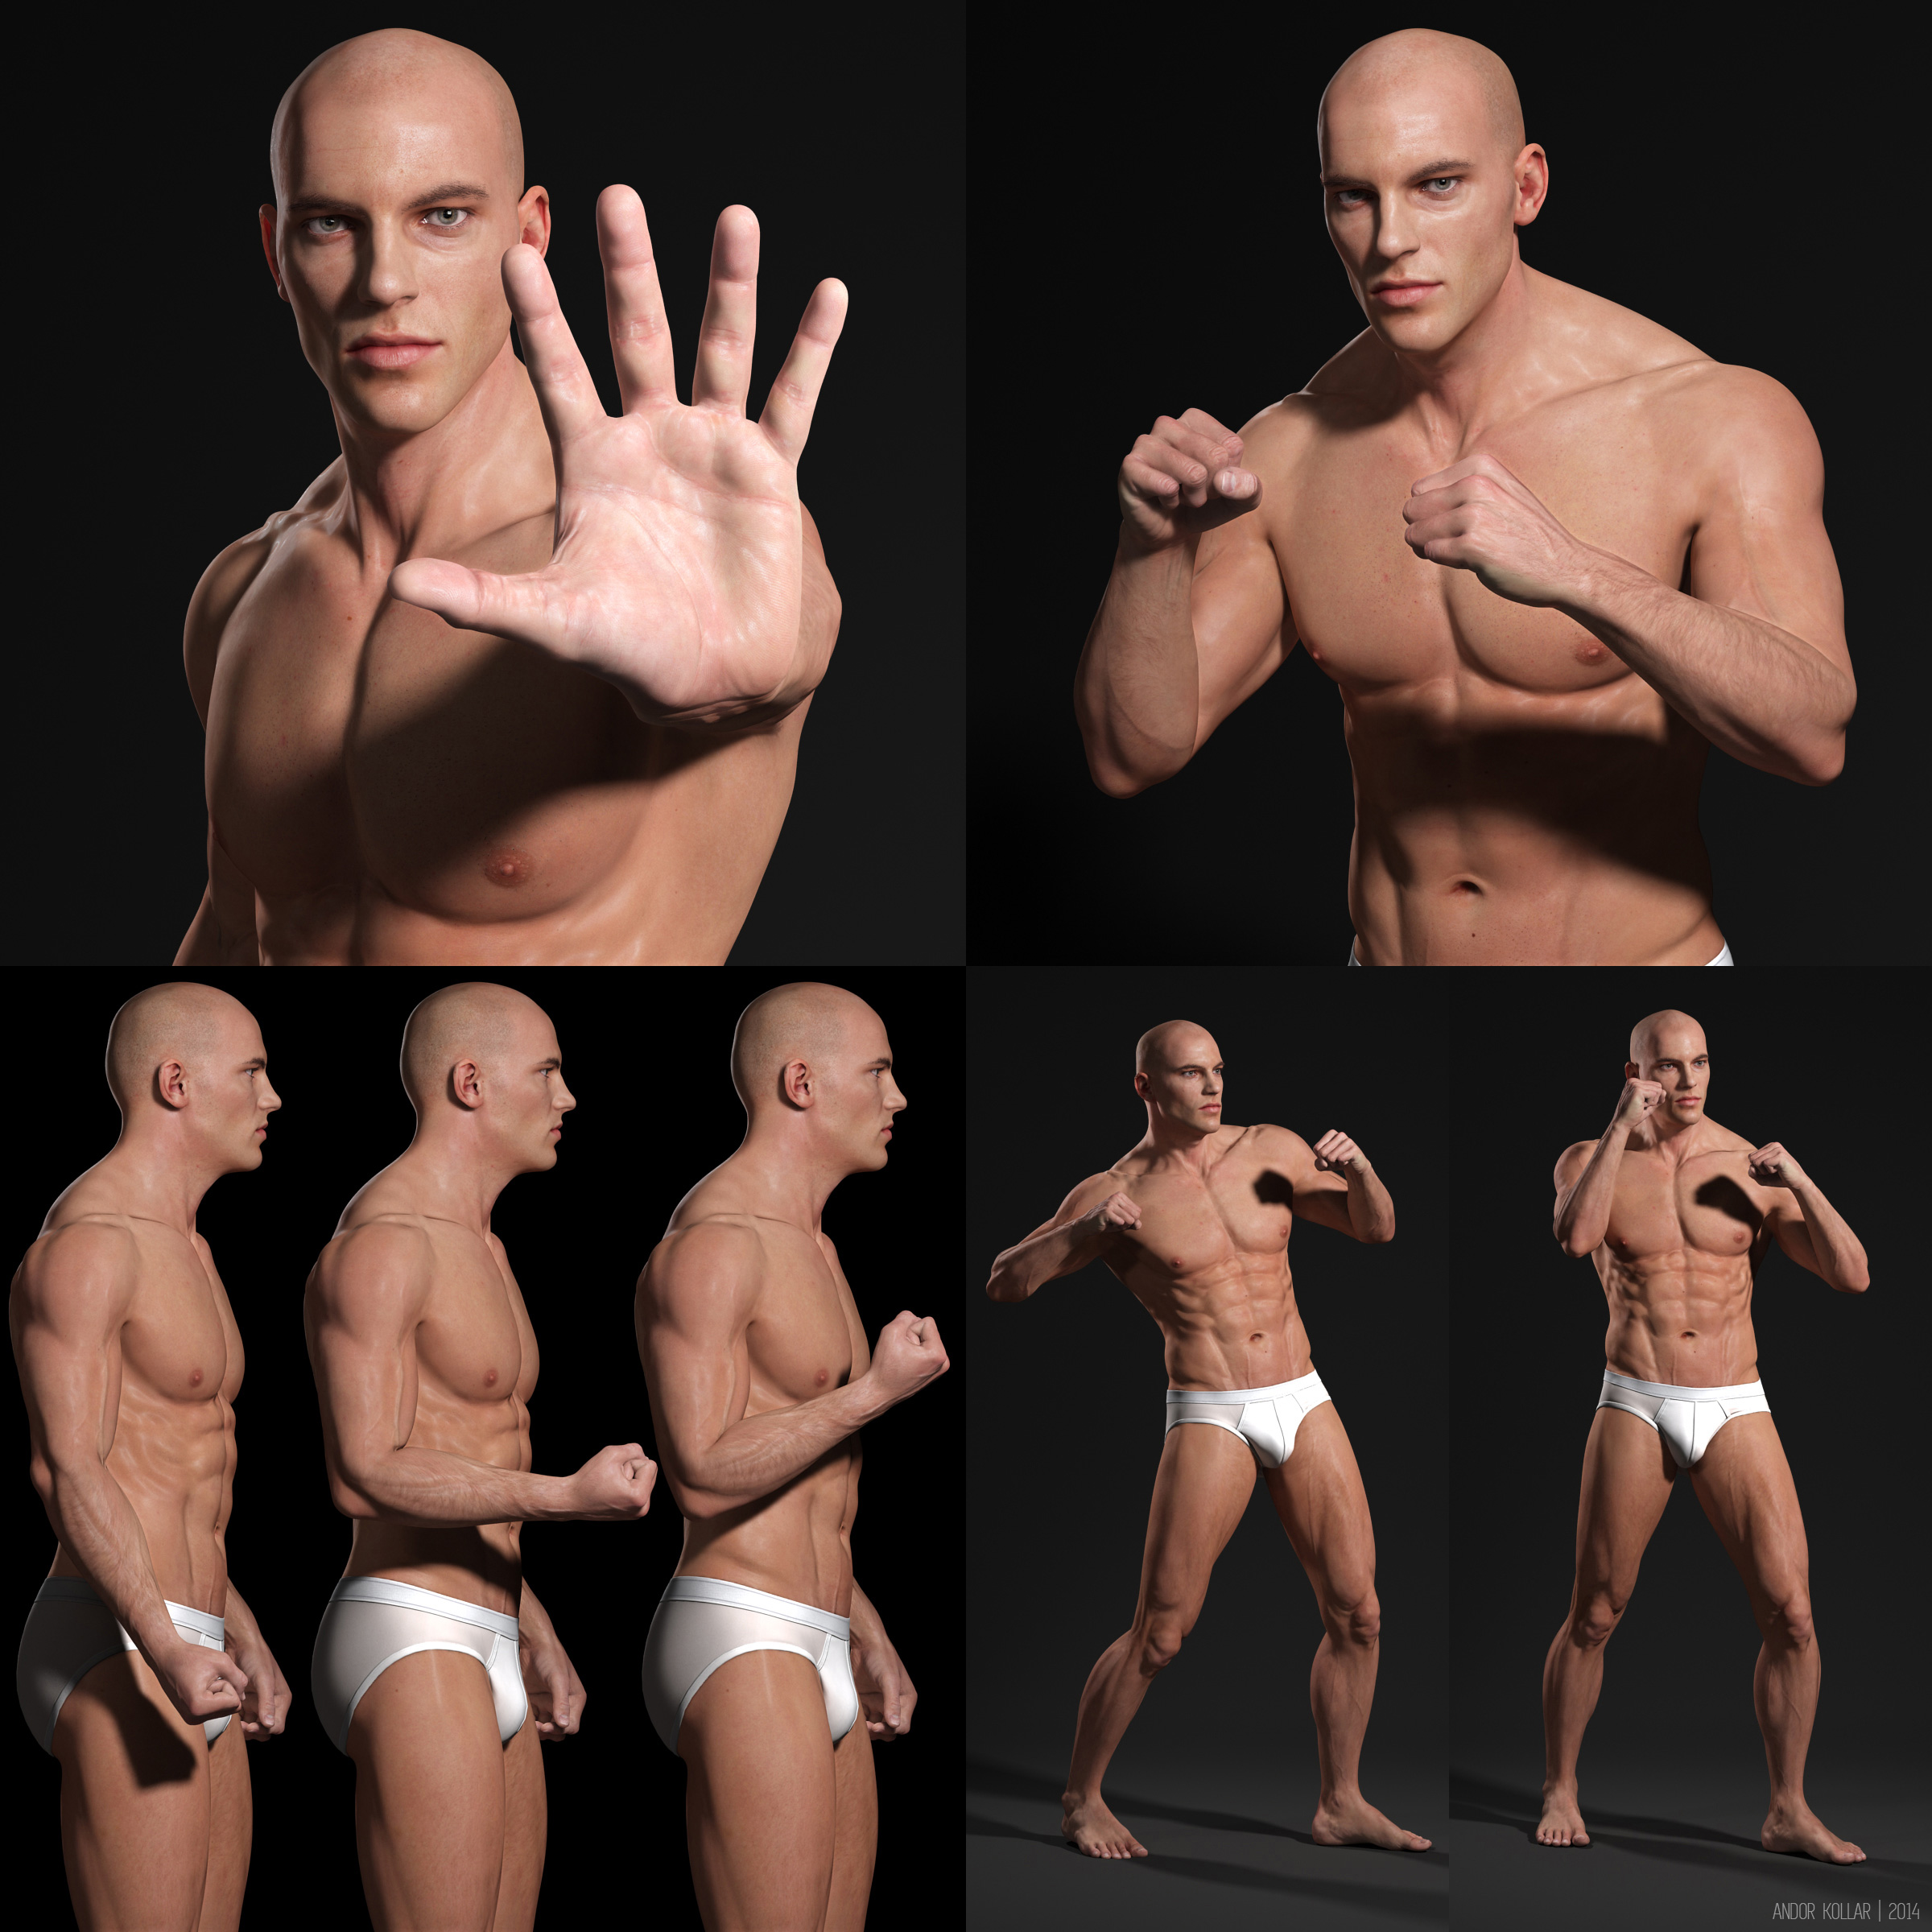
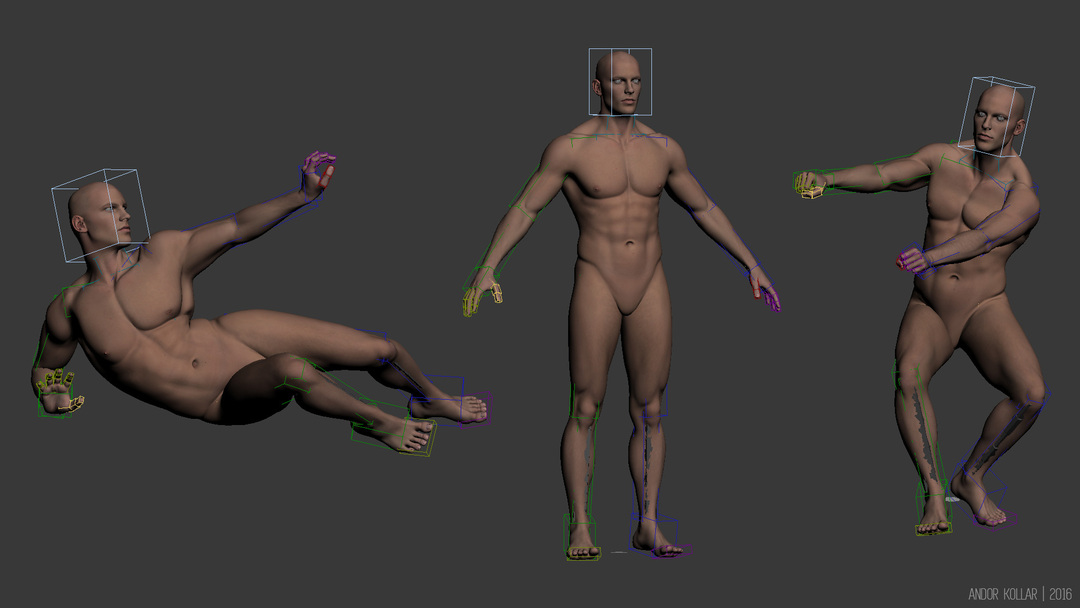
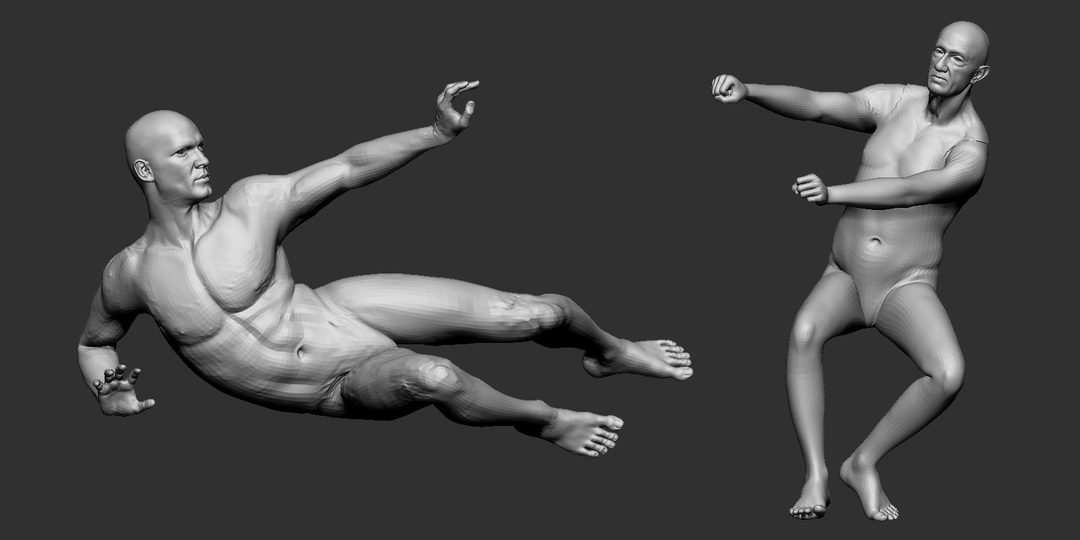
For the male characters I used my rigged base male body mesh which has correct topology and UV with skin texture. This always saves me a lot of time in my workflow. This character was rigged in 3ds Max and also has a Skin Morph modifier for better muscle deformations. I used the painting as reference and I have set the camera to the same view and I posed the male characters as close as possible to the original artwork.
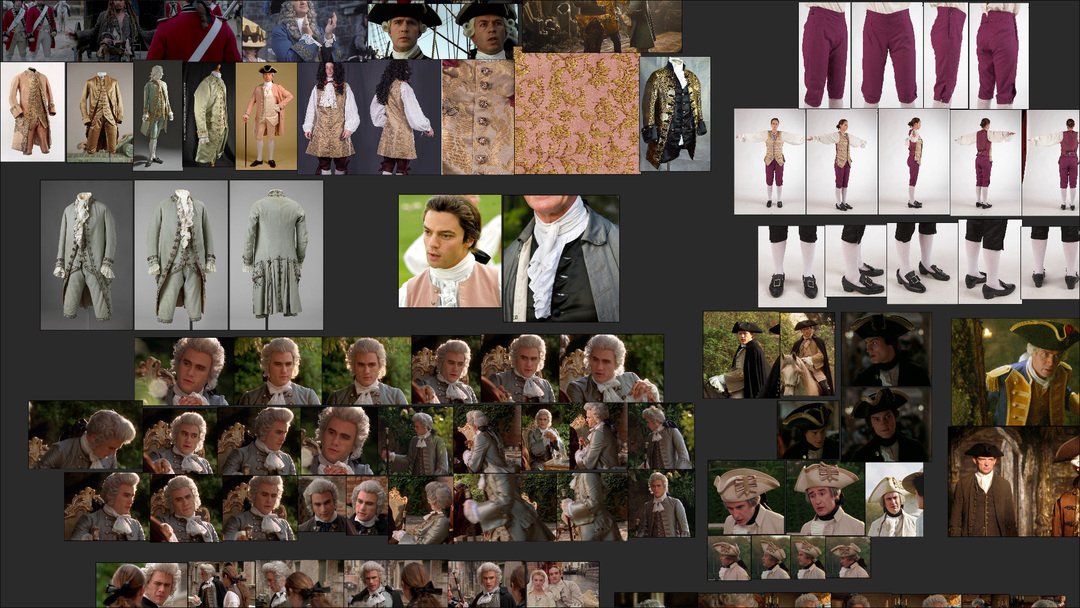
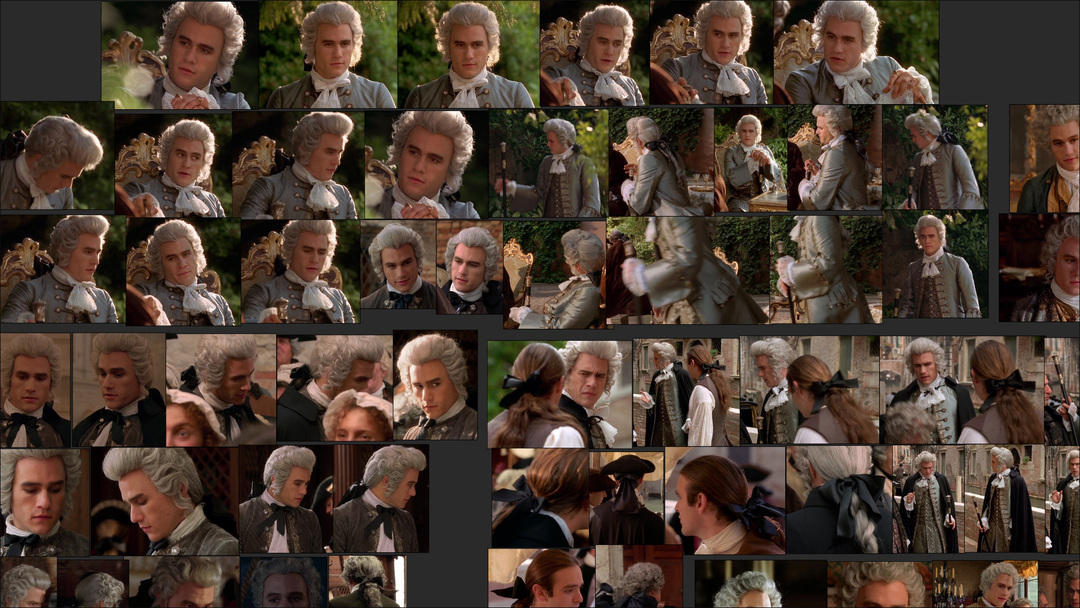
I collected a lot of reference images of 18th century aristocrat costumes, justaucorps coats, tricorn hats, sleeves, contemporary ornaments… I also captured many screenshots from movies like Casanova, Marie Antoinette and the Pirates of the Caribbean. I used PureRef because it is very useful to organize and fast to view the reference images. My workflow is always clean, tidy, organized and non-destructive, so I can easily find and adjust everything. For me it is also important to catch the personality of the faces to really bring the characters to life.
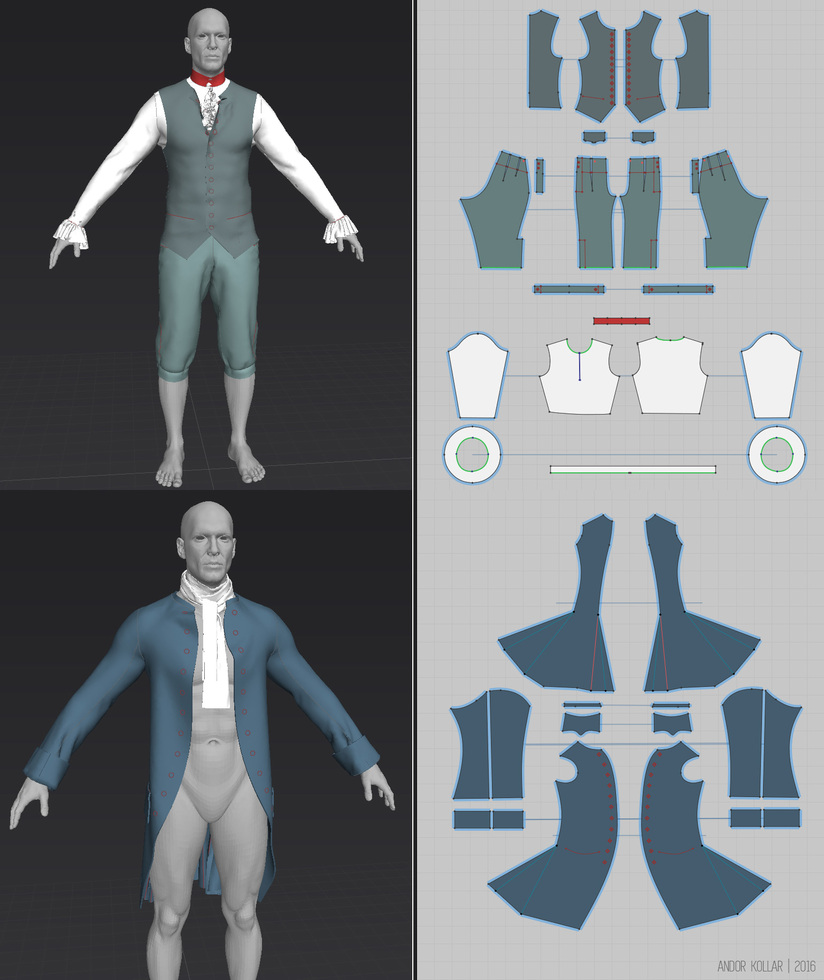
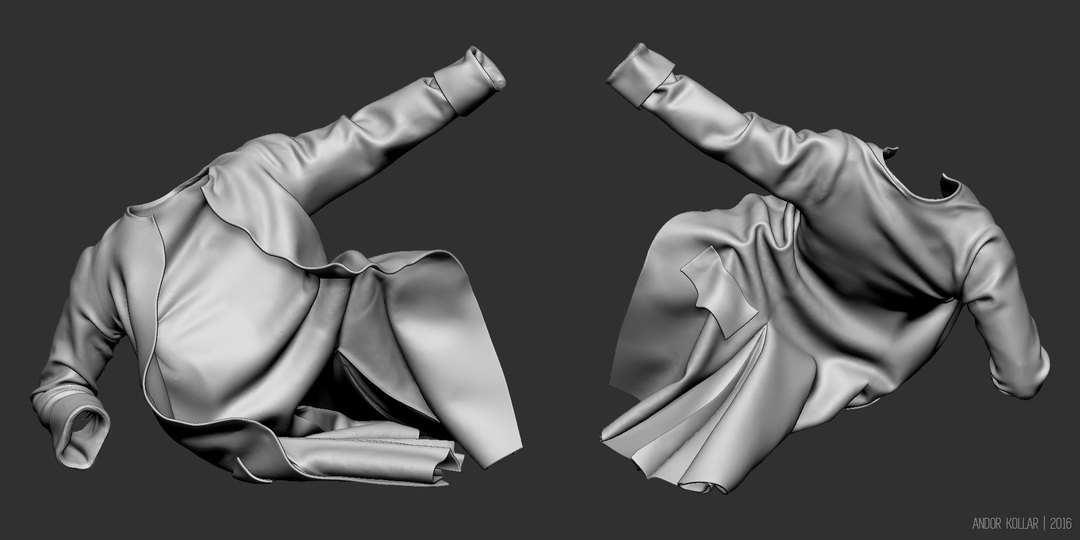
My base male mesh has a very athletic body type but for this project I used a slimmer and average body type for my base body. If I change my base mesh then in 3ds Max I can easily transfer the rigging with the Skin Wrap modifier. I looked after some sewing patterns, for justaucorps coat, for vest and for trousers then I created the base garments in Marvelous Designer.
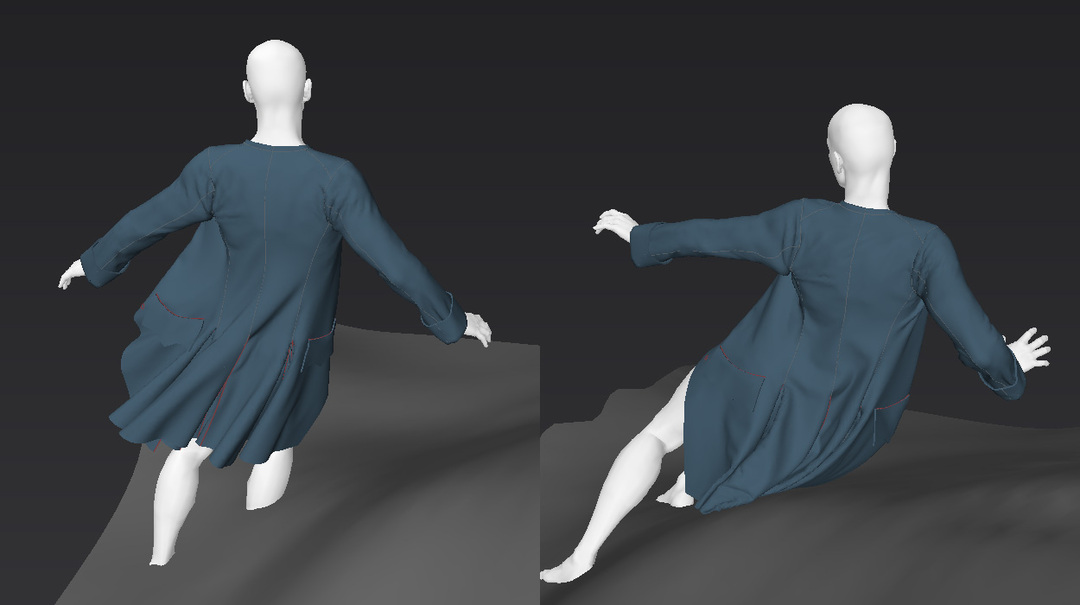
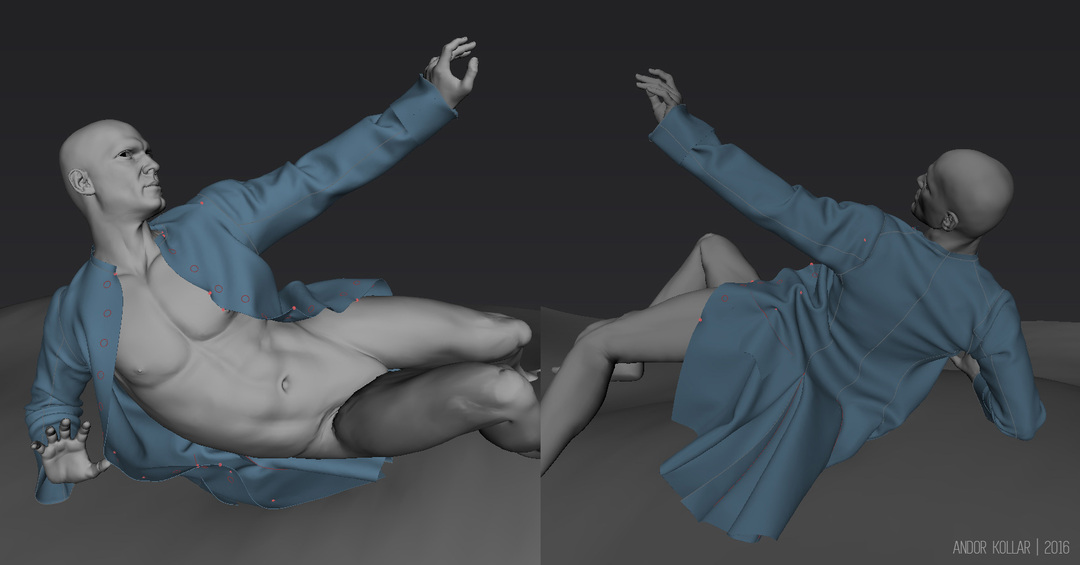
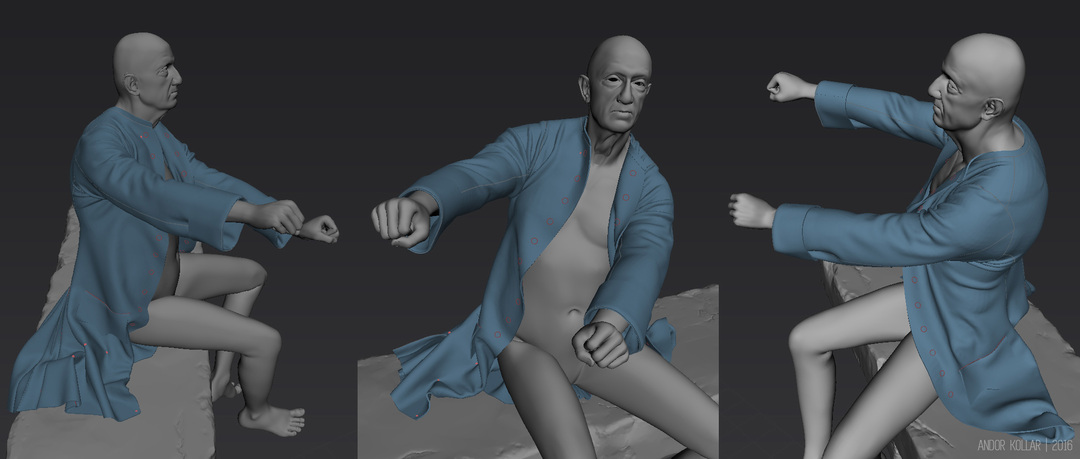
From the A-pose I made an easy 50 frames animation for both characters to the required pose, then in Marvelous Designer I loaded this FBX animation. In animation mode I simulated the clothes to the final pose. This way was really helpful because both characters use the same costume.
When I was happy with the simulated garments I sculpted some corrections on the body in ZBrush and I changed the body proportions to fit to the young and the old character better.
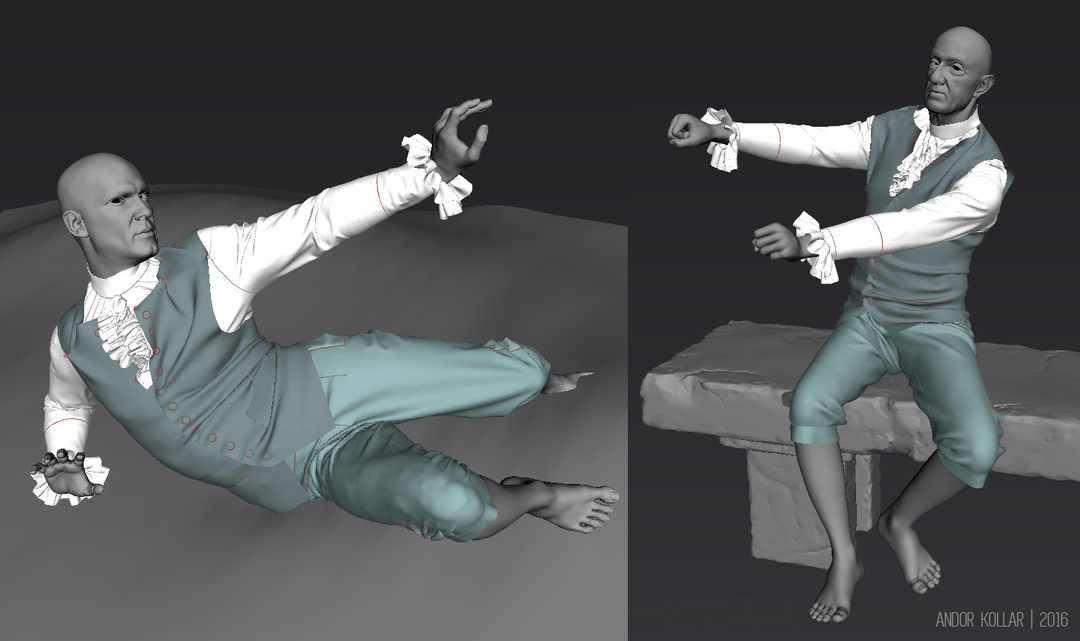
For the final simulation I replaced the young man and the old man body avatar in Marvelous Designer and also I imported collision objects to achieve the desired shape of the clothes. I imported a ground mesh for the laying Young Man and a bench for the sitting Old Man.
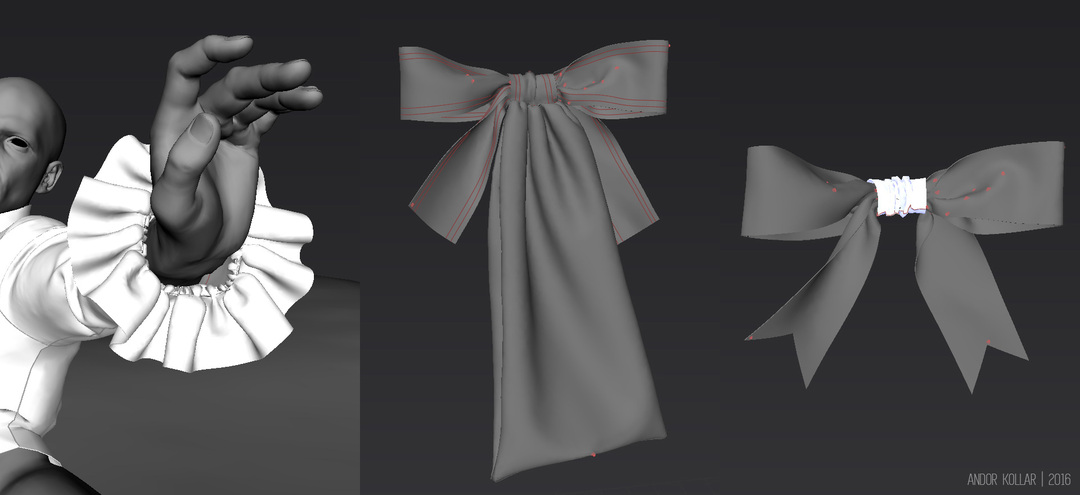
In Marvelous Designer it is not easy to simulate layering clothes together so I simulated separately for save performance and to modify each part of the costume more easily. Also I used a lot of pin points to control the shape of the clothes better. I focused only on the visible area of the costume because the coat hides most parts of the shirt and vest. I also made the ruffles of the neck and the sleeves.
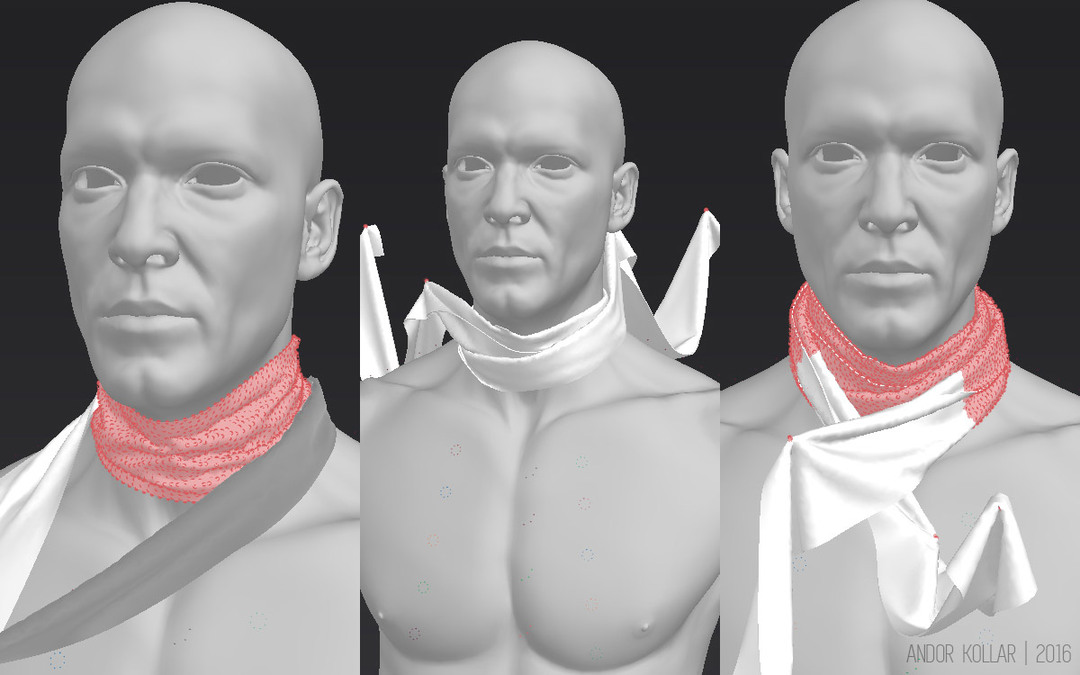
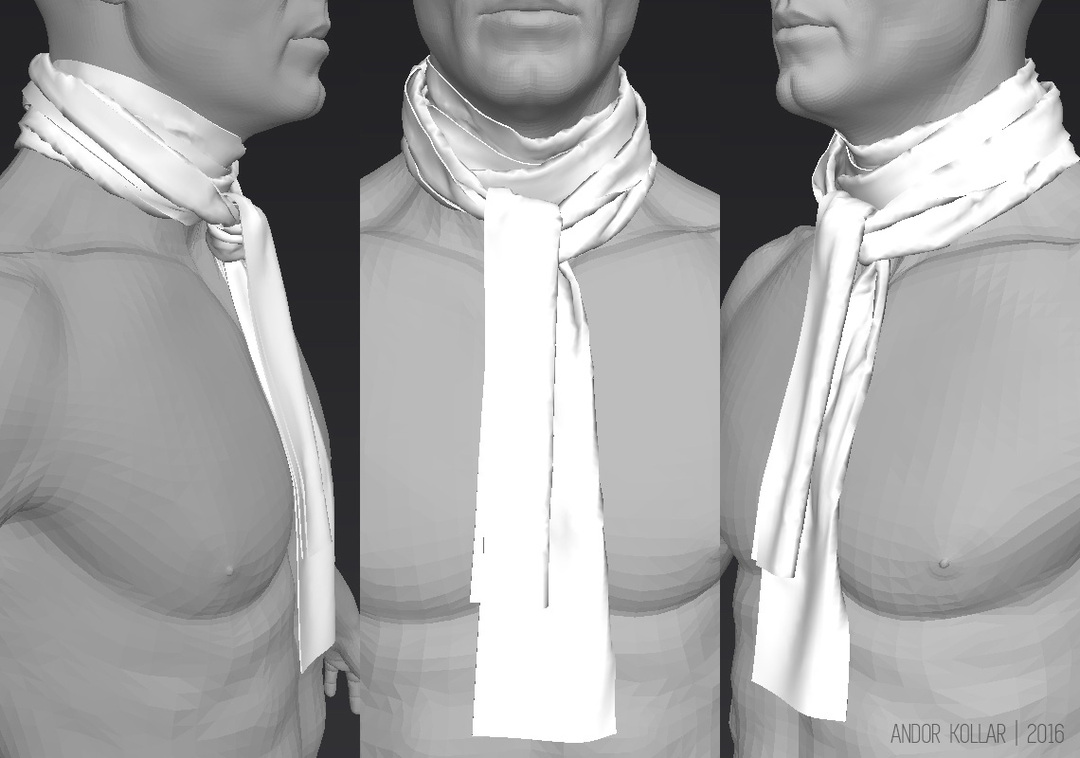
I always create real knots, ribbons, bows and scarfs because I think the model looks more realistic this way. This is not easy so I need to use a lot of pin points or sometimes I need to freeze some garments to maintain the shape.
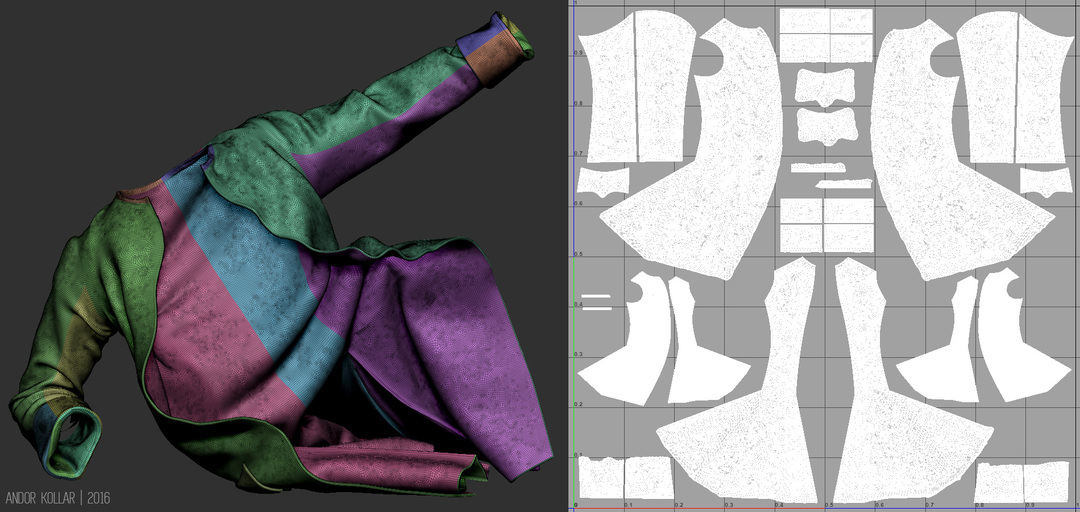
From Marvelous Designer I exported the single sided garments with quad topology to ZBrush, where with Panel Loops I extruded the mesh to add thickness. I modified the proportions a bit and I sculpted the shape of the cloth to fit to the body better. This costume was used only for rendering therefore in this case I did not use ZRemesher and also I wanted keep the UV and the correct seam lines. The tidy UV came from Marvelous Designer and I tweaked slightly in Maya, then I generated the polygroups by UV elements in ZBrush.
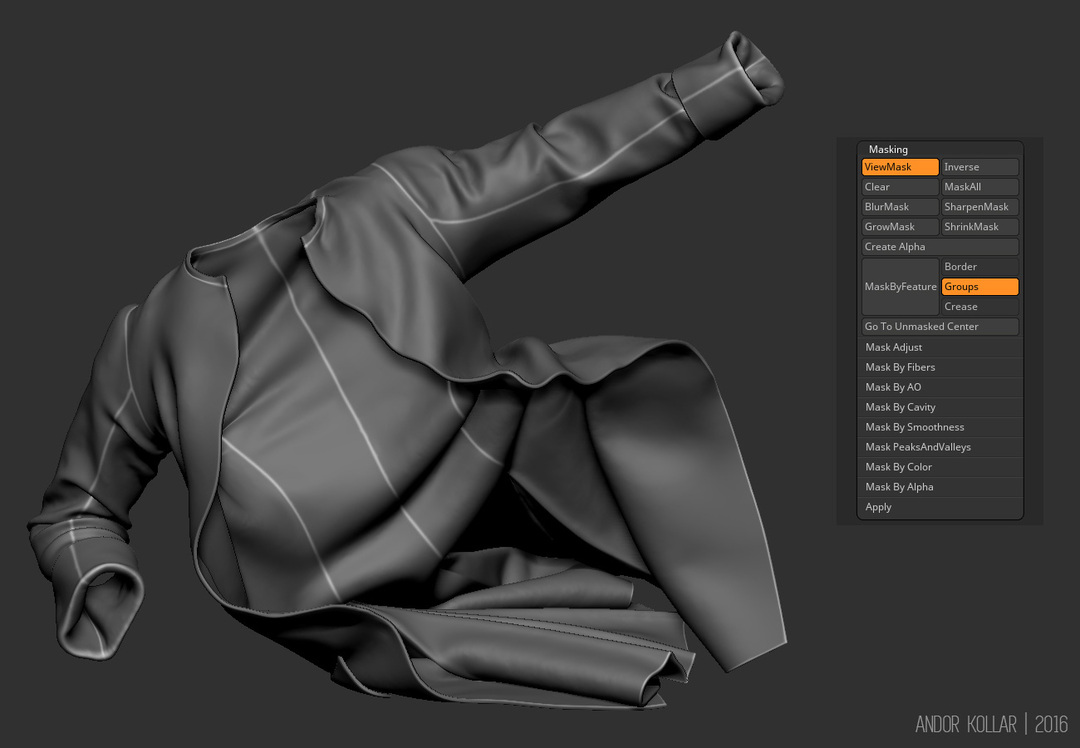
After I changed the polygroups to fit to the costume seams, I masked the seams by the polygroups using the MaskByFeature tool. To make the seams faster I used the Inflate deformation.
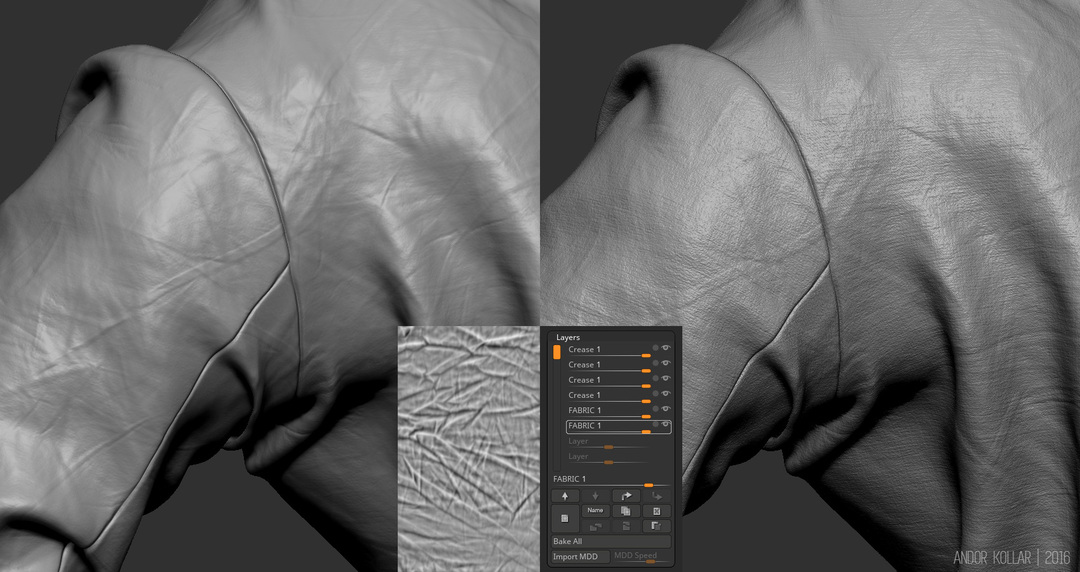
I created different cloth wrinkles for the small creases and the memory folds in layers using the NoiseMaker and also I used cloth alpha brushes. With the Morph brush I could tweak those layers. Finally I have put a silky fabric texture on to the costume with NoiseMaker. You can check, earlier I captured a NoiseMaker tutorial.
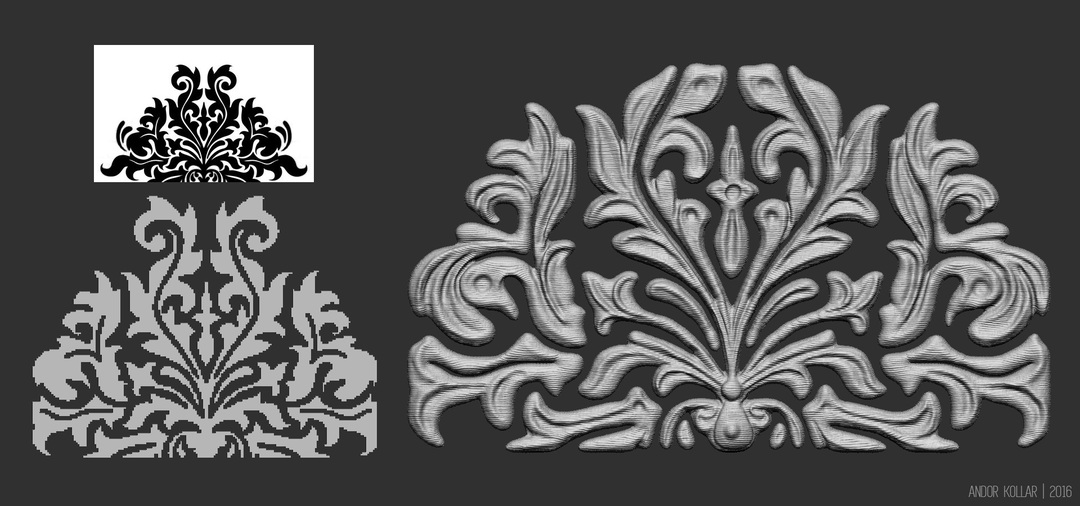
I created an Insert Mesh Brush for the ornamental lace pattern. I used a floral ornament image as a mask for a plane mesh, then I removed the unnecessary faces and extruded and sculpted the details.
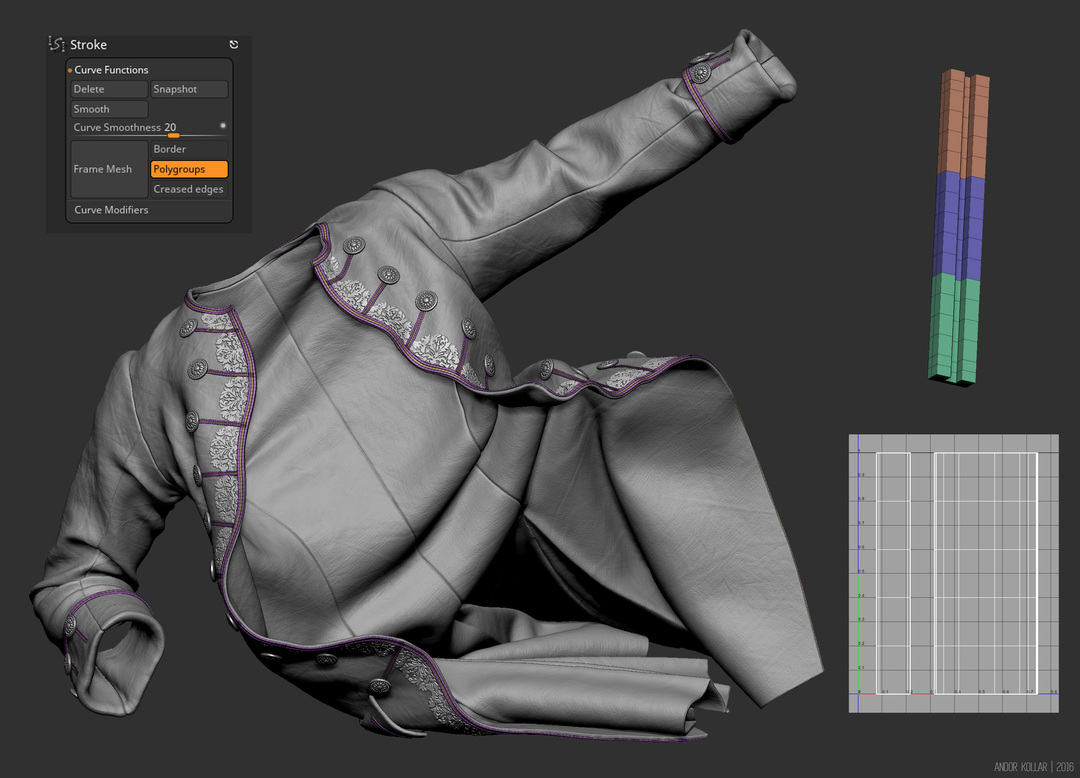
I also created another IMM brush for the lace border. The base IMM brush consists of three pieces, the middle one is the repeatable part. I did the UV so later I was able to auto group by UV for the NoiseMaker, in this way I was able to apply a different fabric texture in the center of the lace. I drew the IMM lace using a curve stroke that I quickly selected with the Frame Mesh.
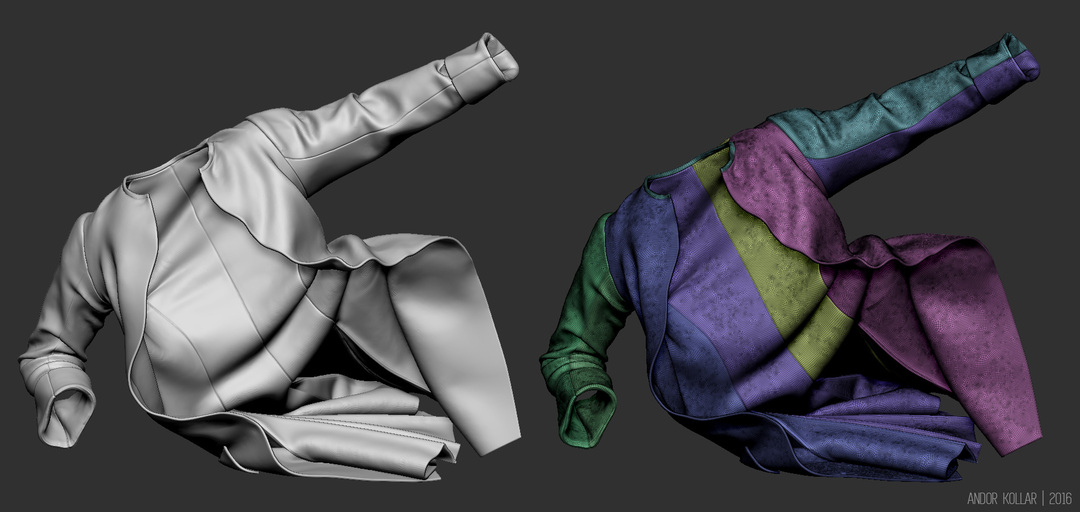
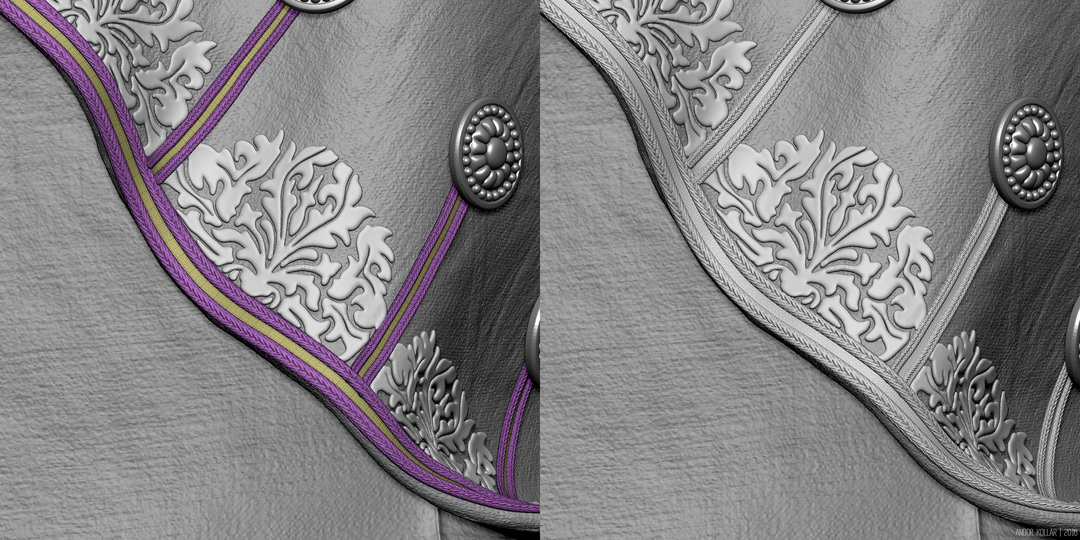
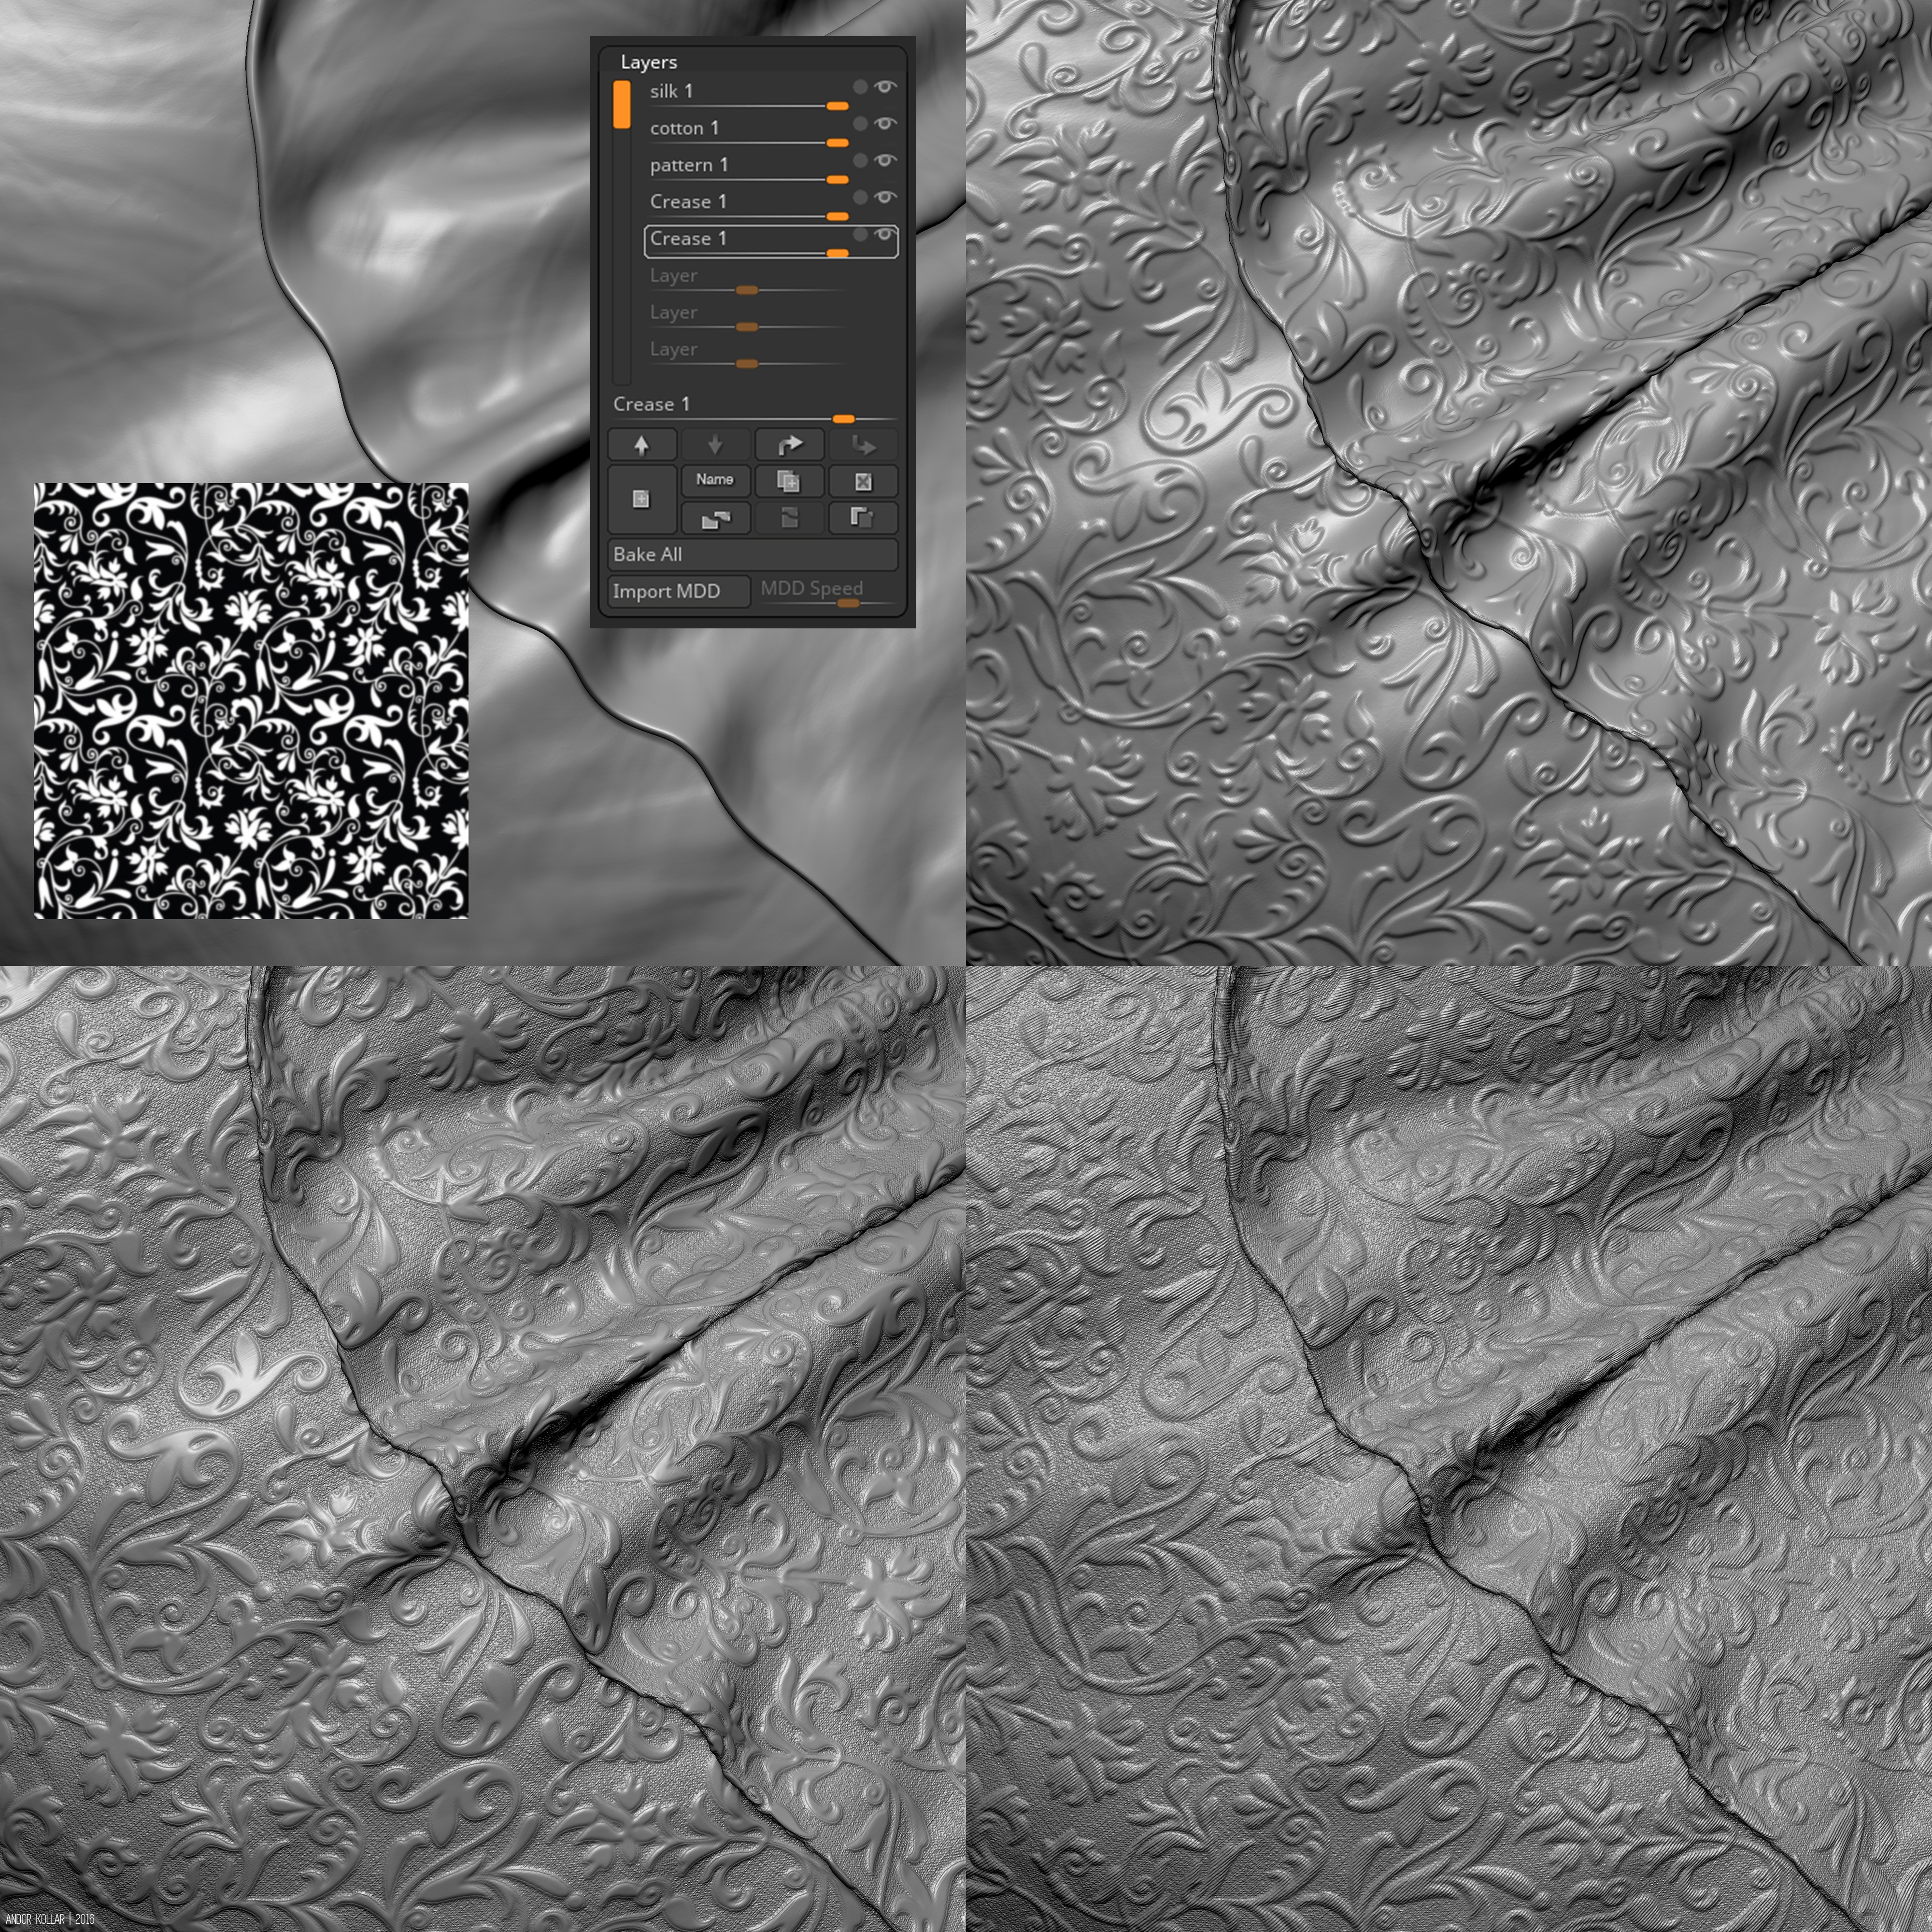
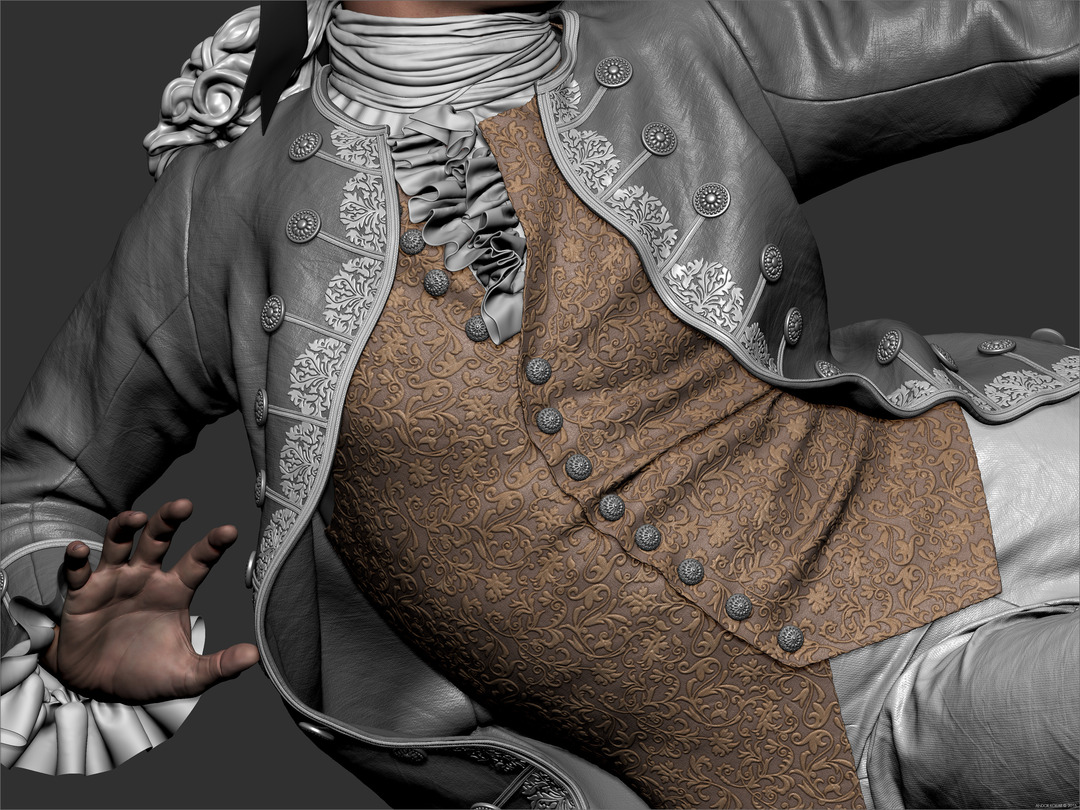
For the vest I used the NoiseMaker several times, I kept each patterns on a different layer. Usually I save the settings of the NoiseMaker so I can load them again if need to. First I have put on the creases pattern then I applied the floral pattern texture. I used some blur on the floral texture to achieve an emboss feeling in 3d. Of course before I use the NoiseMaker, I always create the UV of the mesh, so I checked the black and white pattern in Maya with the desired UV layout. And finaly I applied a cotton texture for the base vest and a silk texture for the embossed floral pattern. With the MaskByNoise button I could easily separate the cotton and the silk textures using the black and white floral pattern again as mask with the saved NoiseMaker settings.
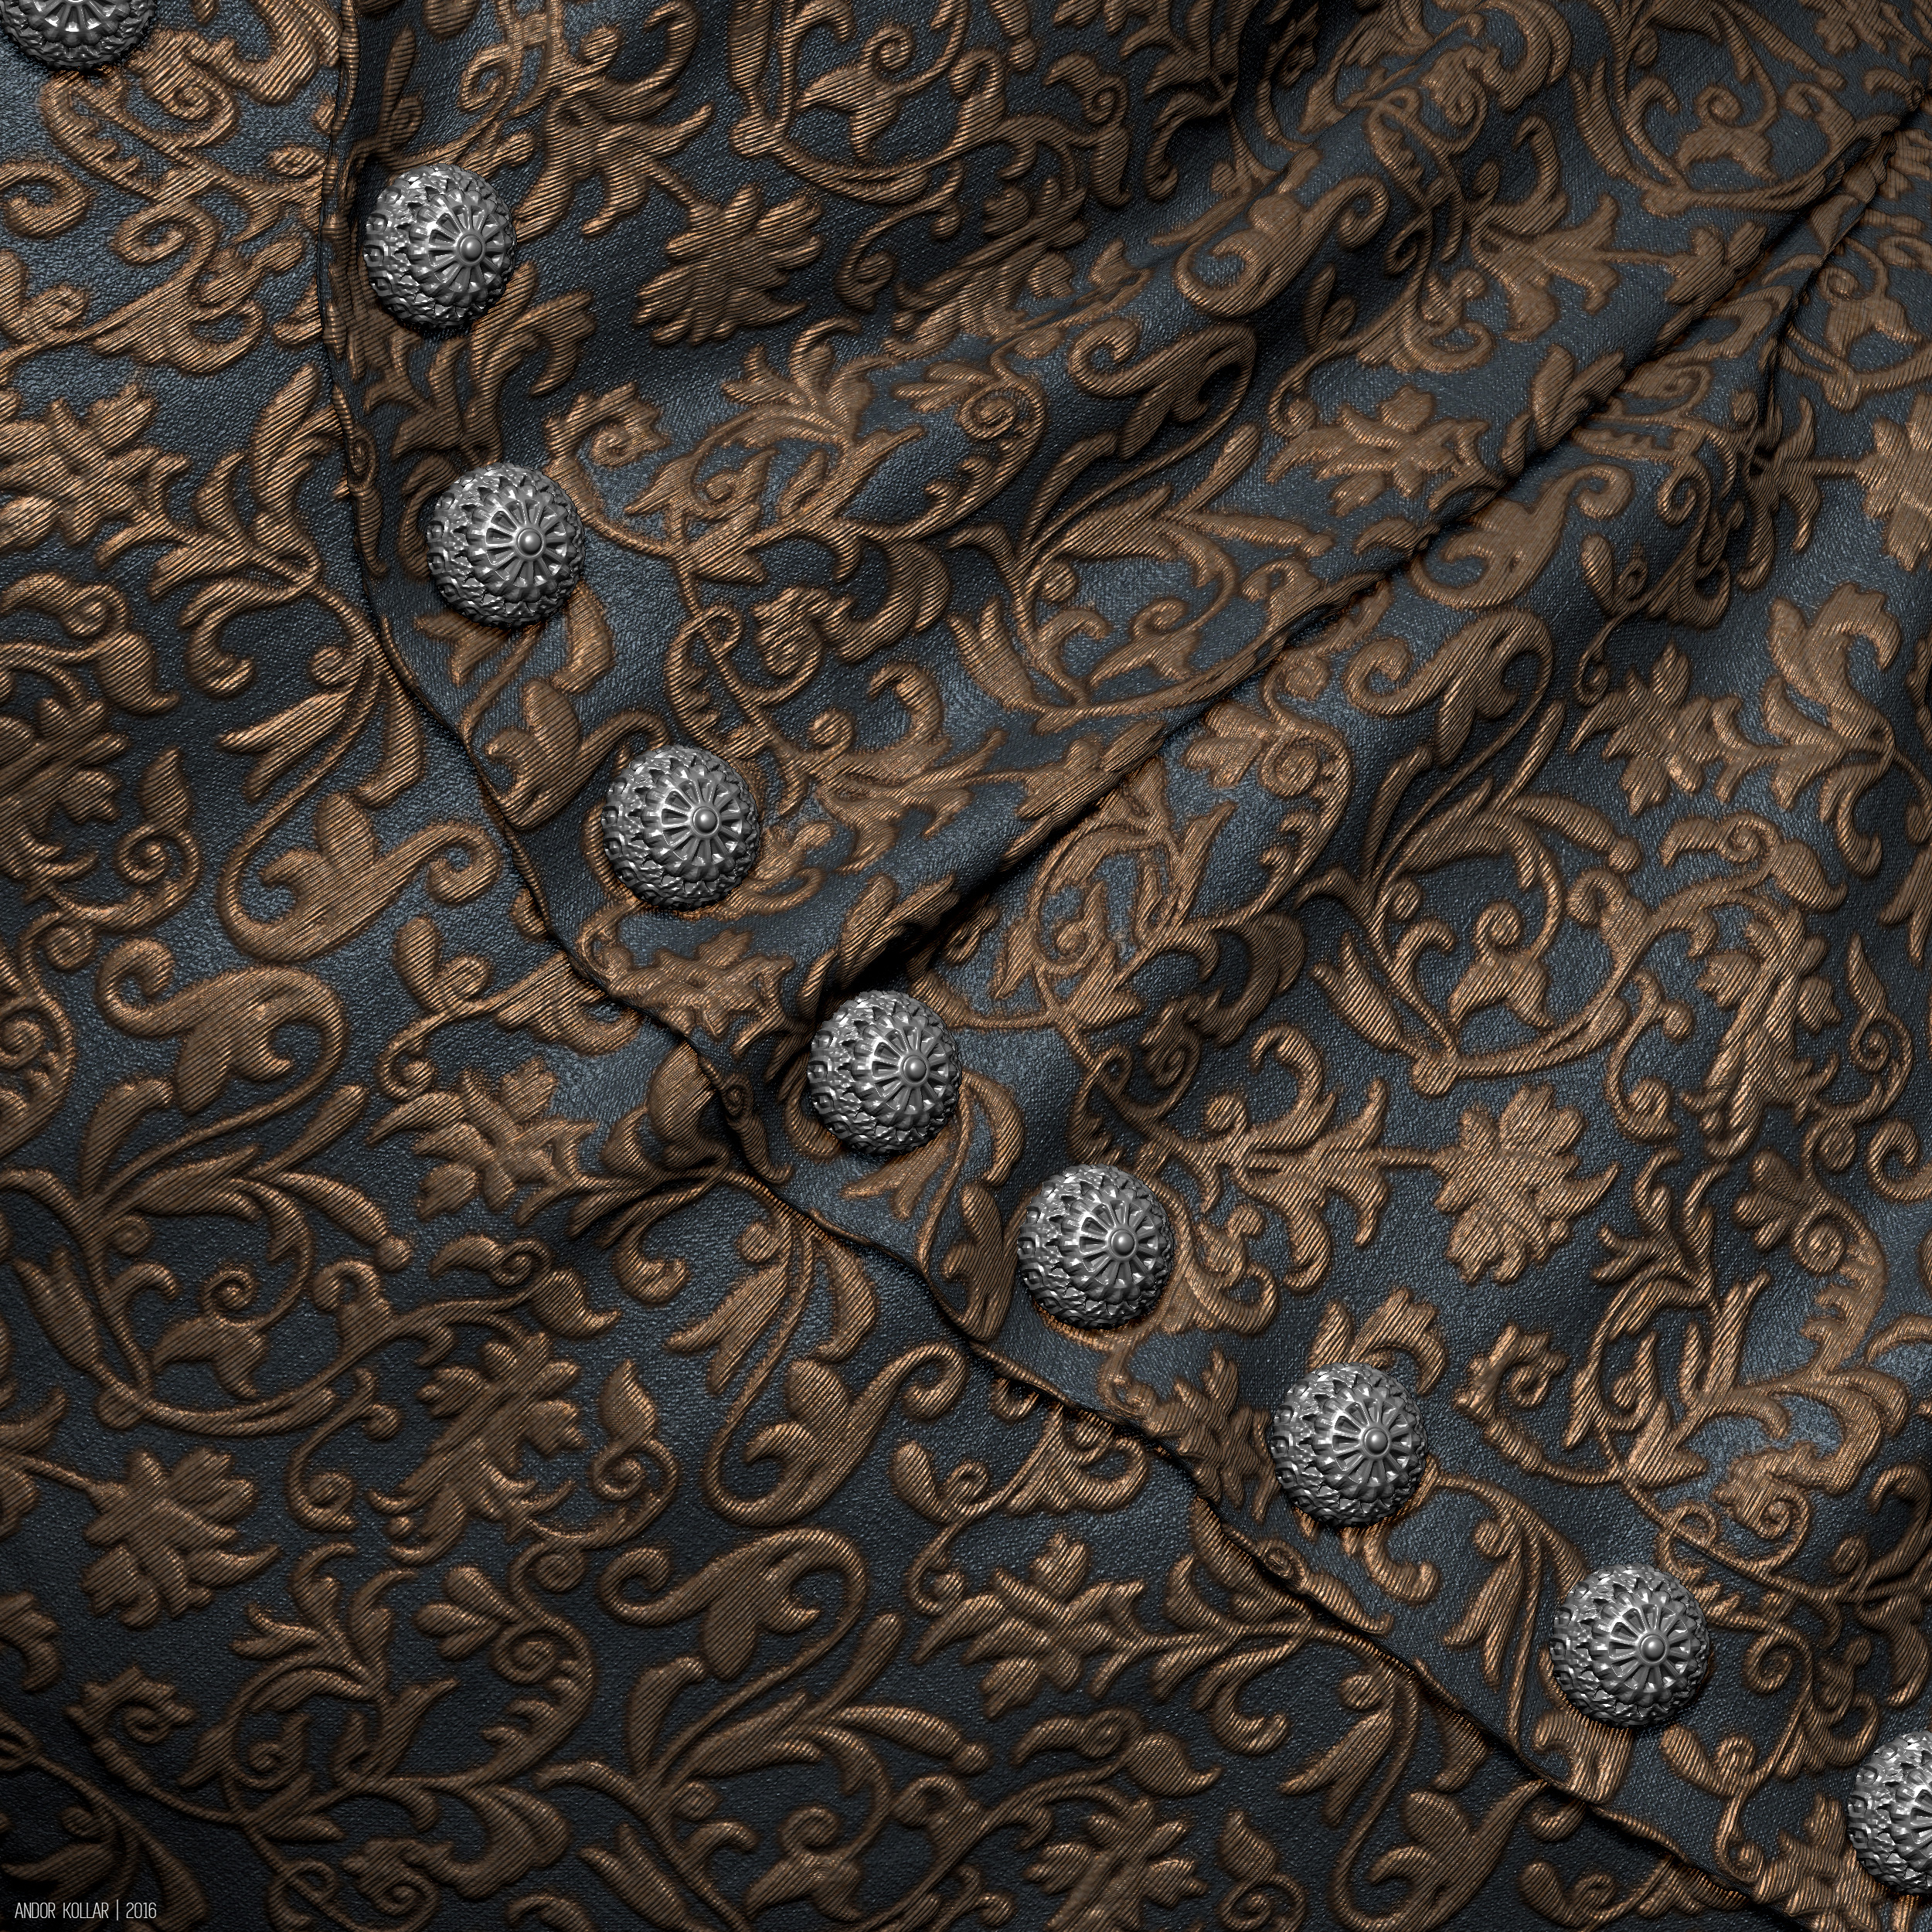
You can see the final silky vest pattern better with blue and gold colors.
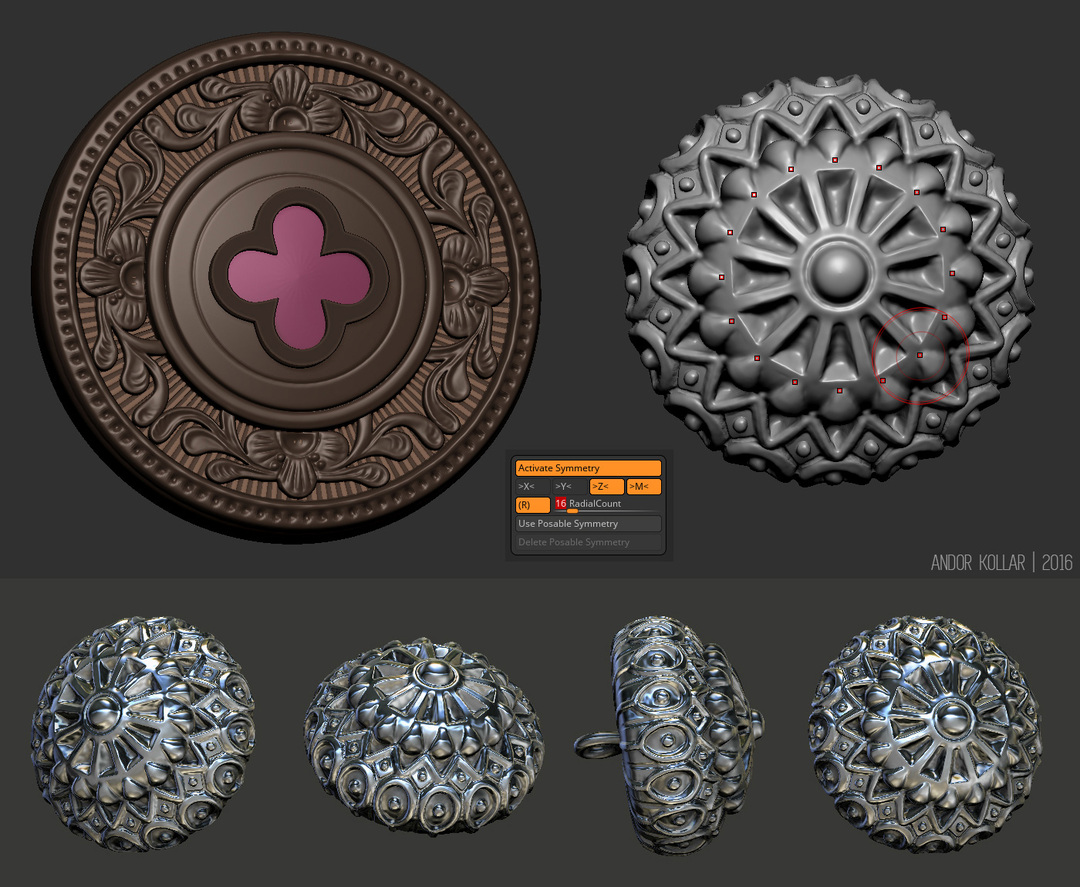
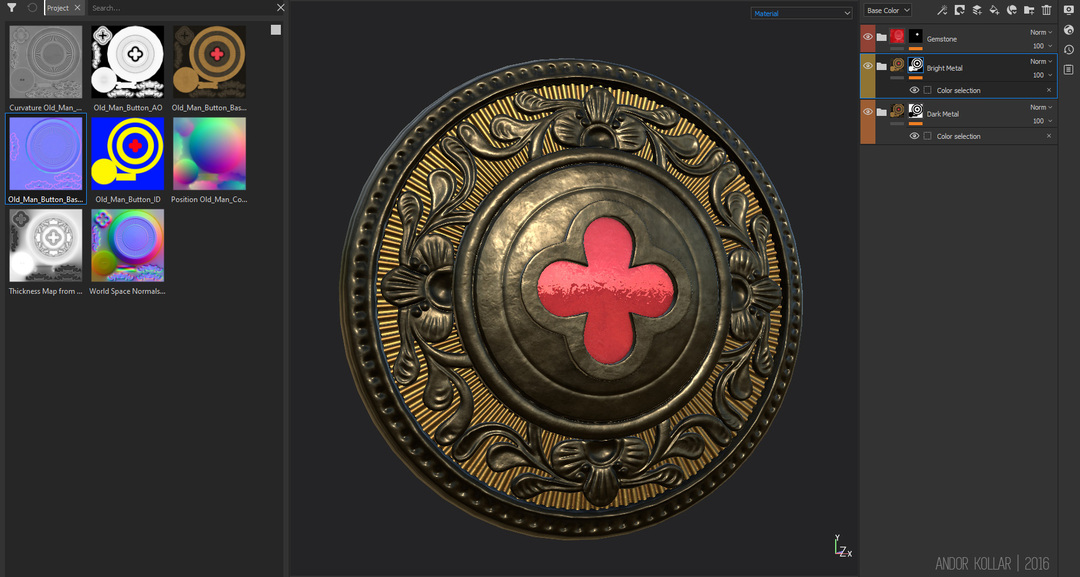
For creating the buttons I used the radial symmetry, in this way I could sculpt the fancy details very fast. The base was modelled in Maya then I textured in Substance Painter.
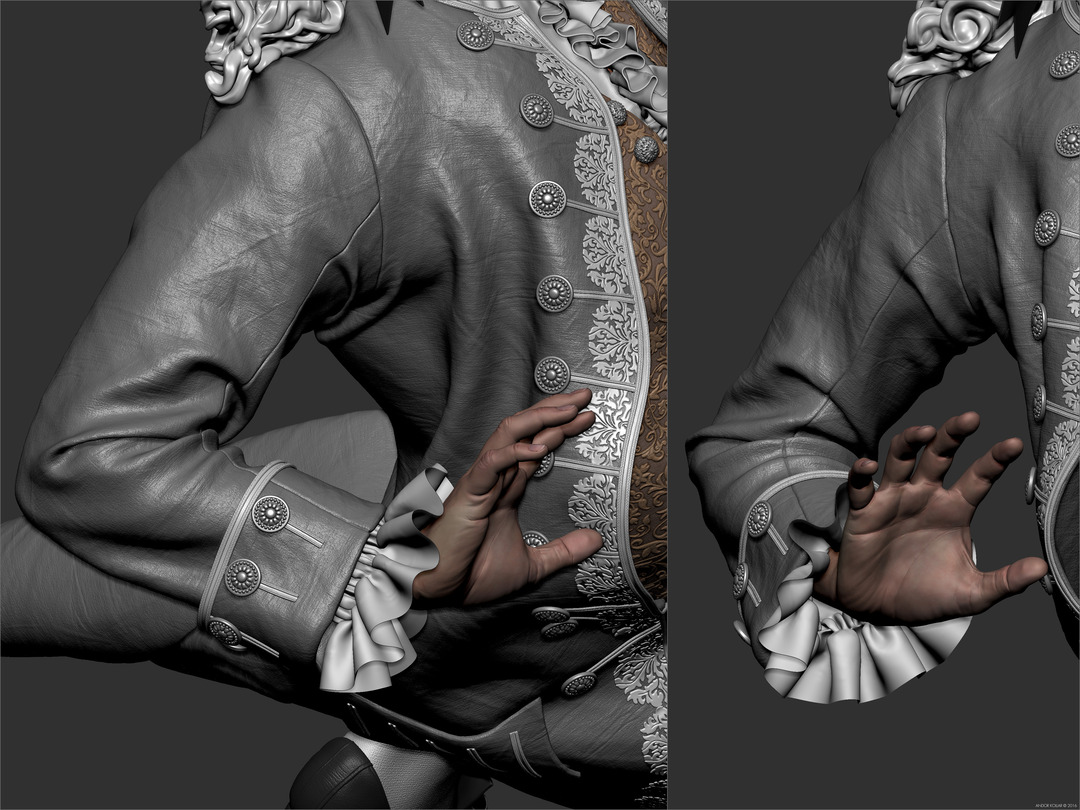
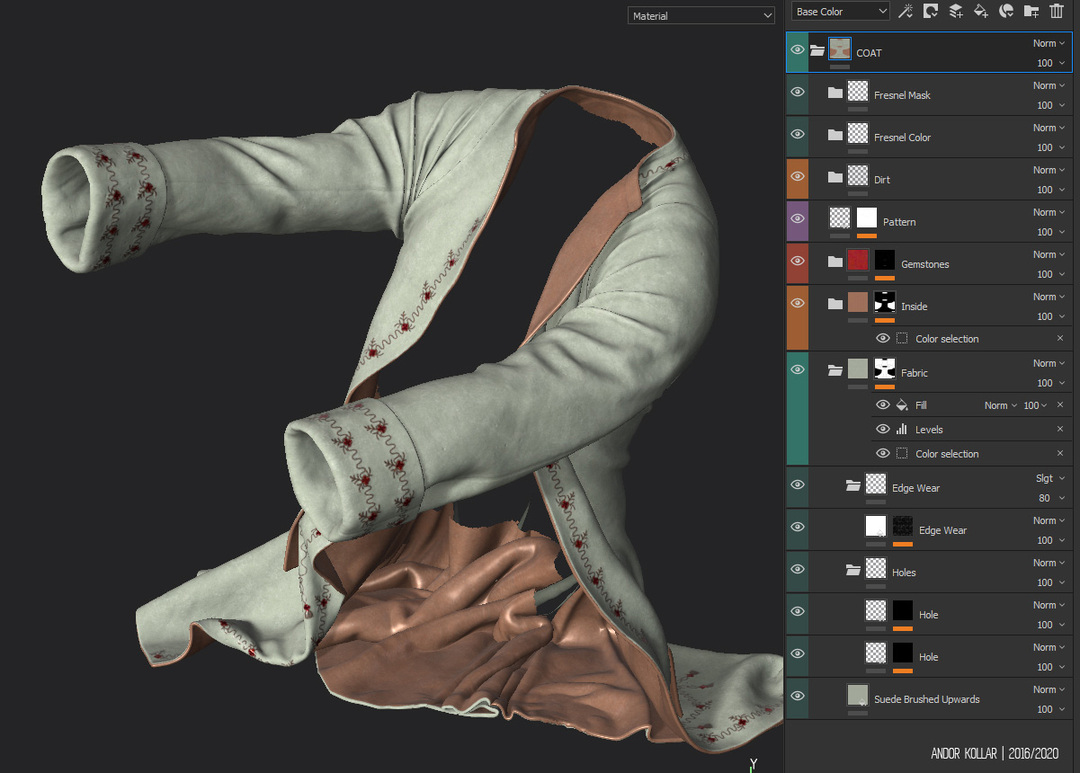
However the base of the costume is same, for the Old Man I used different decorations on the coat to make a new justaocorp. I painted the ornaments in Photoshop and I had good UV layout from Marvelous Designer so it was easy to apply the painted pattern with NoiseMaker for all areas of the coat.
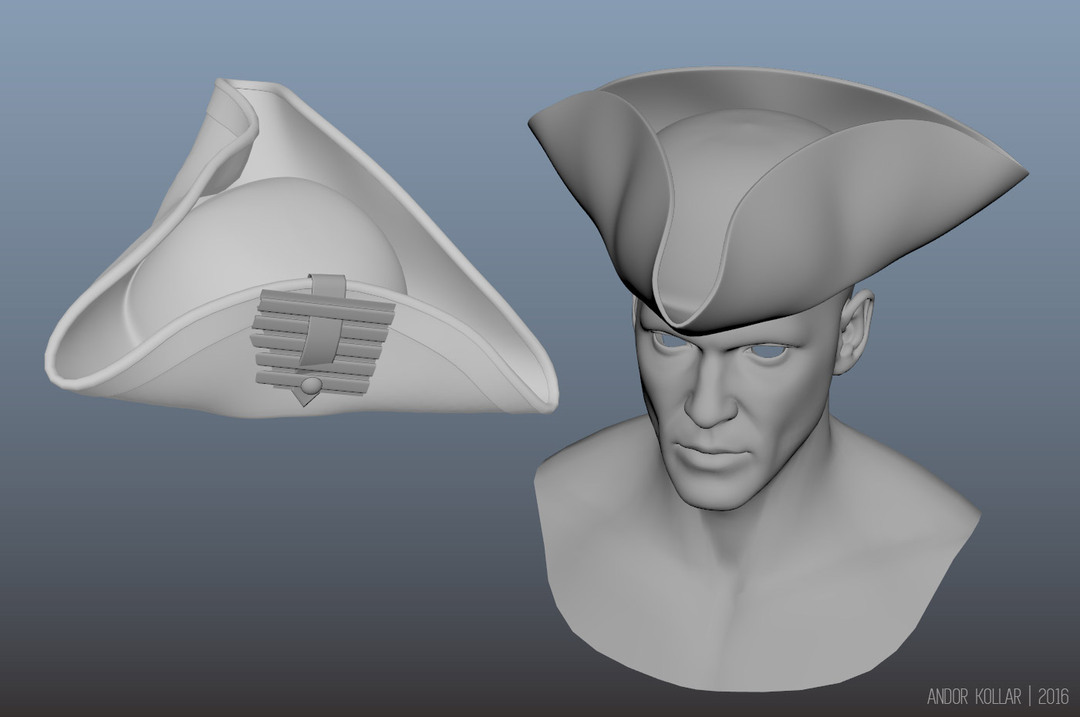
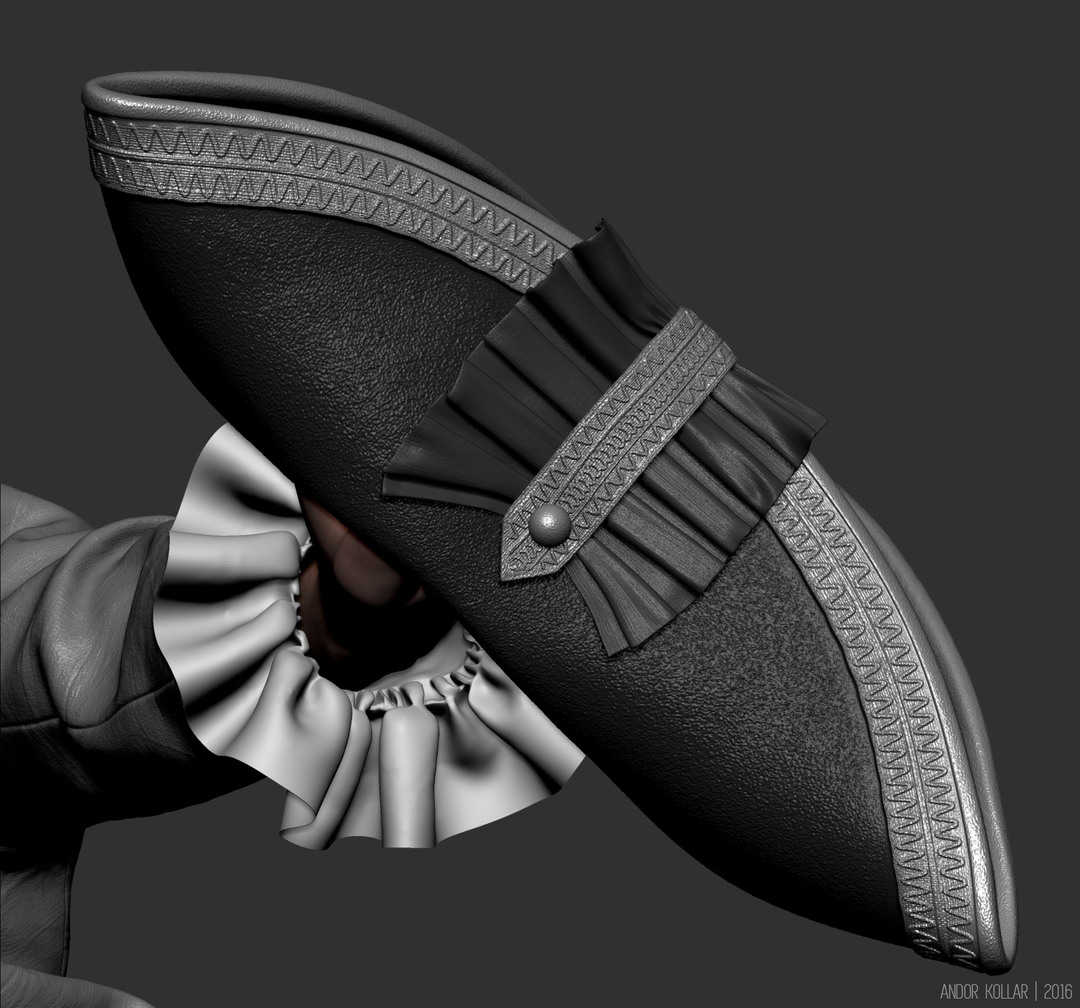
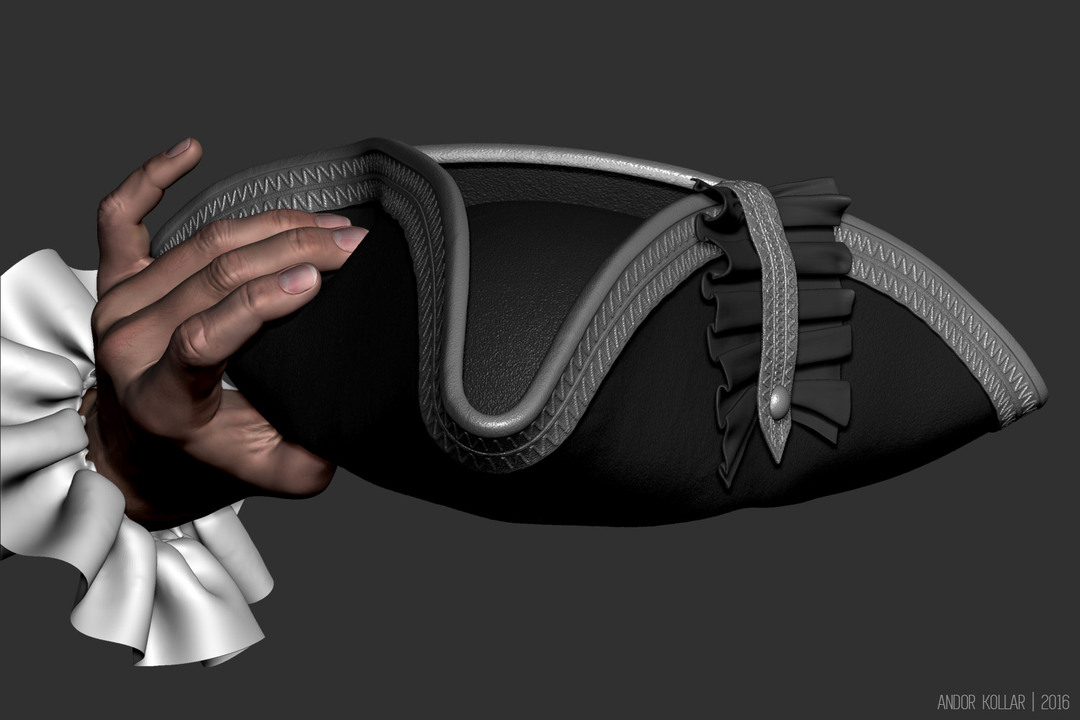
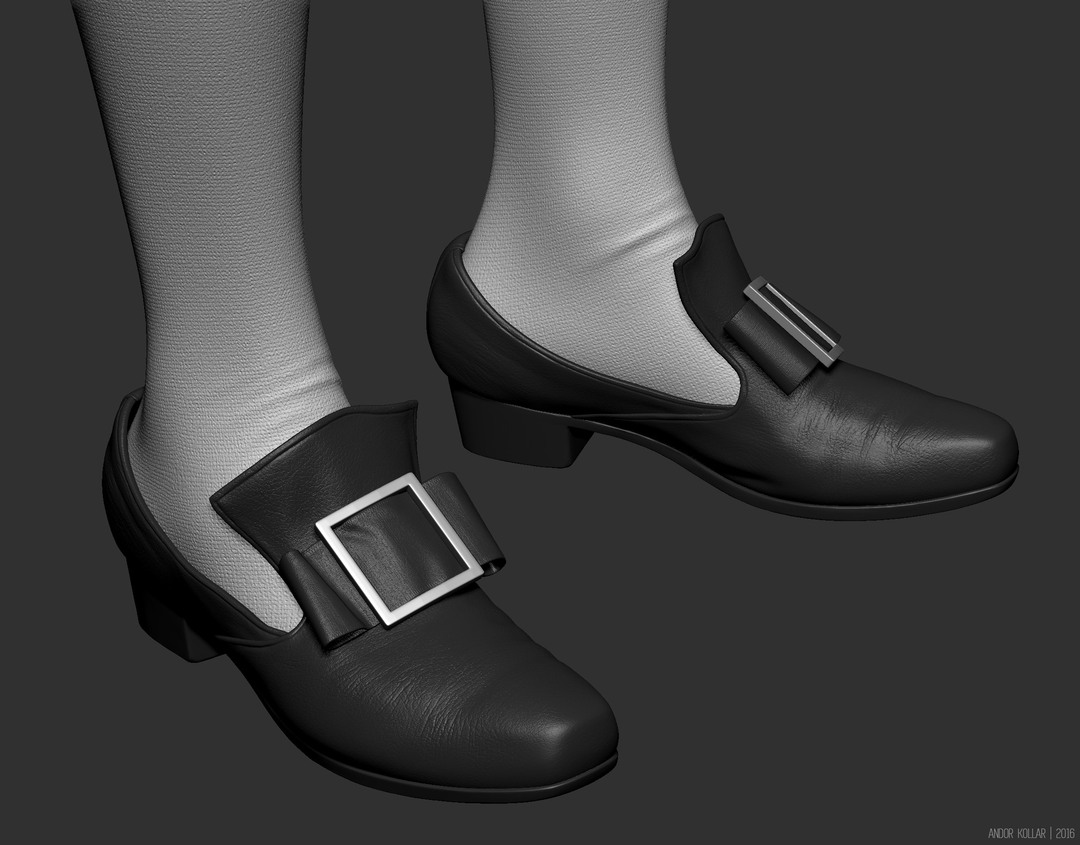
I modelled the 18th century tricorn hat and shoe in Maya the I sculpted the details in ZBrush.
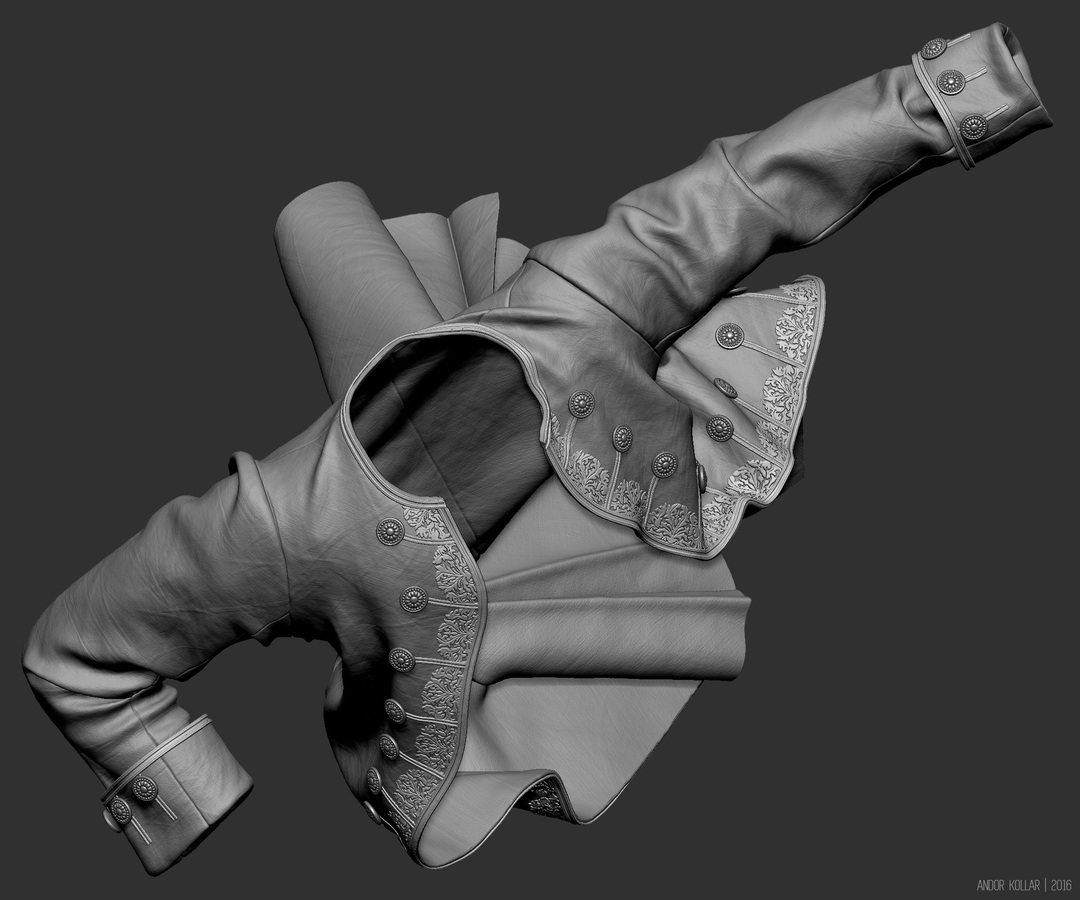
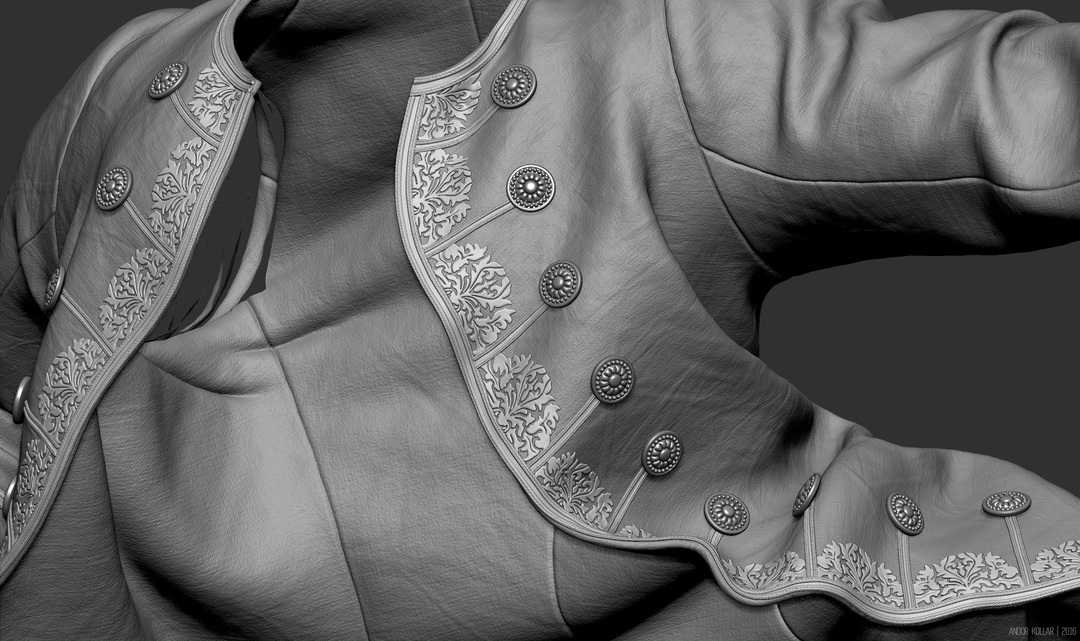
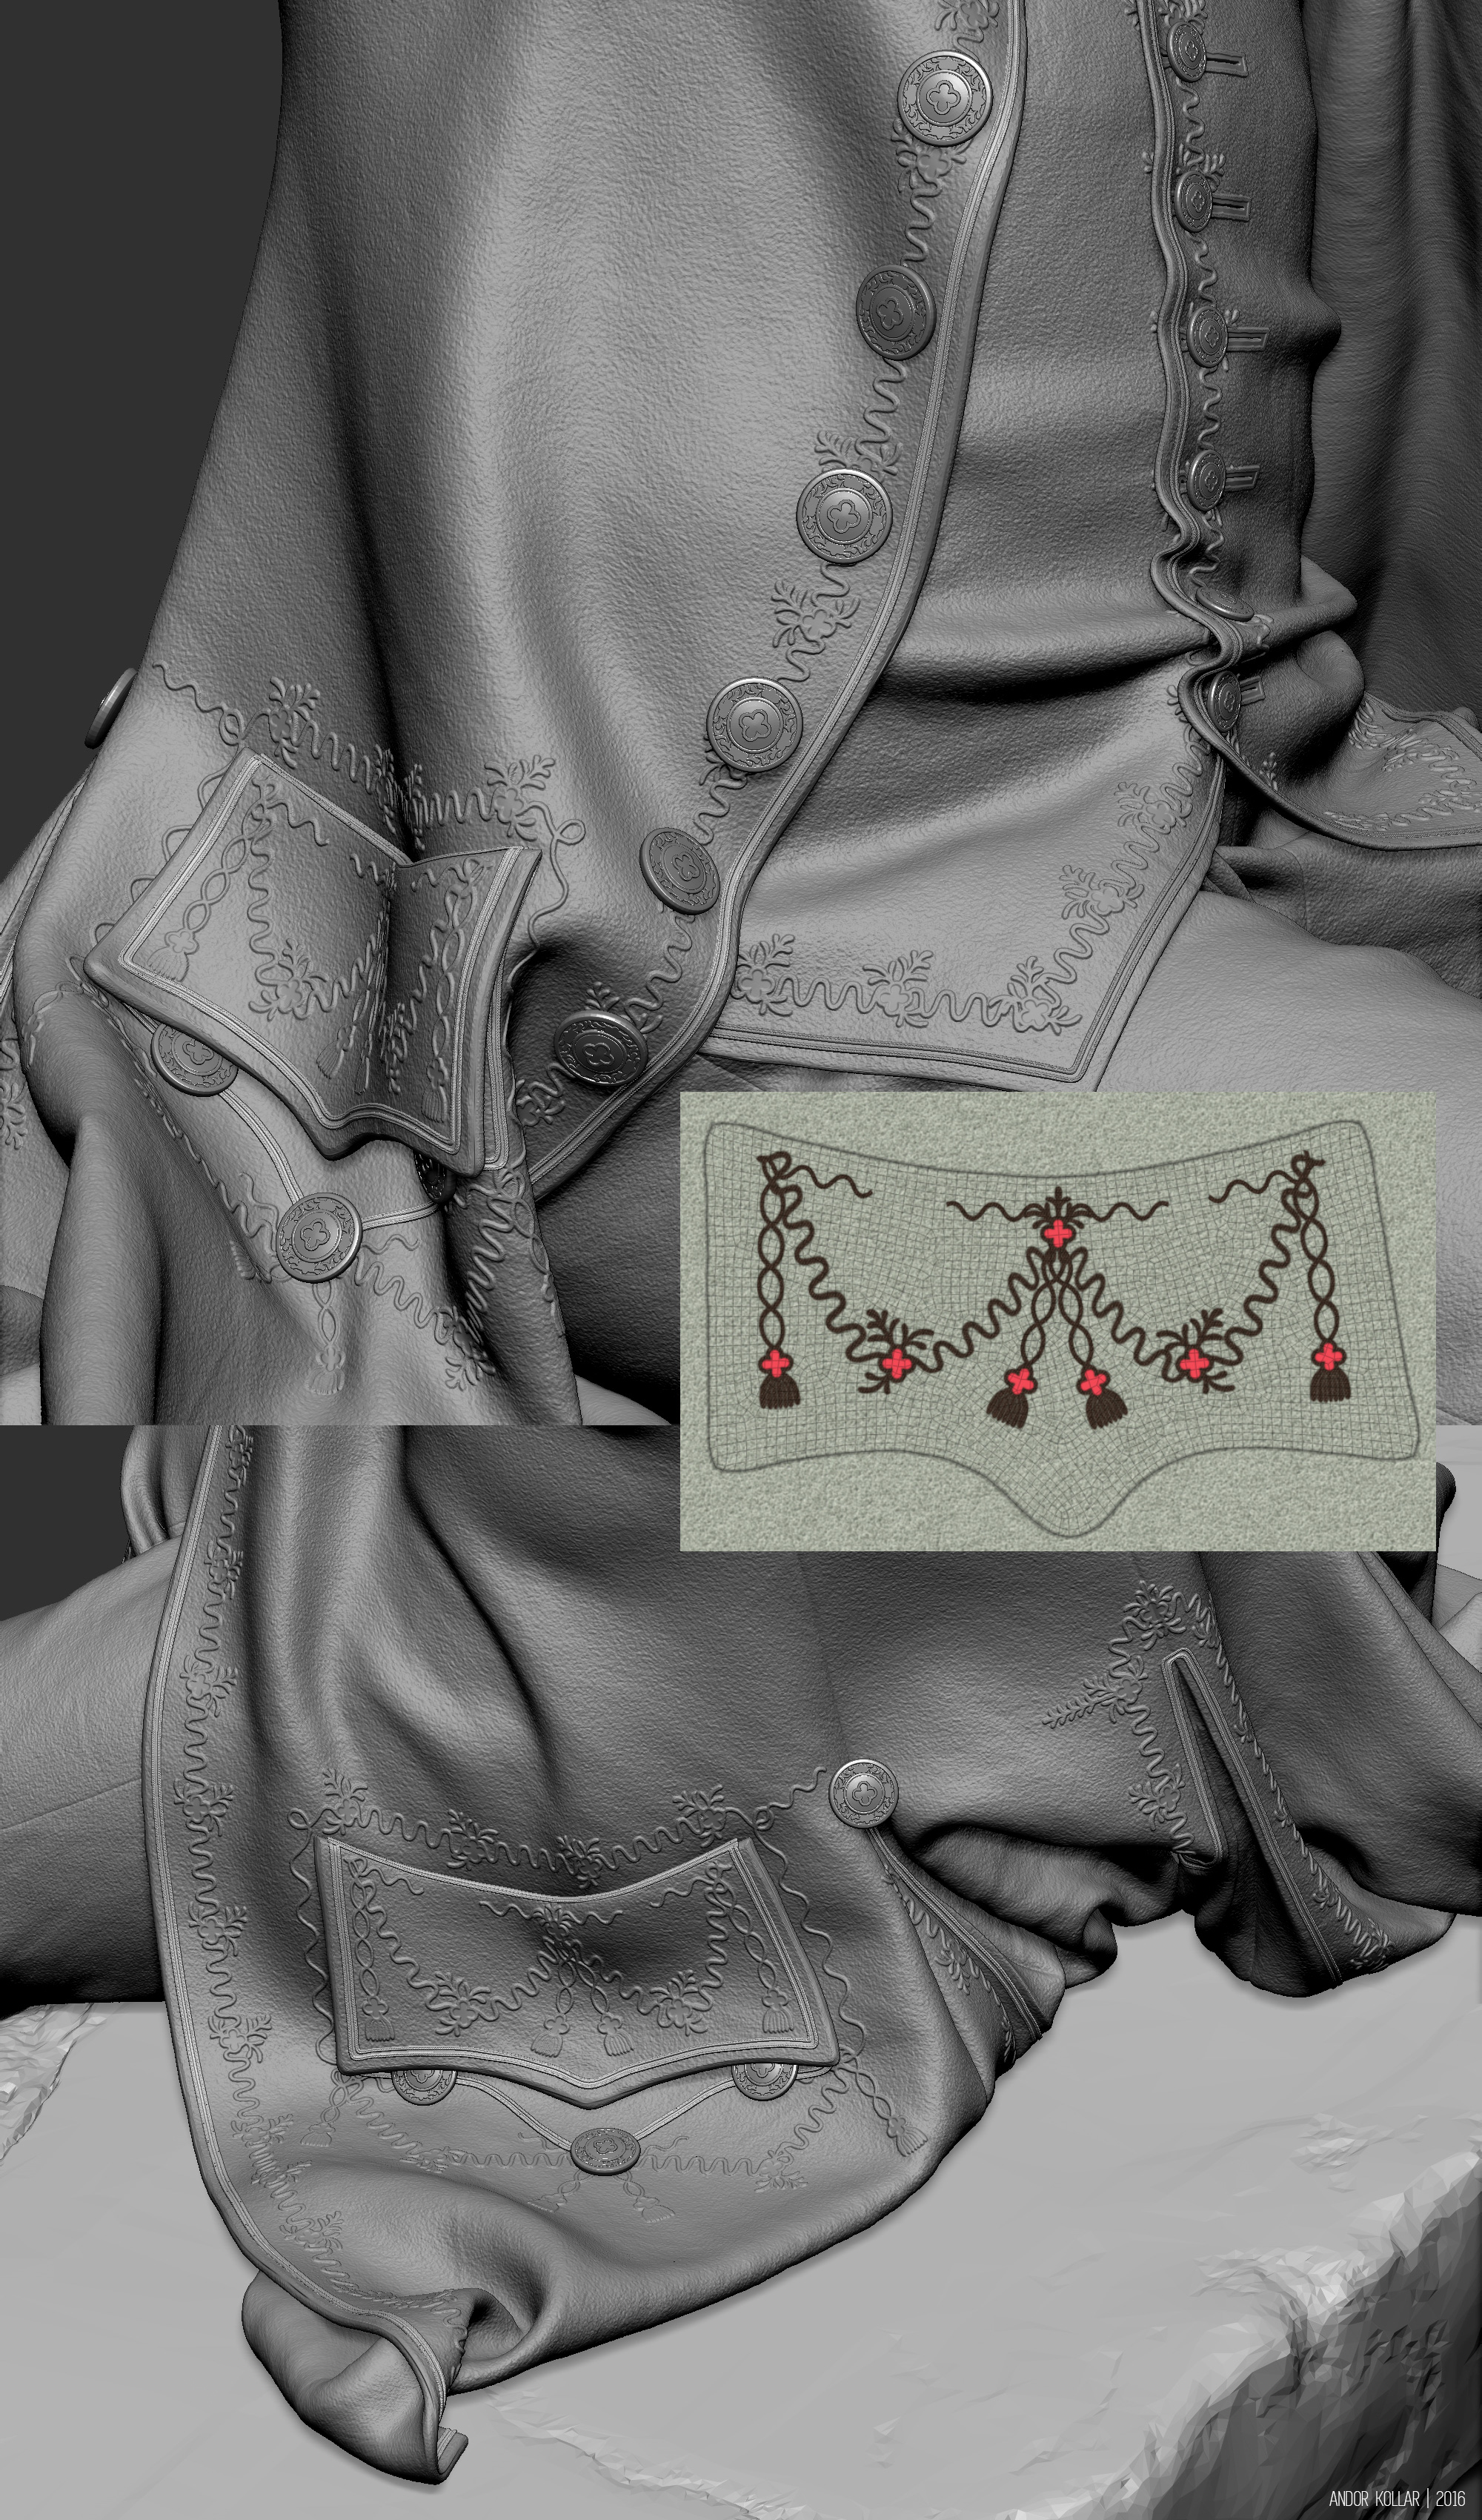
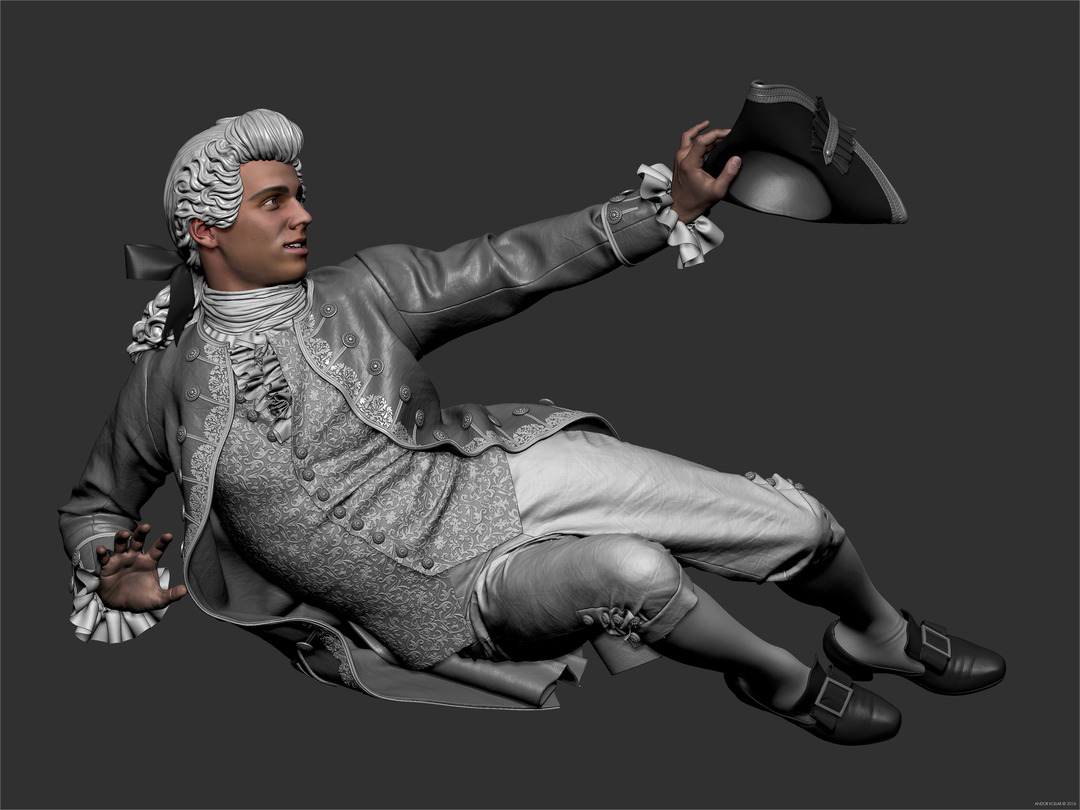
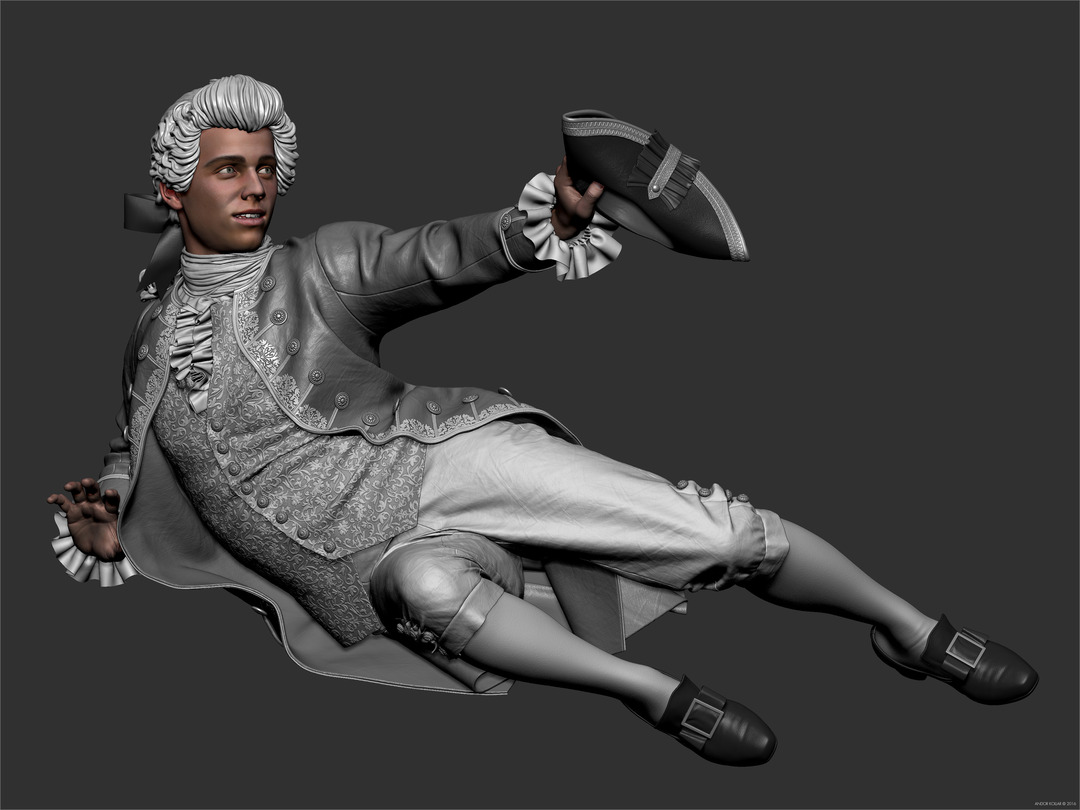
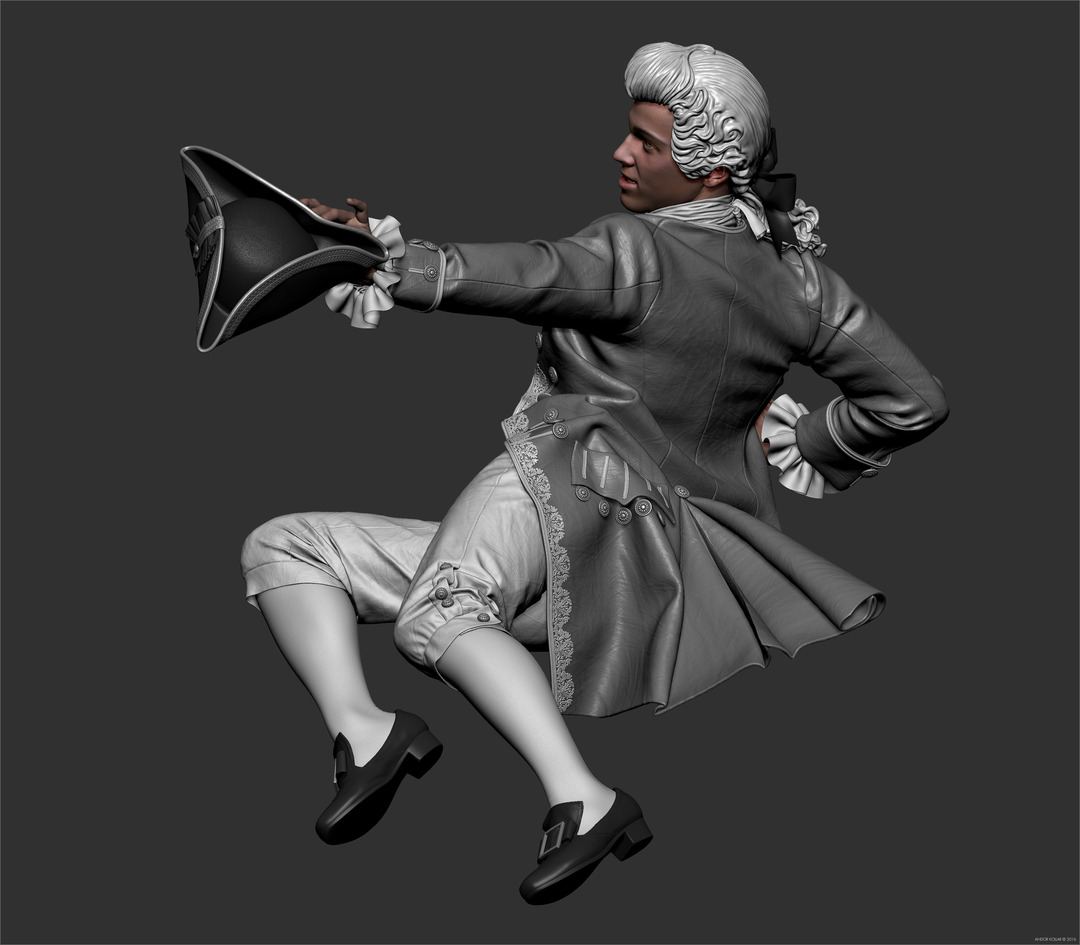
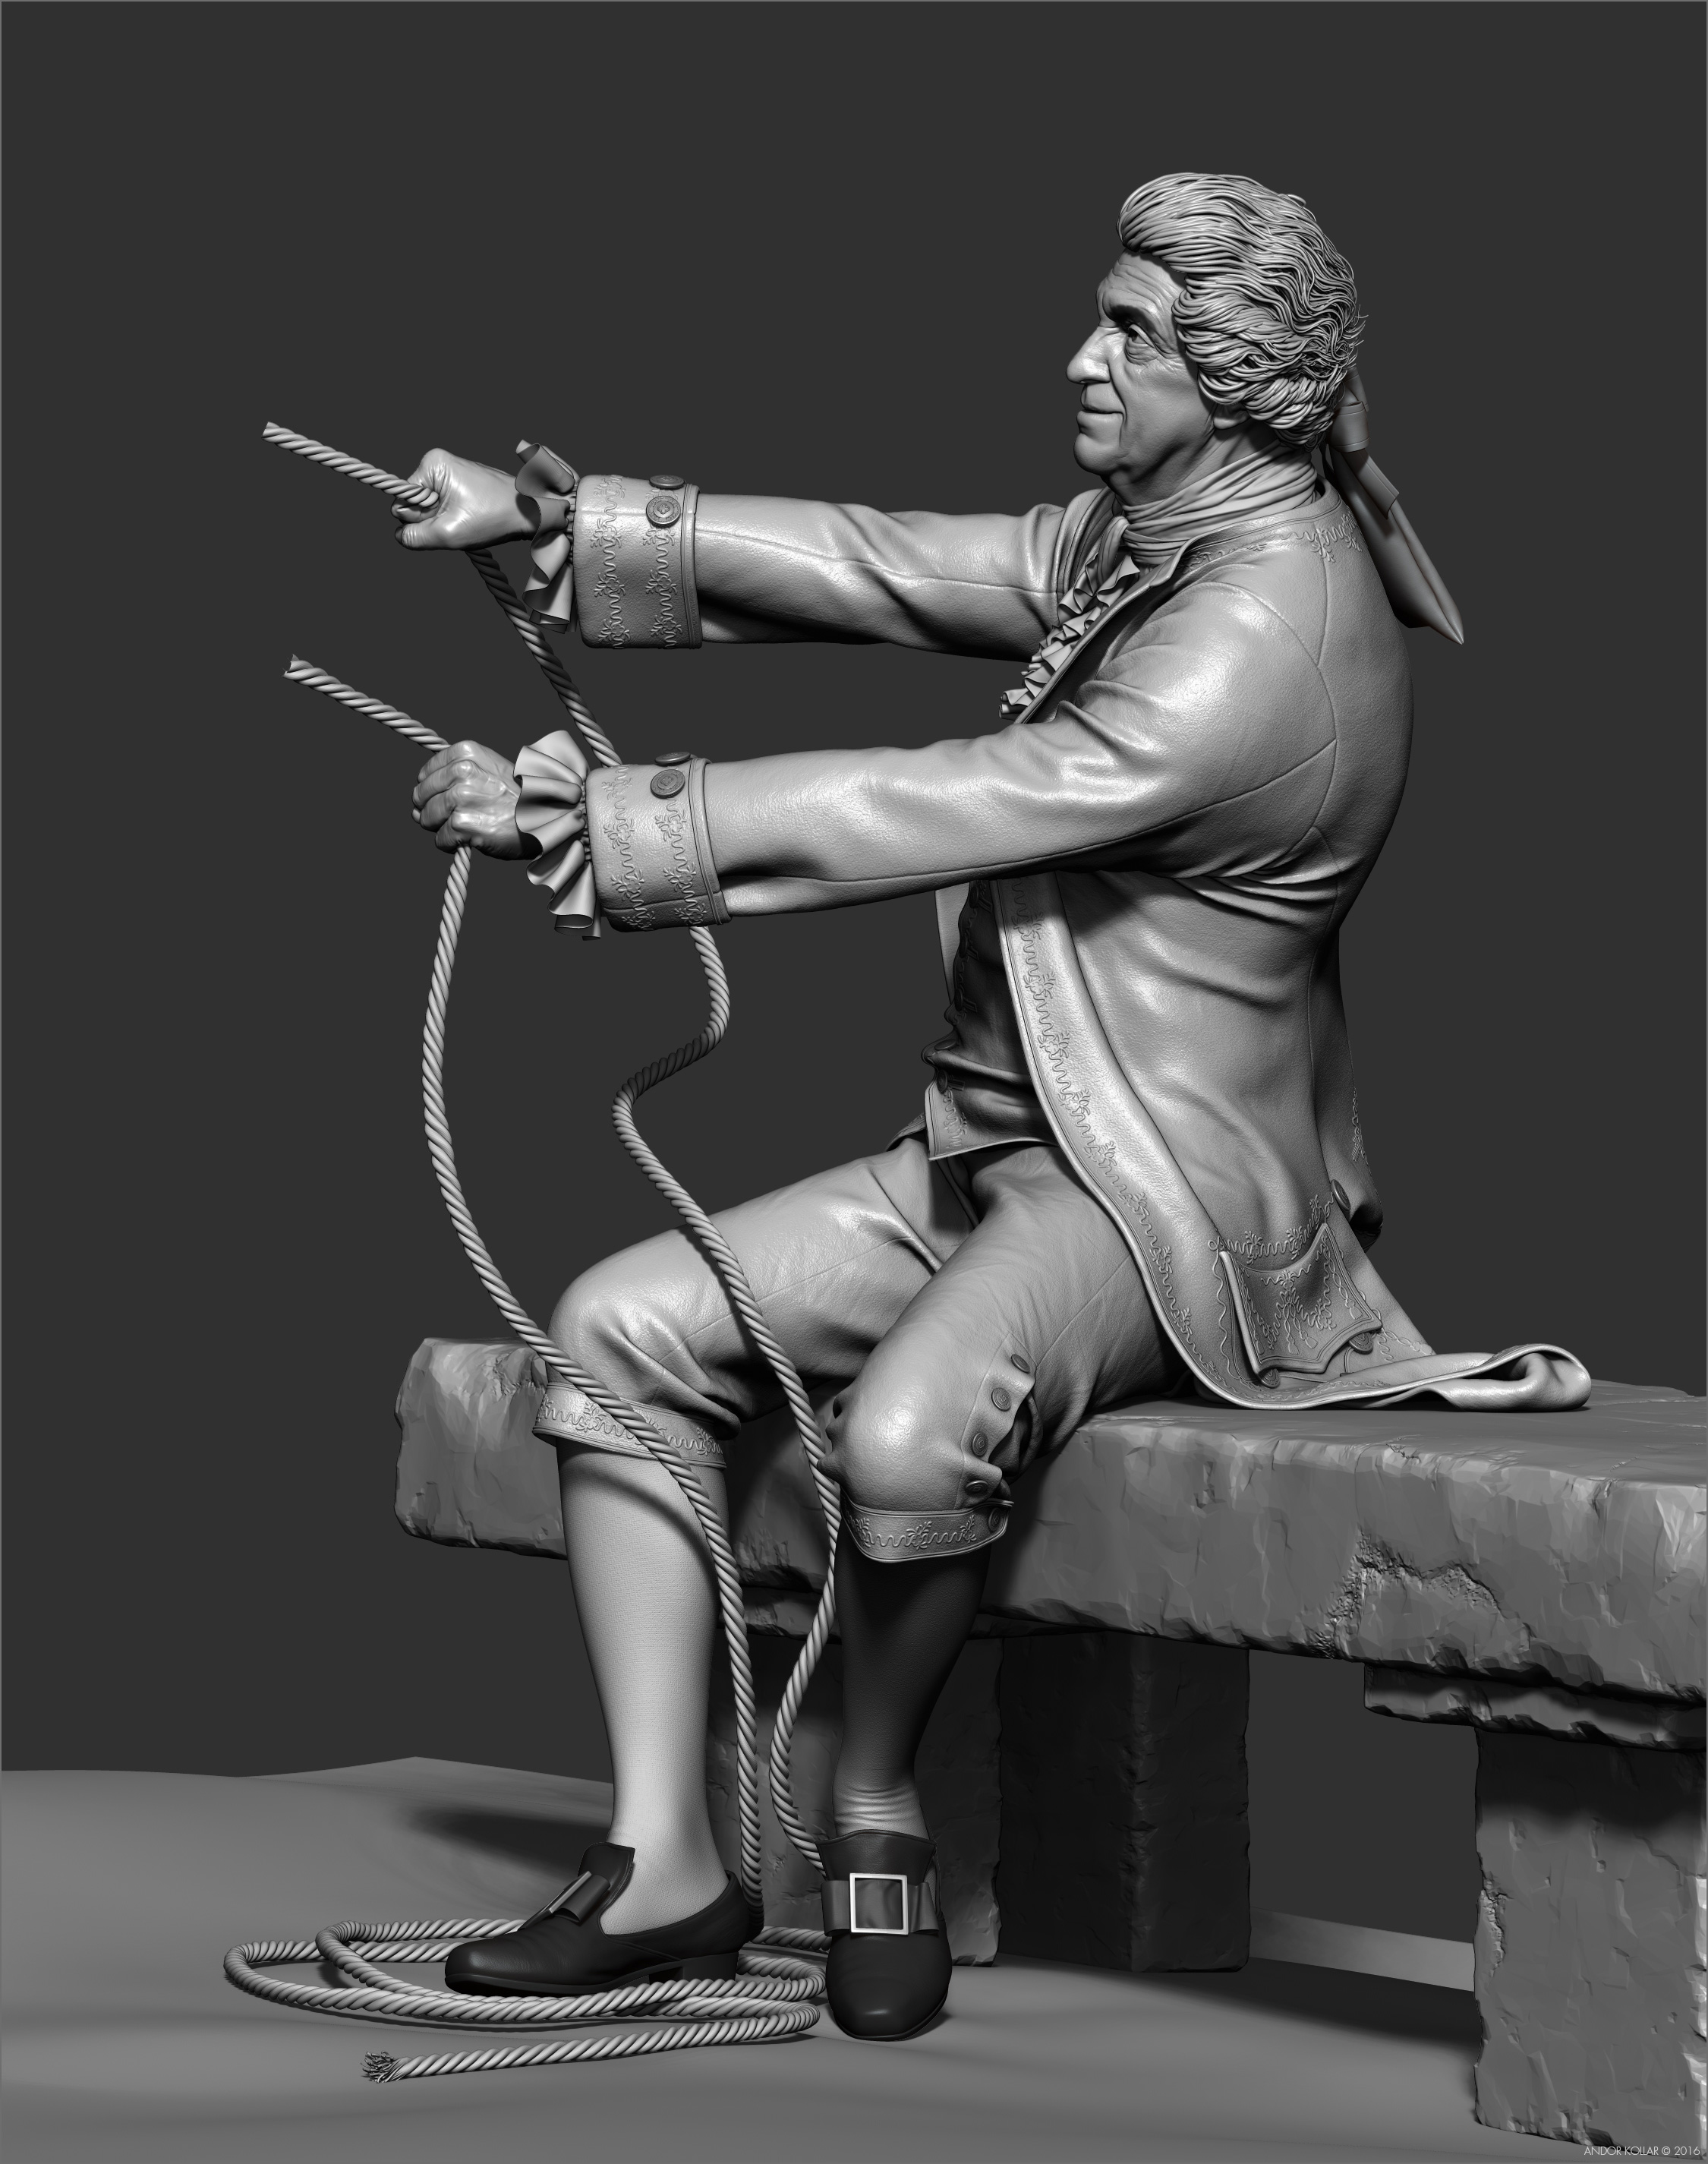
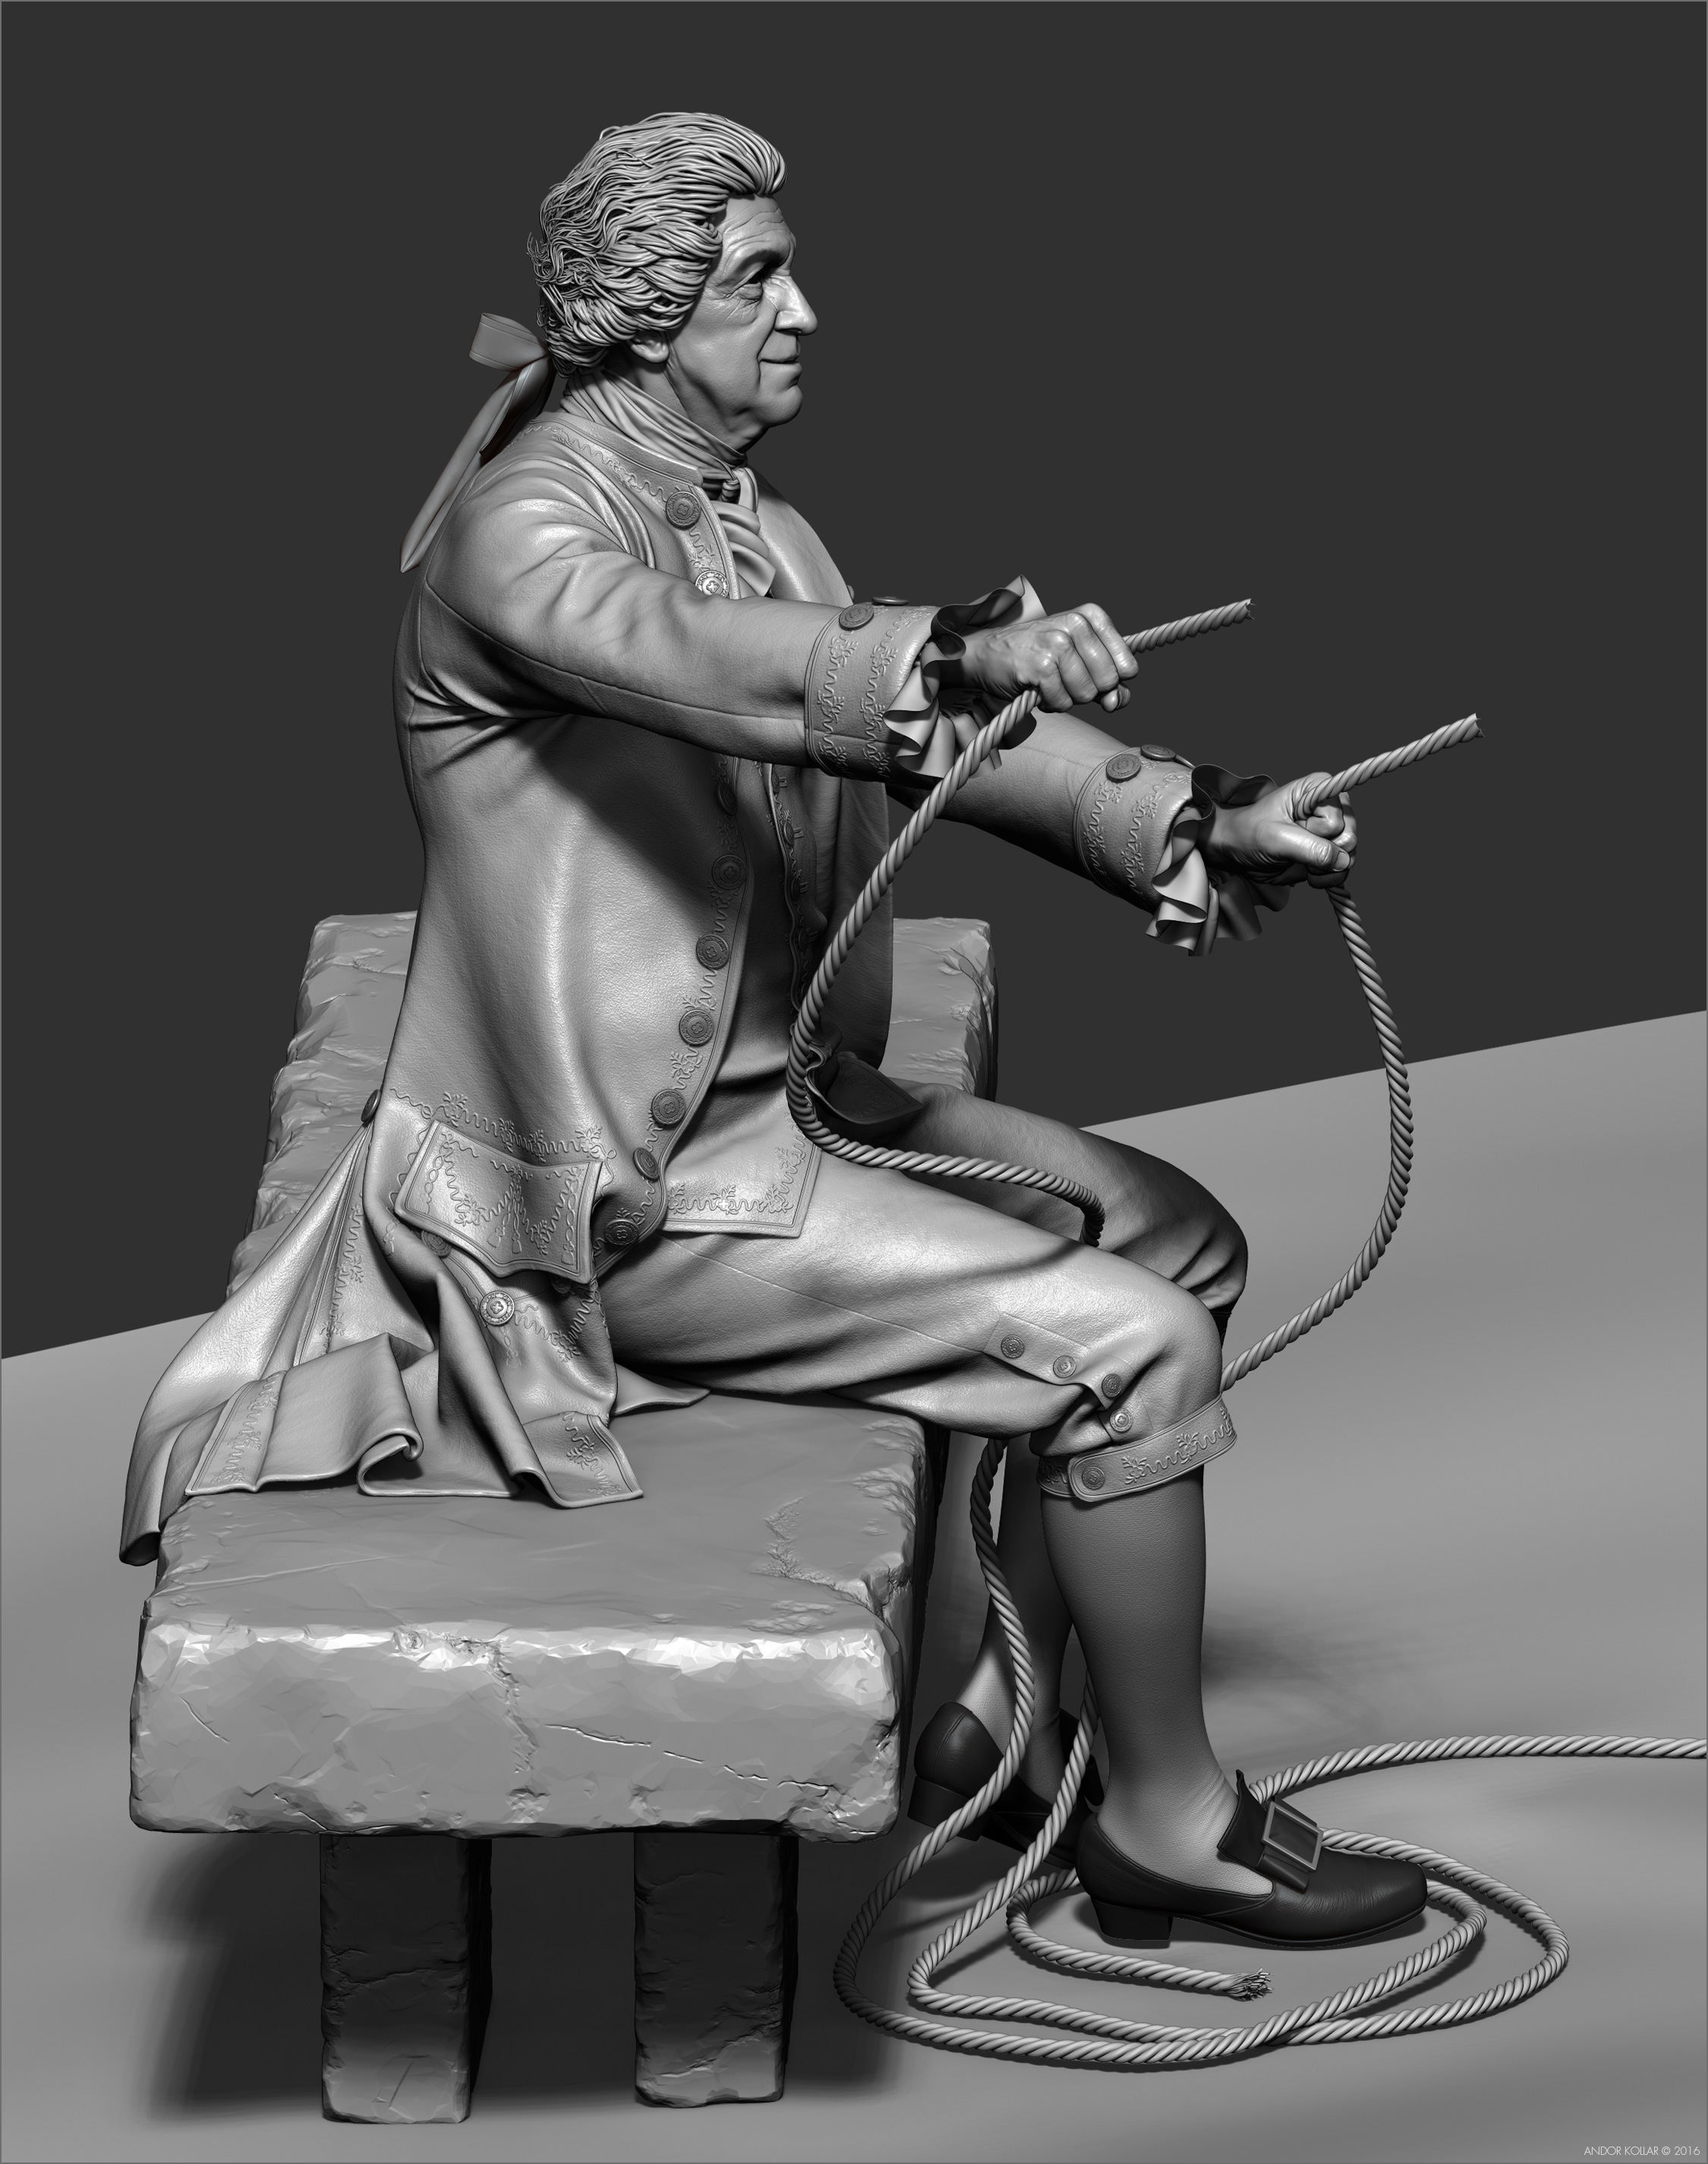
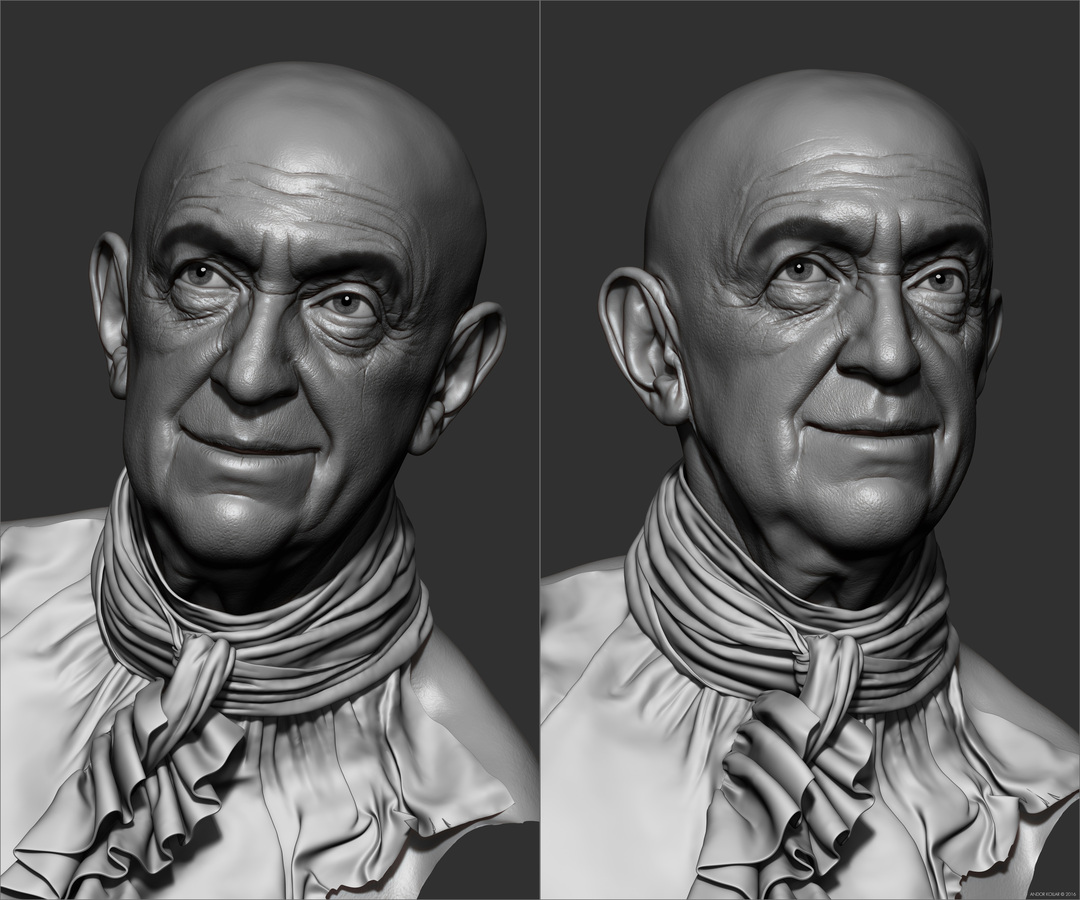
You can see the close-up screenshots from the final costume in ZBrush.
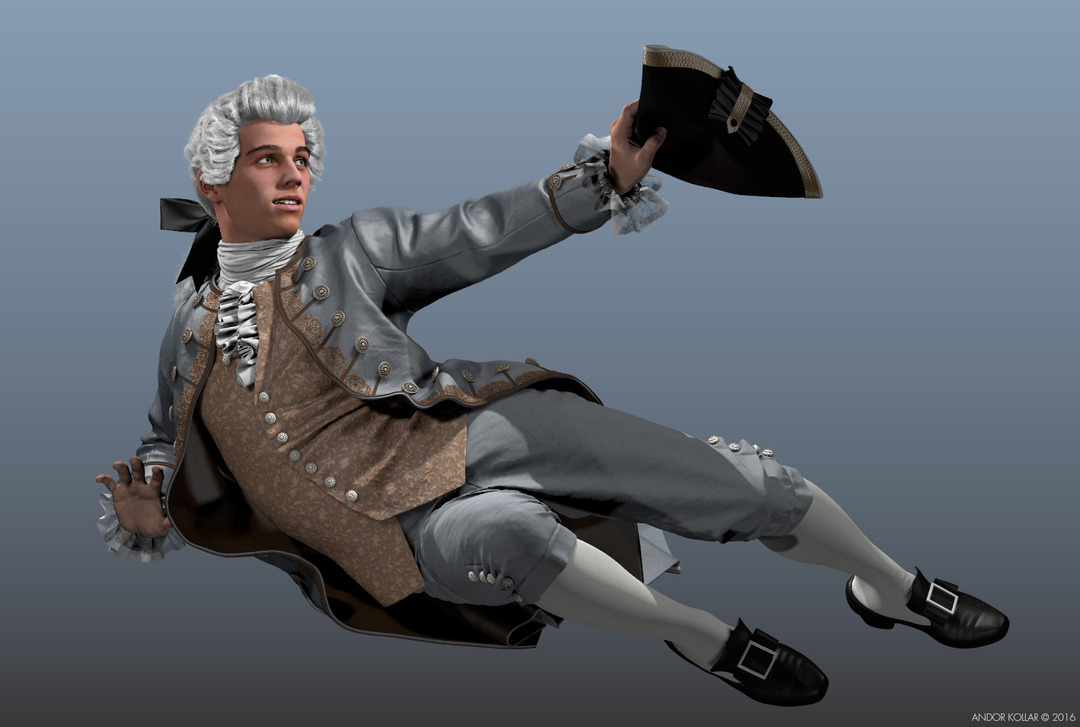
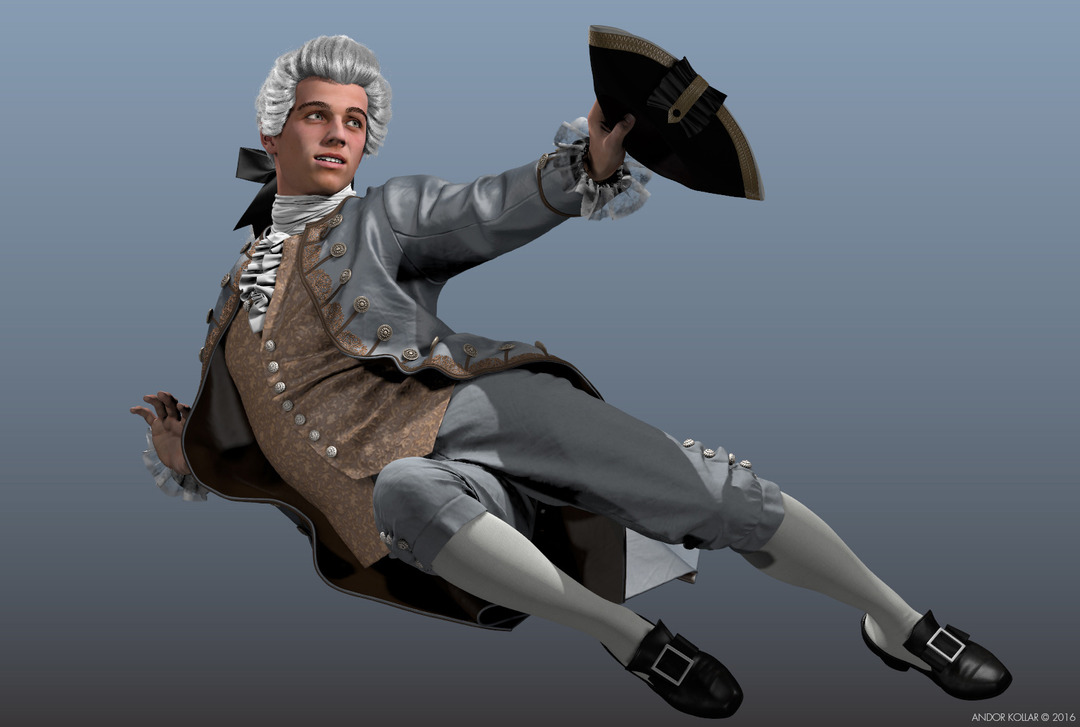
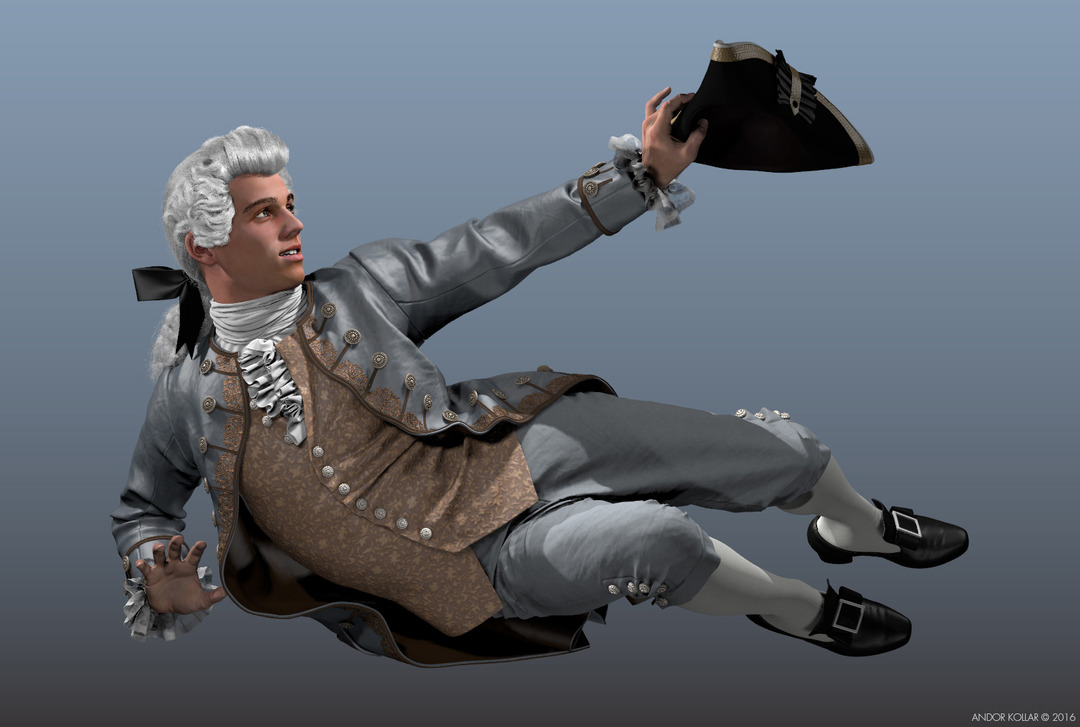
And this is the full costume of the Young Man.
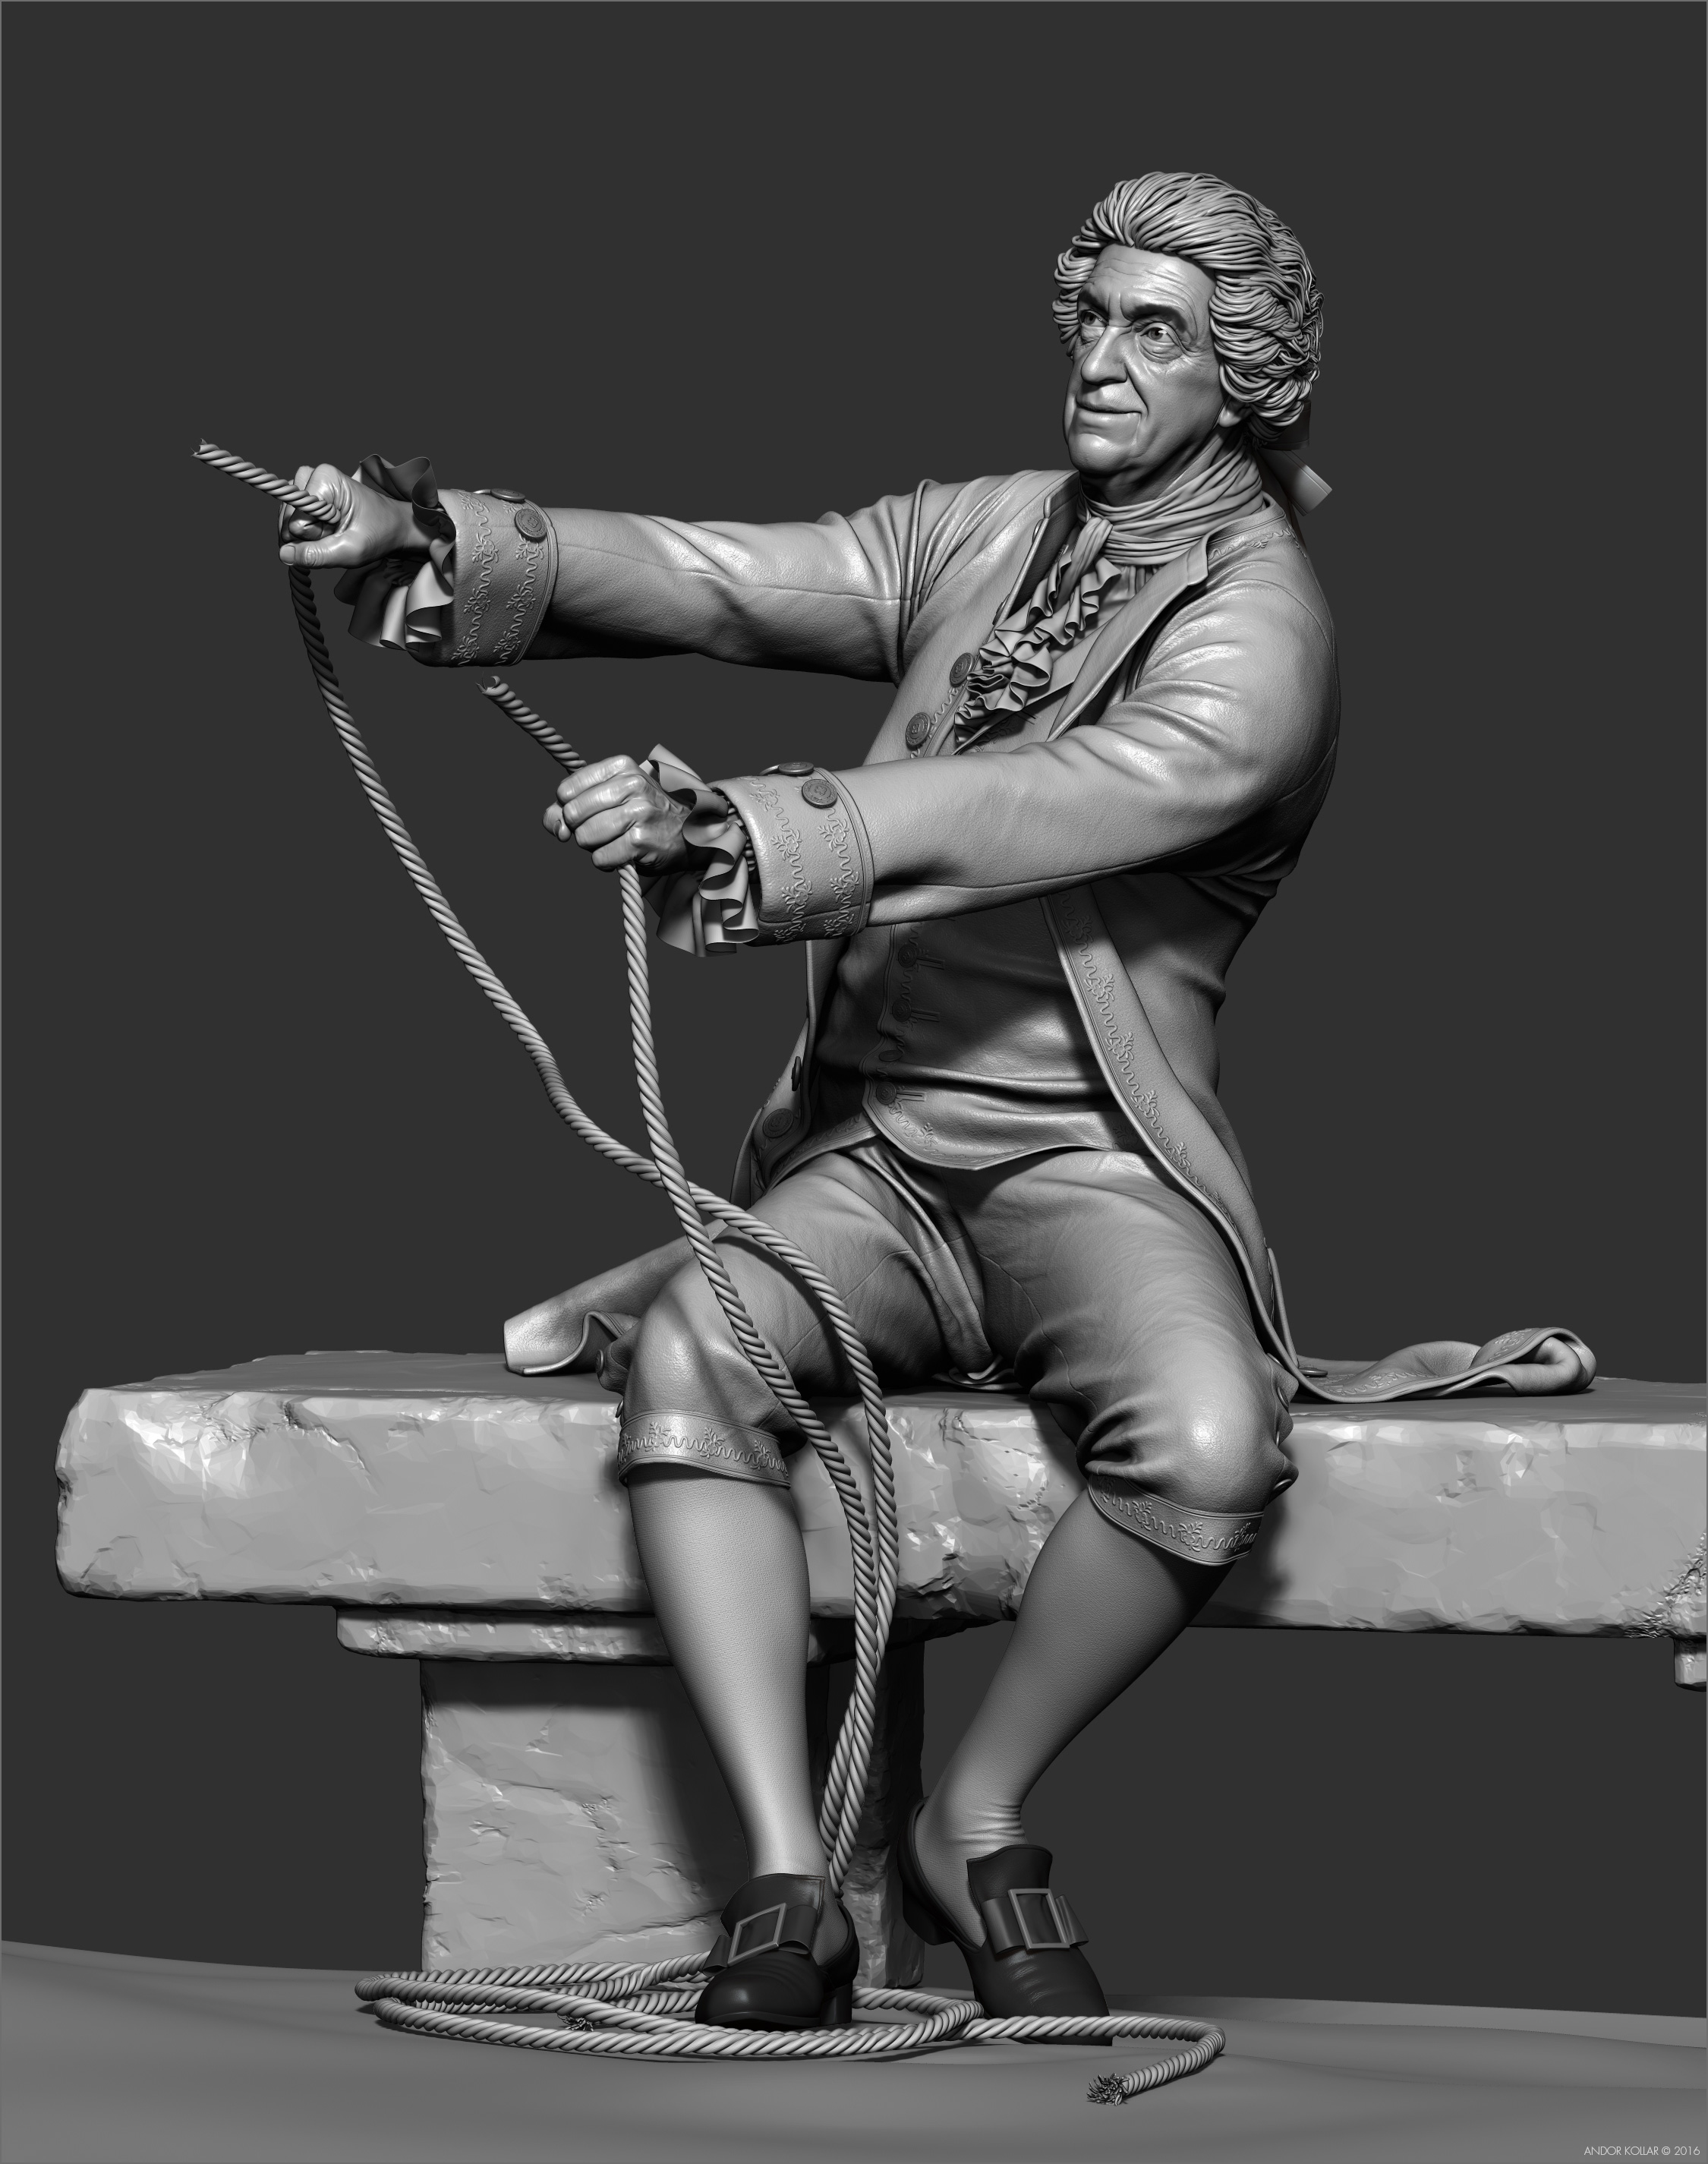
This is the full costume of the Old Man. The base of the dress is same, but the decorations are different.
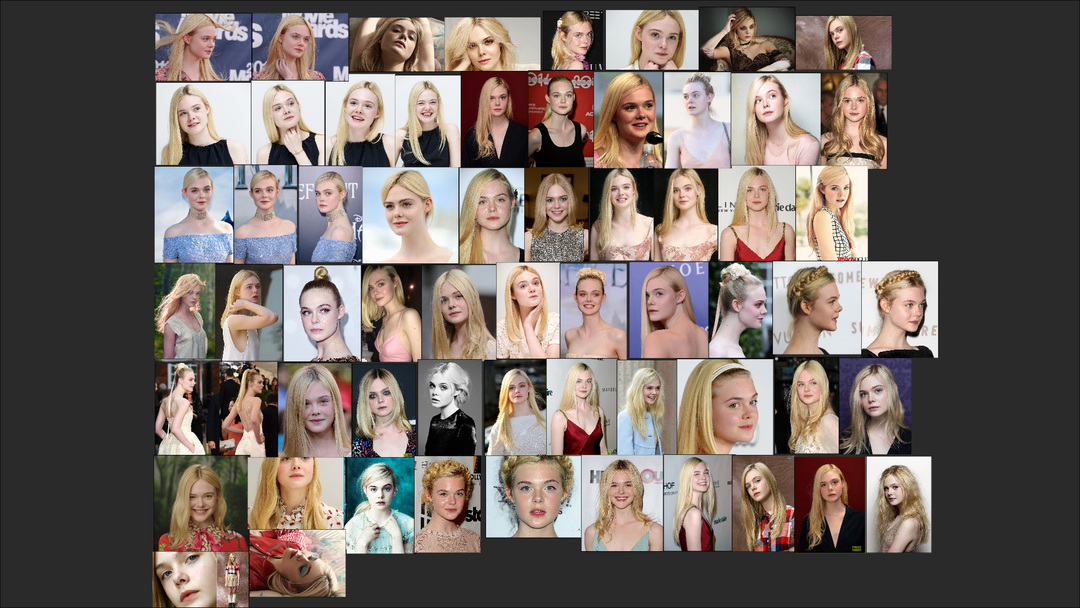
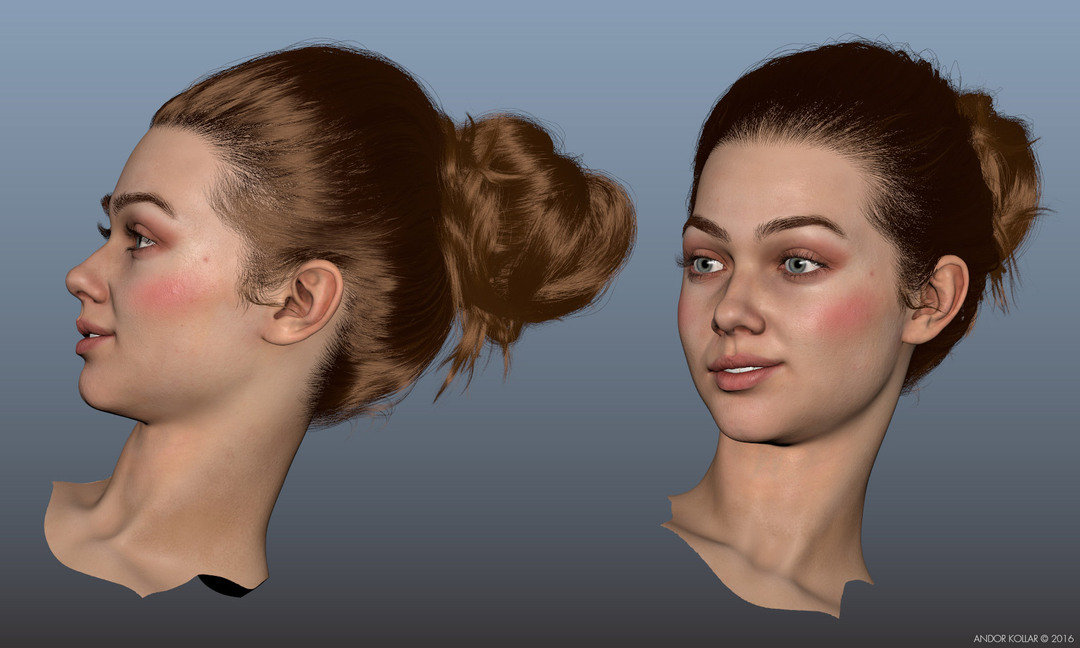
For the Lady I used Elle Fanning’s face as reference.
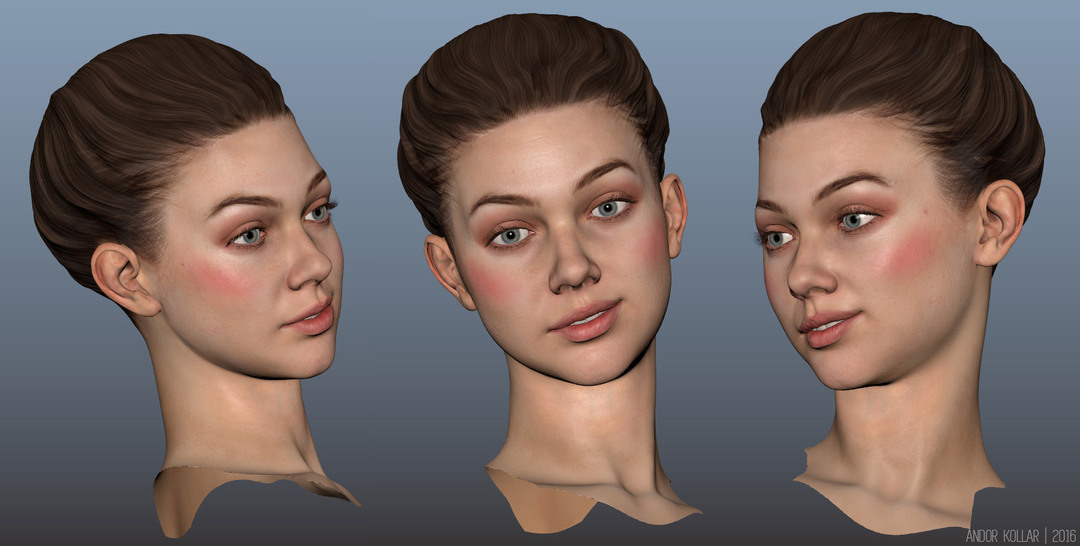
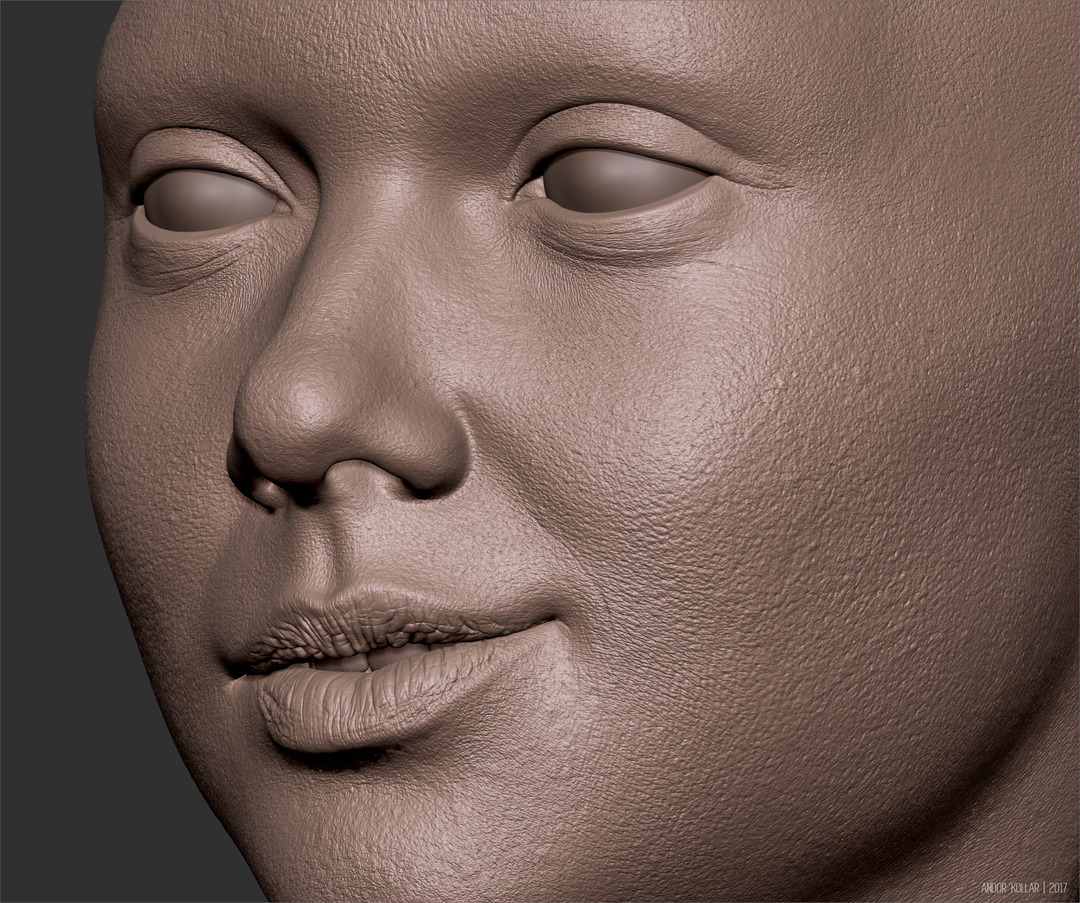
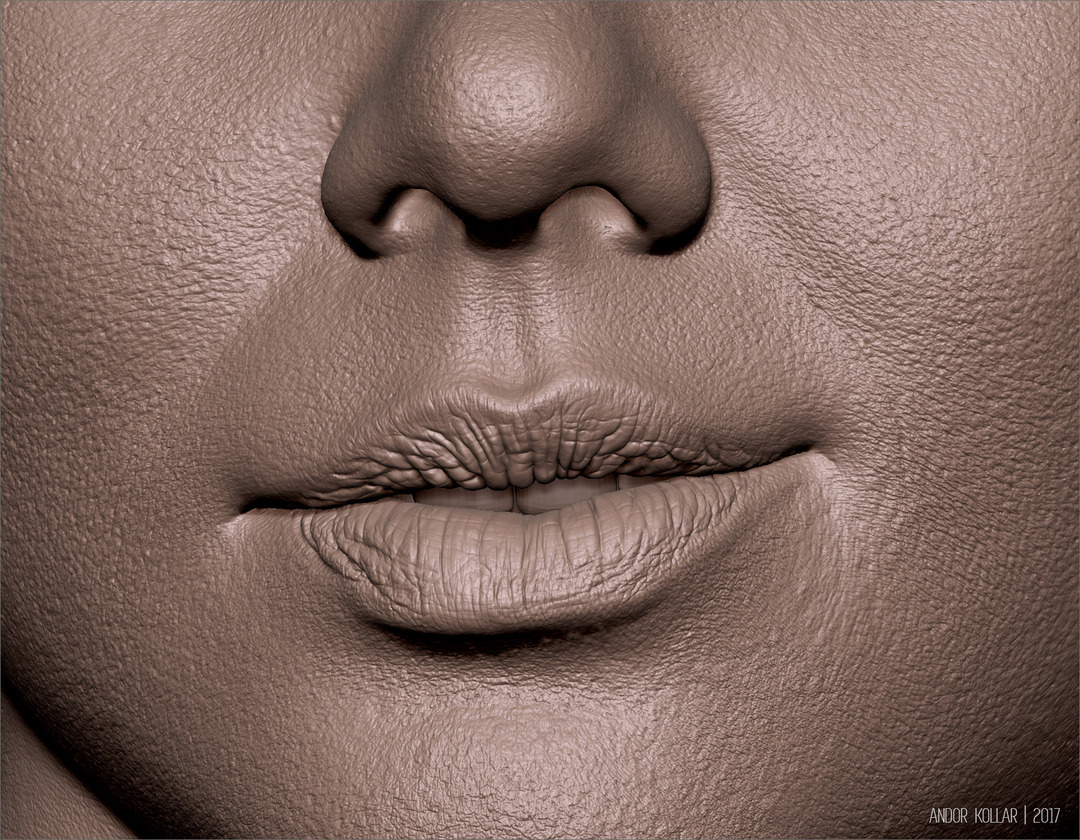
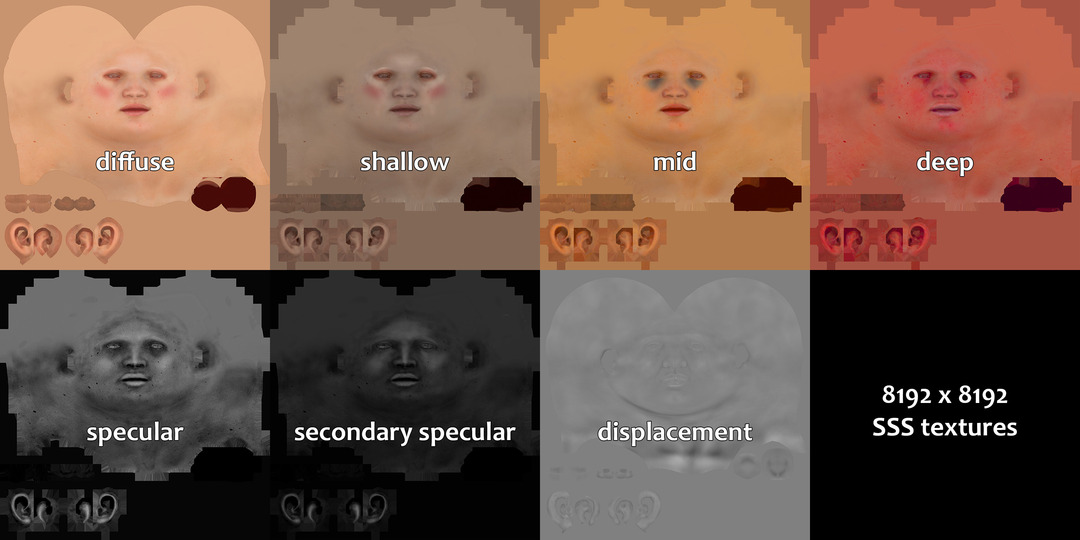
The face details were sculpted in ZBrush and I painted the high resolution SSS textures in Photoshop and in Mari. I focused on the close-up details and I used Texturing.xyz skin textures. I applied nude makeup for the Lady.
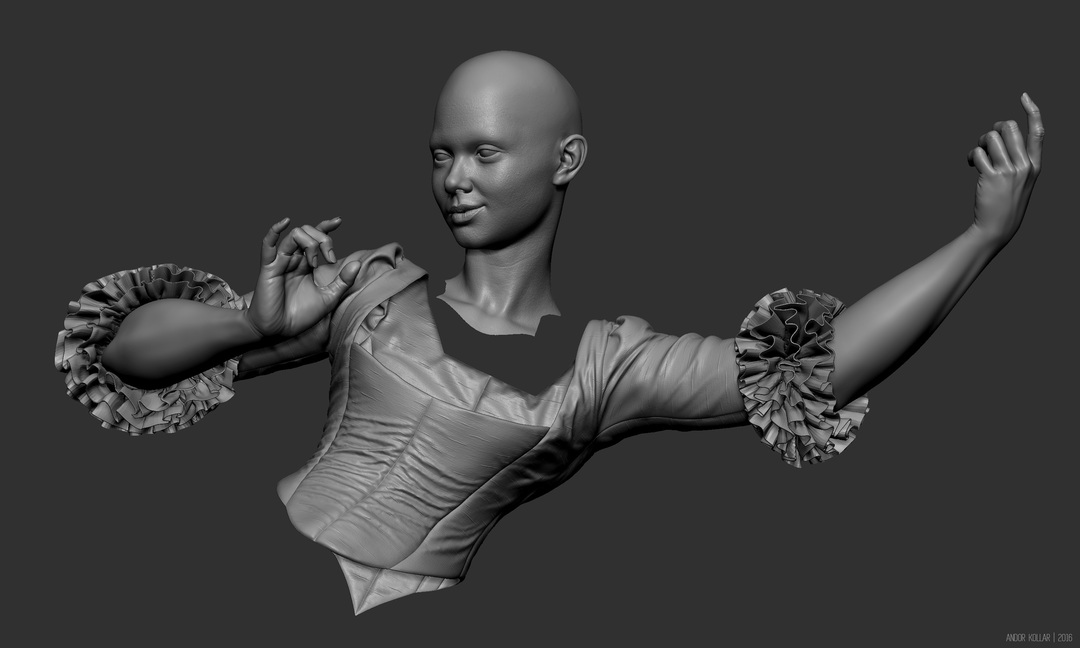
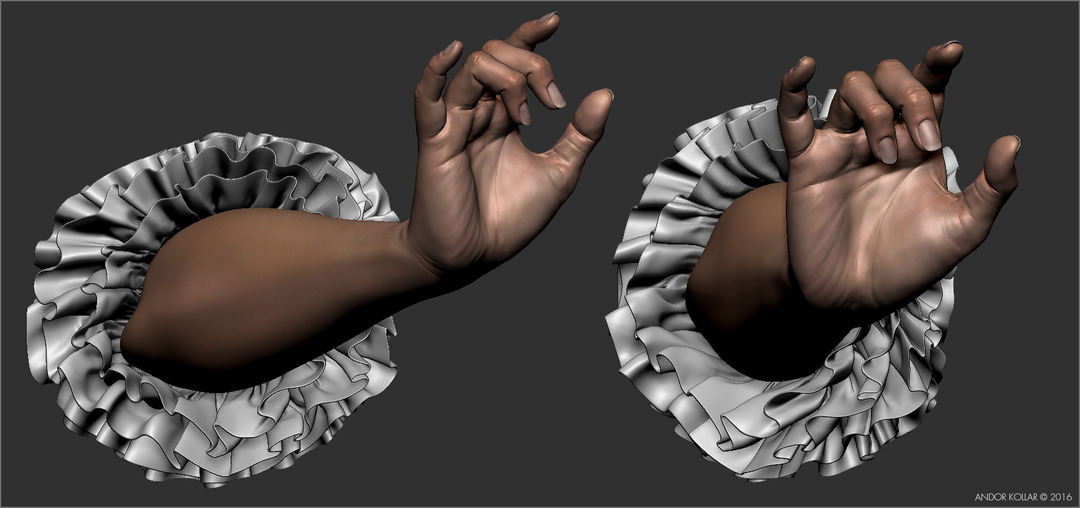
I have a female arm model, so I rigged and I posed the hand to the position then I sculpted the additional skin wrinkles. I simulated the layered ruffles in Marvelous Designer. I also add silk pattern to the dress with NoiseMaker.
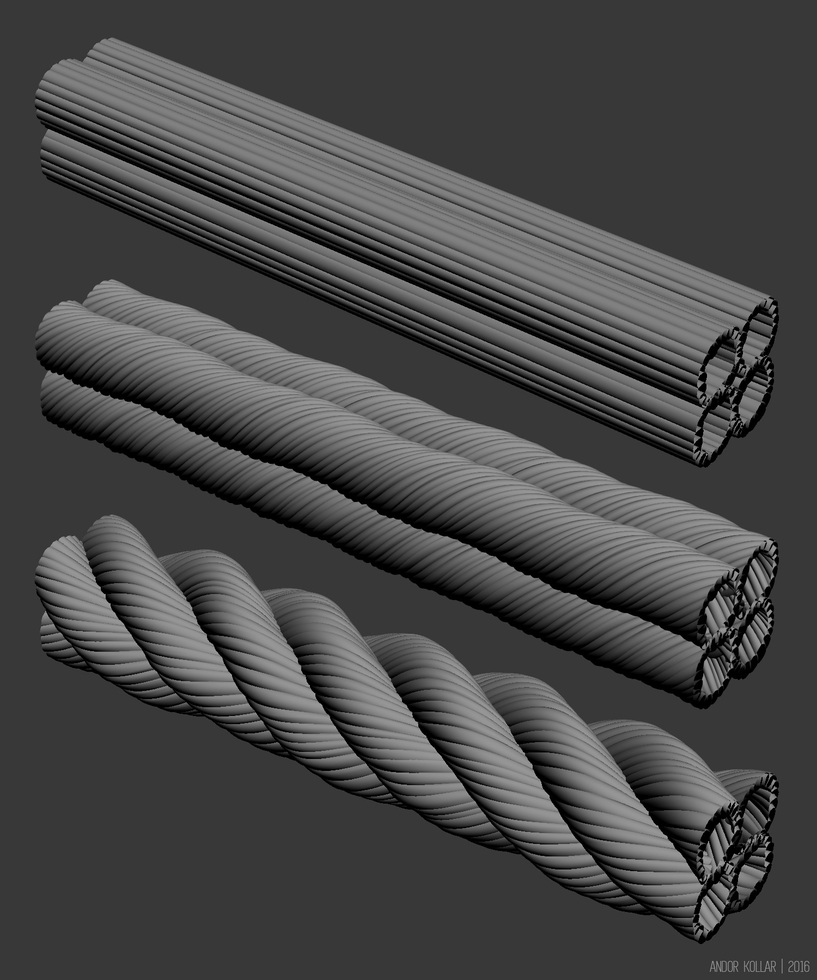
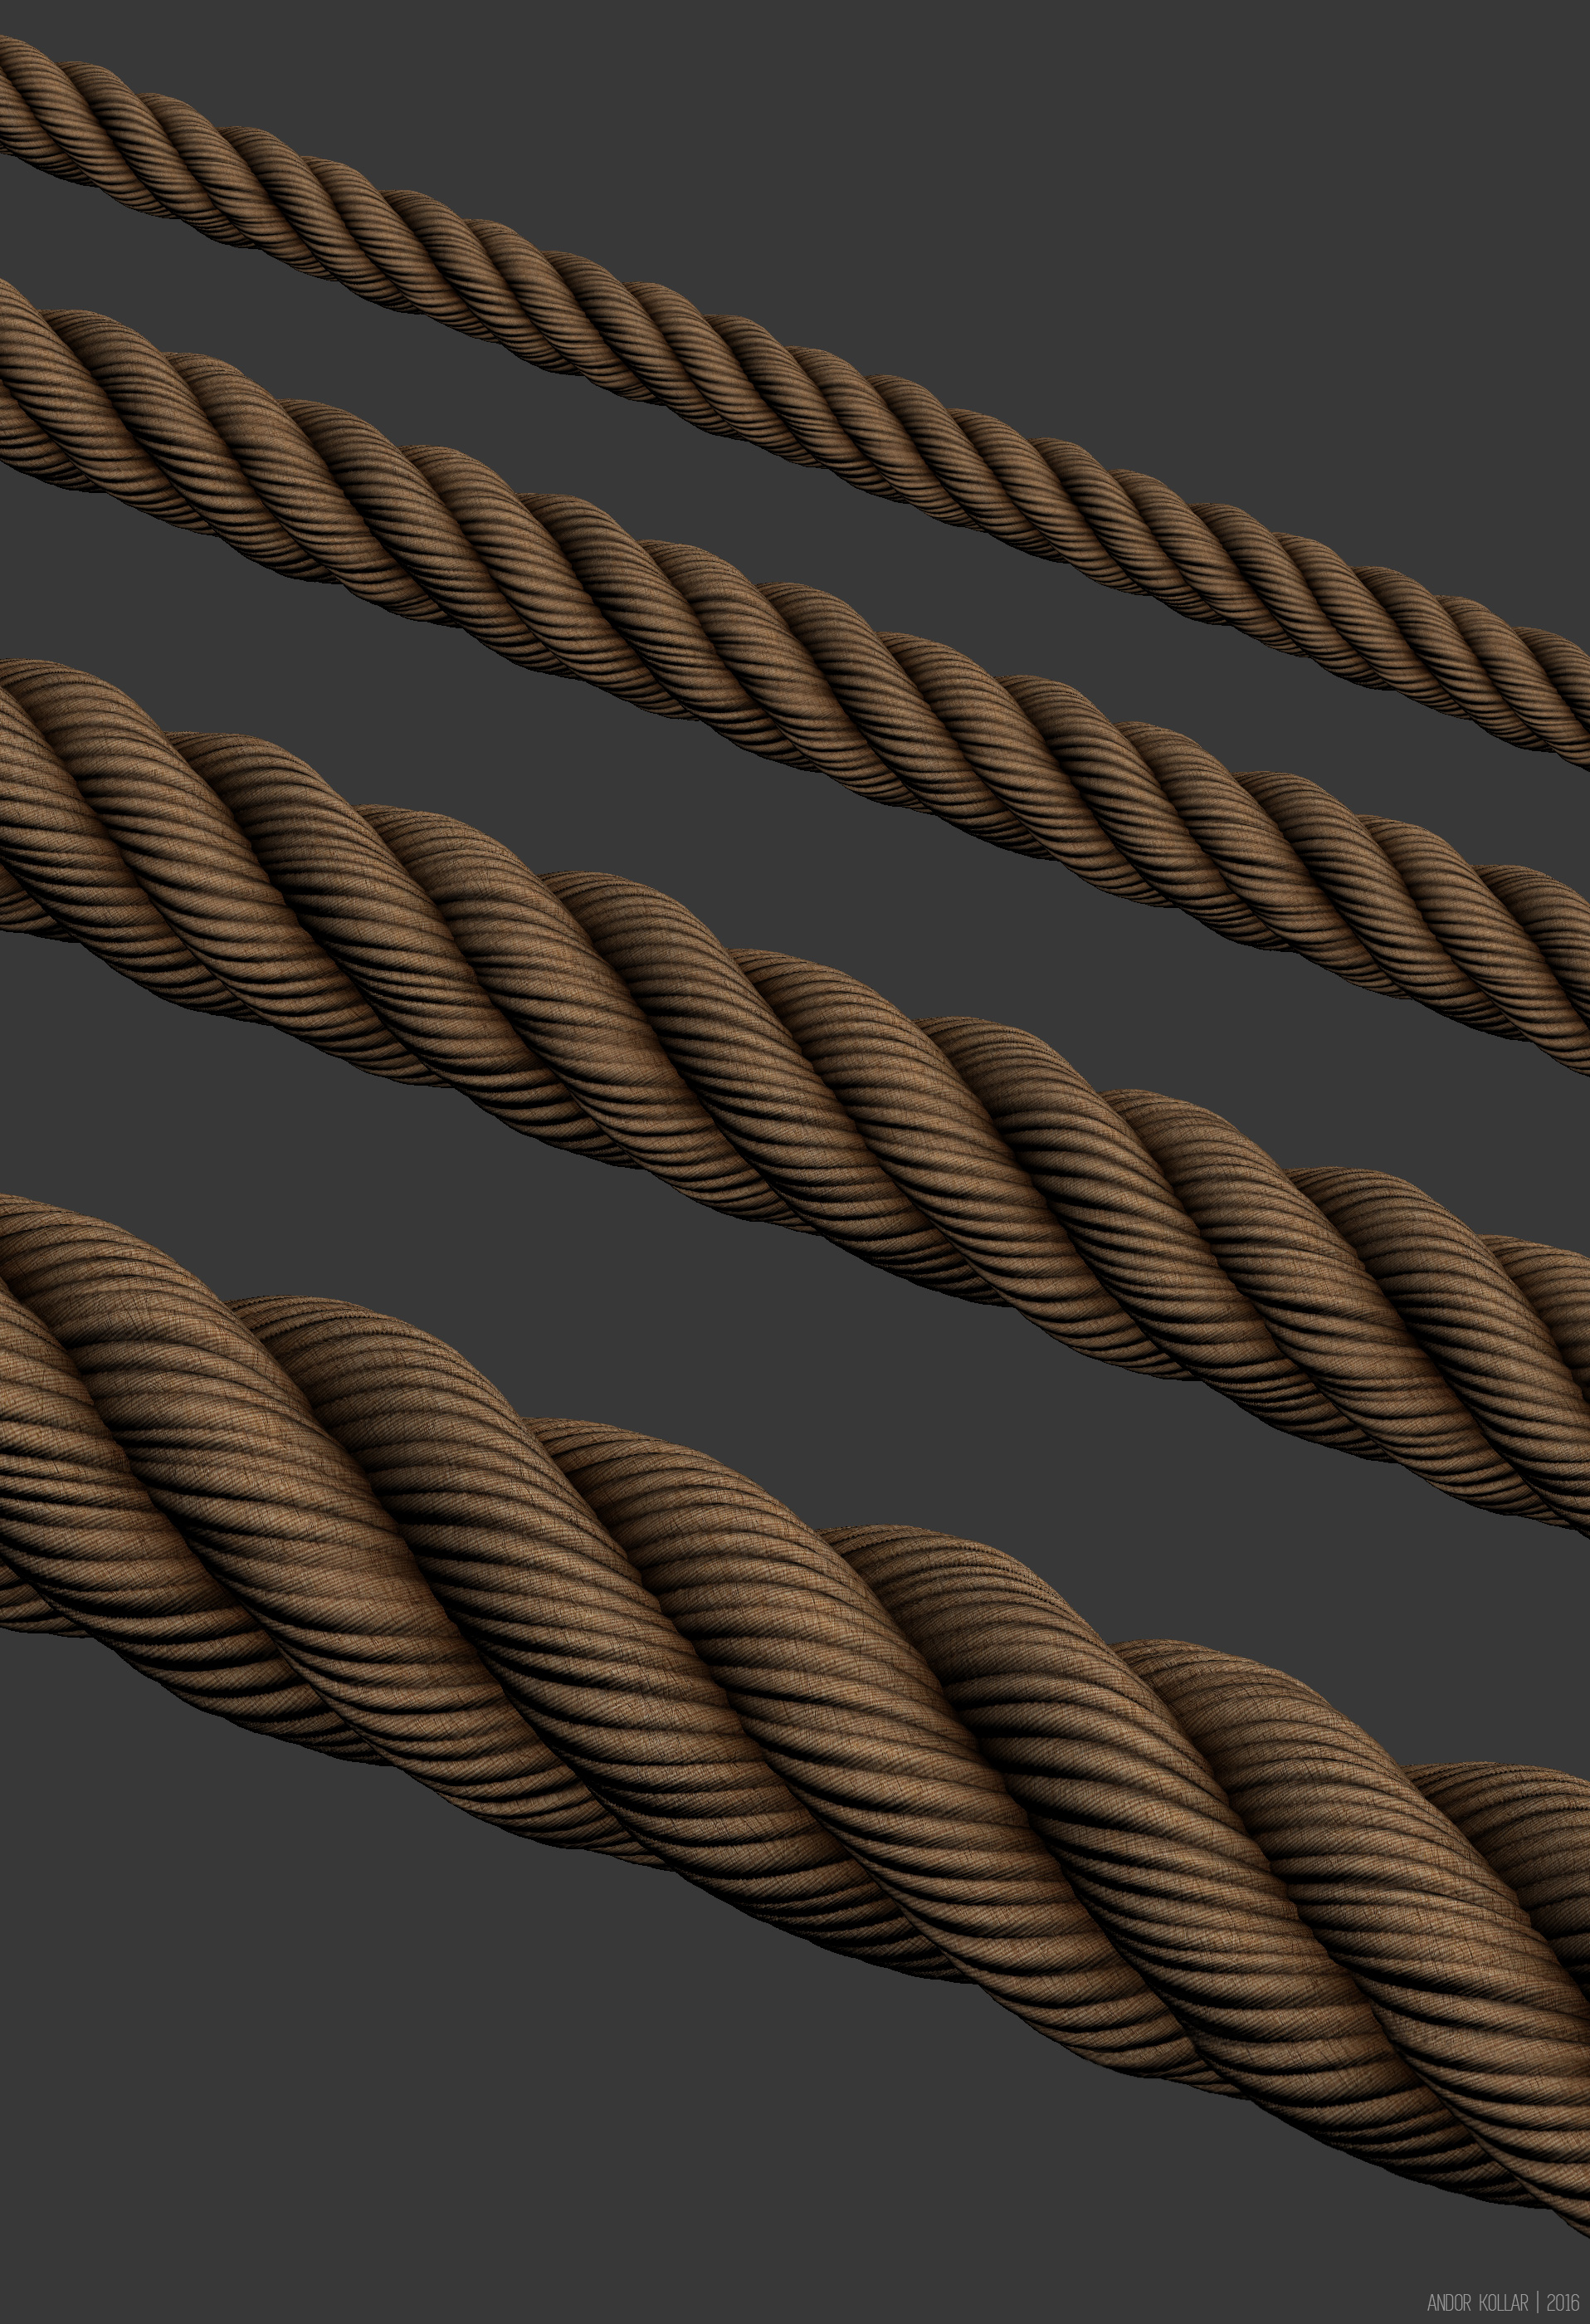
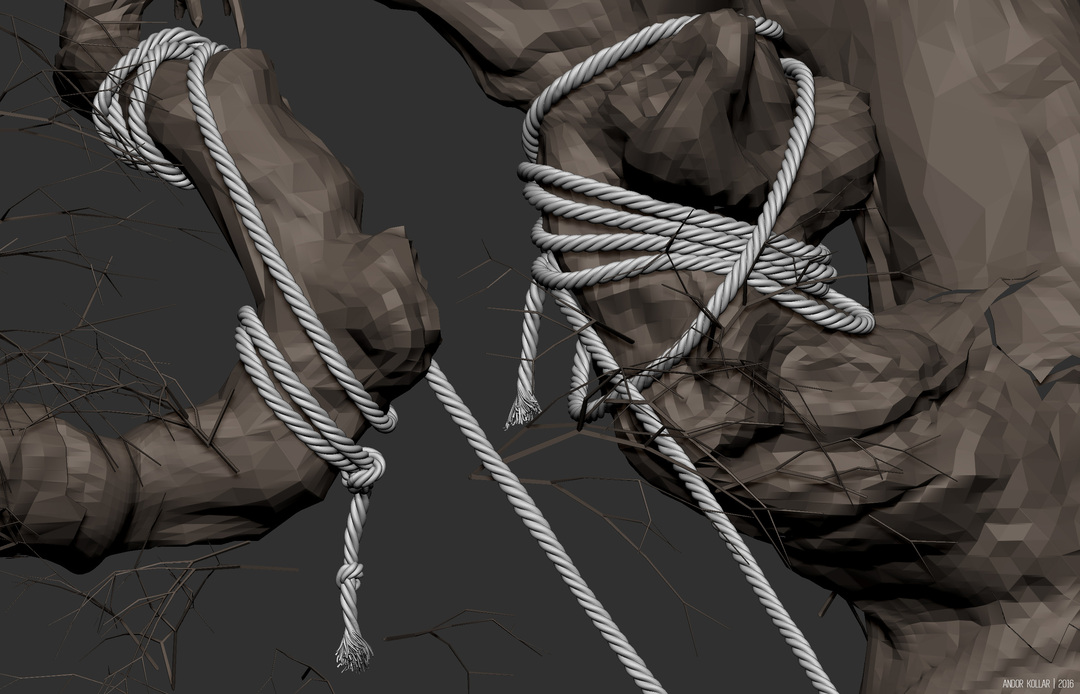
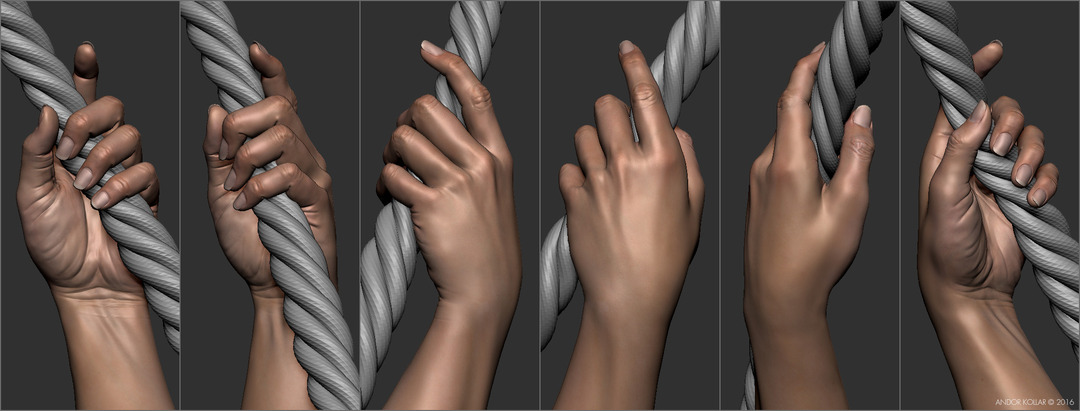
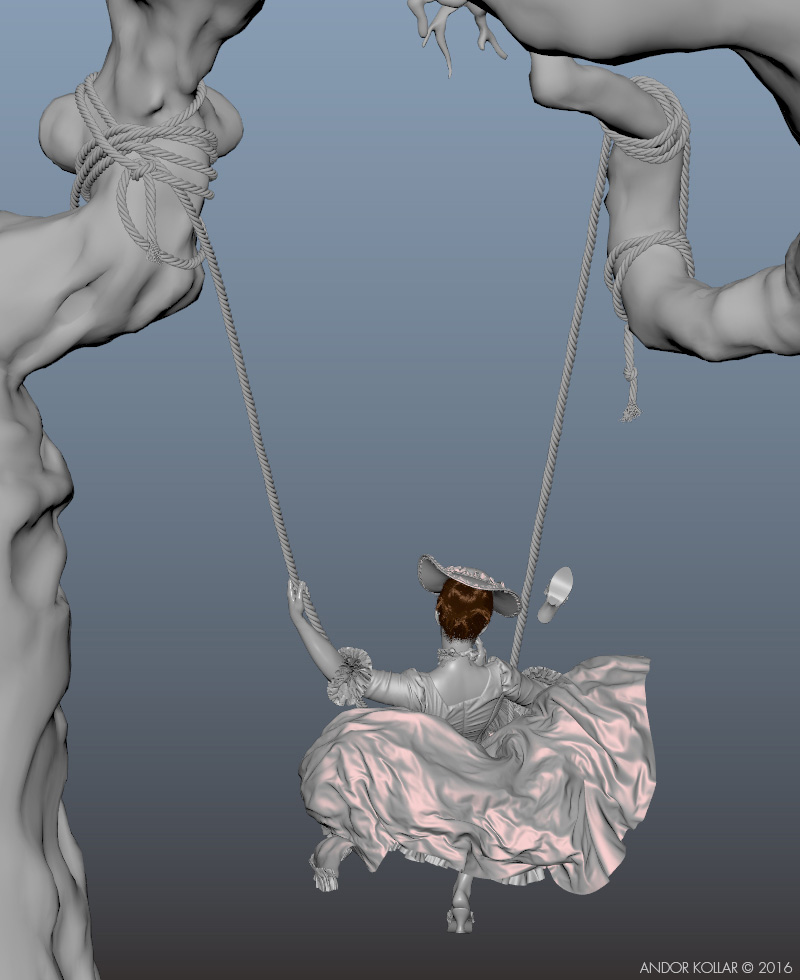
I modelled the rope in 3ds Max. My intention was to make it realistic so I used different sized cylinders for the natural look. I made 4 main pieces then I twisted them alone and together. I needed to twist the rope carefully because I wanted to make it repeatable.
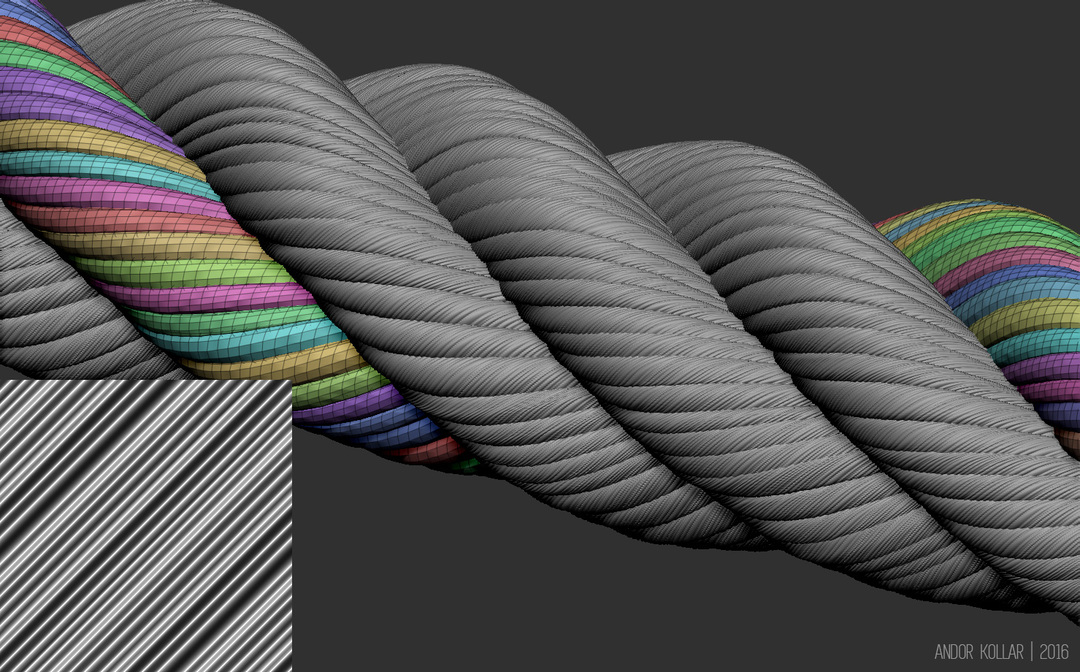
Furthermore I painted an extra texture with random sized diagonal lines and added micro fibers with NoiseMaker in Zbrush.
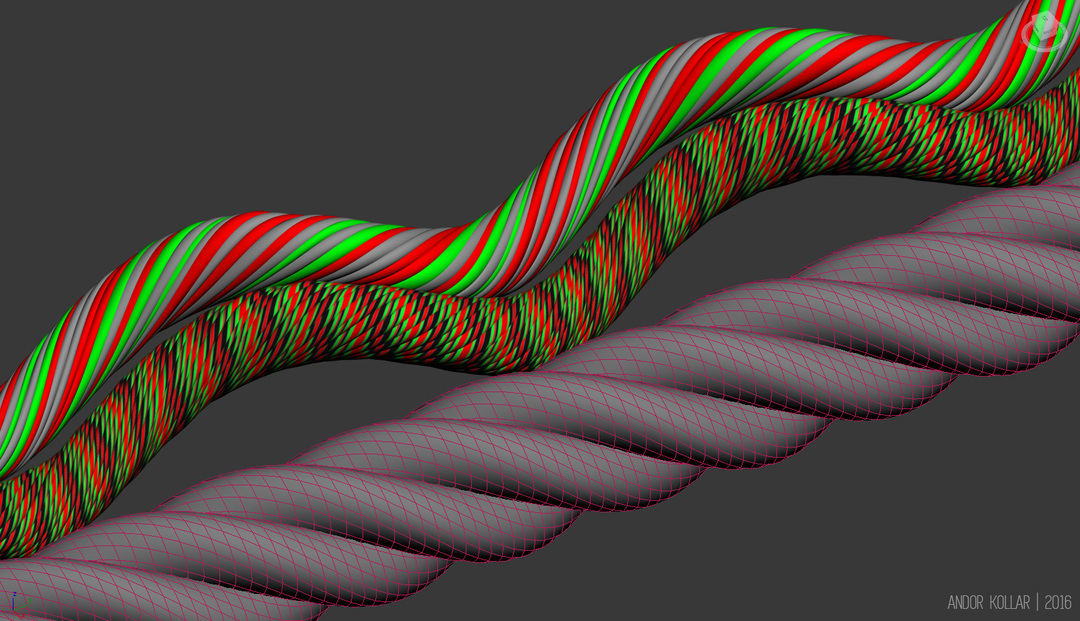
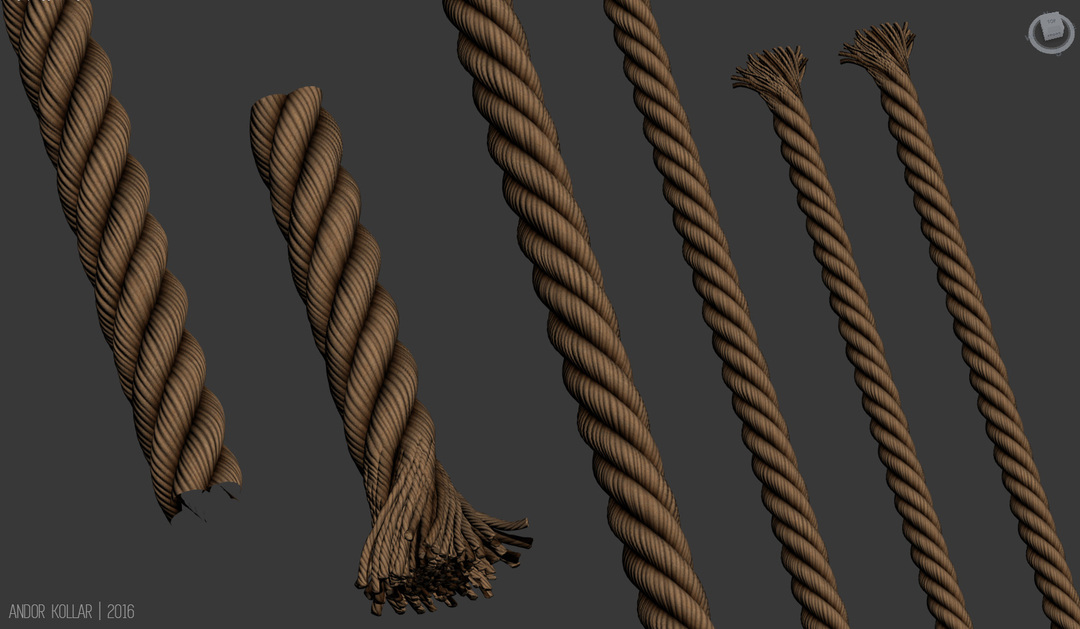
This is the high poly and the low poly rope, Finally I used the optimized low poly rope to save performance. With the color ID I could randomize the color of the fibers in 2 level.
This is the final piece of the seamless tileable rope with displacement map in subdivision level 2. Then I add the frayed end of the rope.
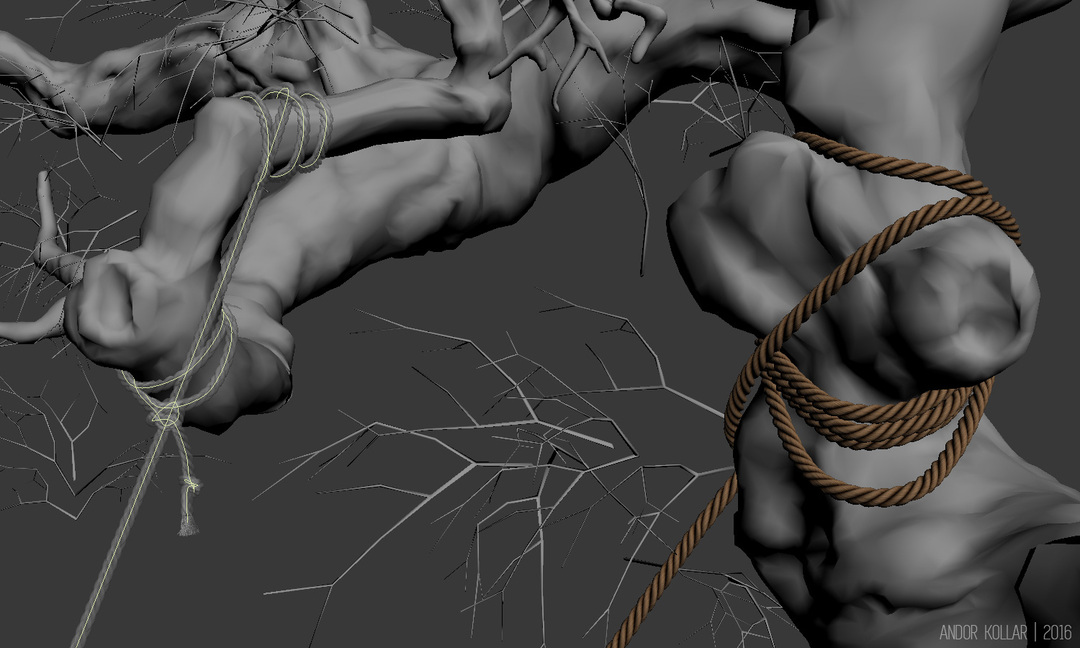
I controled the rope with a line using the Path Deform Binding modifier.
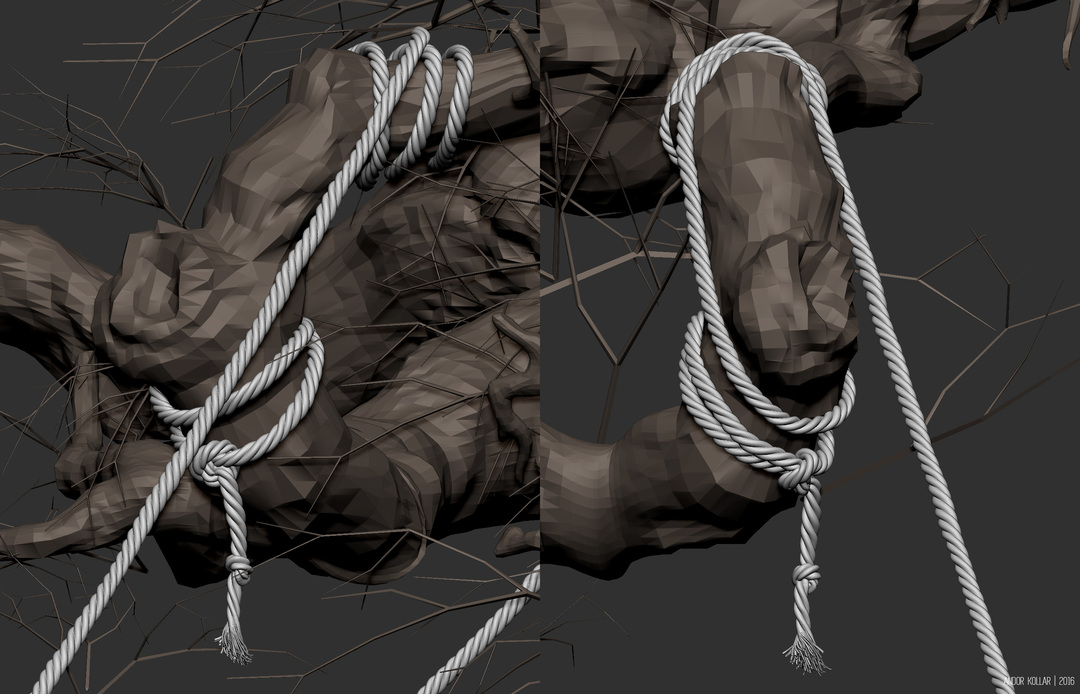
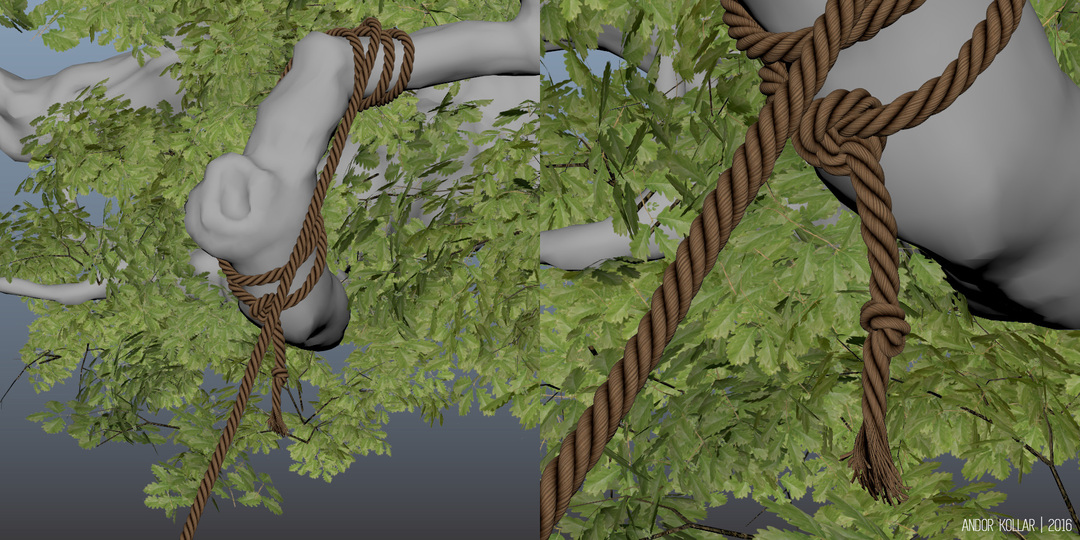
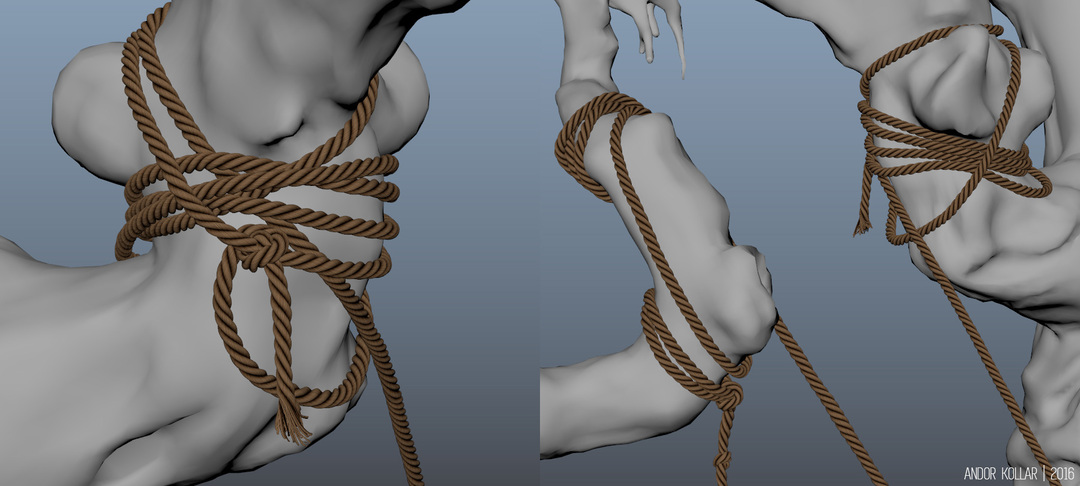
In ZBrush I sculpted some irregularity for the shape of the rope, I adjusted the knots and frays.
Then final rope was tied to the tree in the render scene in Maya with the texture.
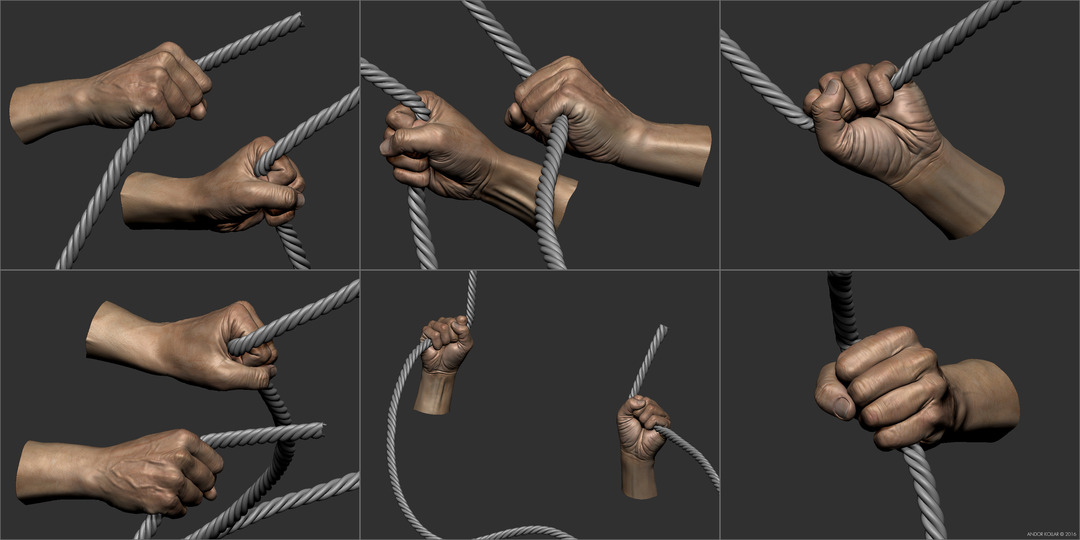
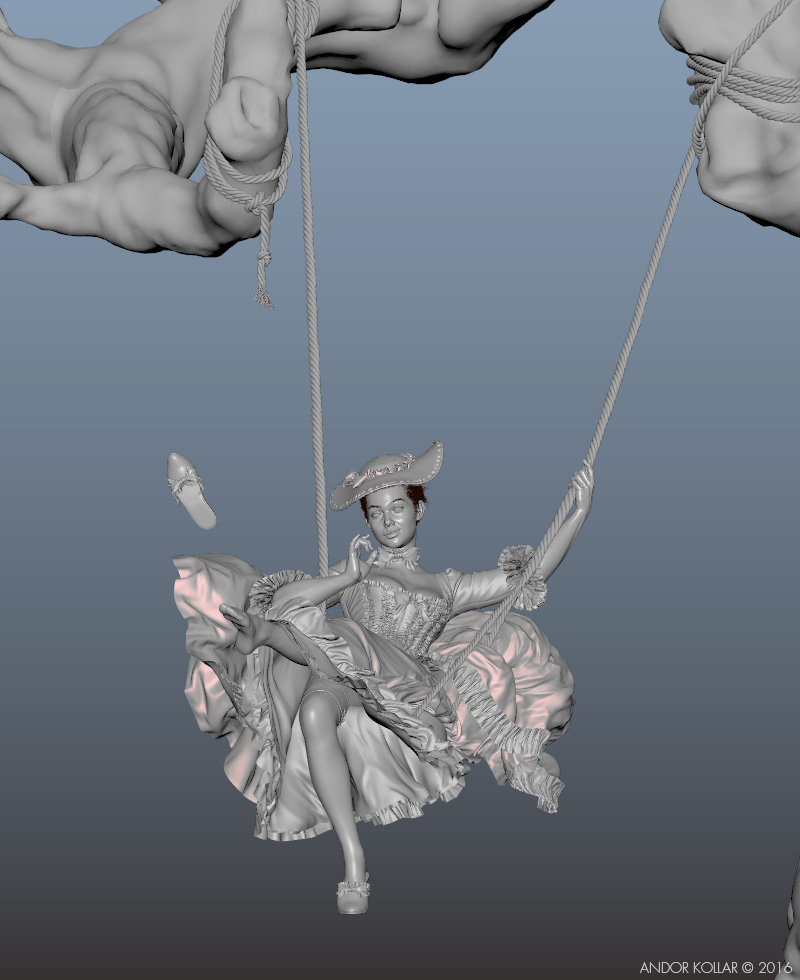
This is the hand of the Old Man and the Lady holding the rope in ZBrush.
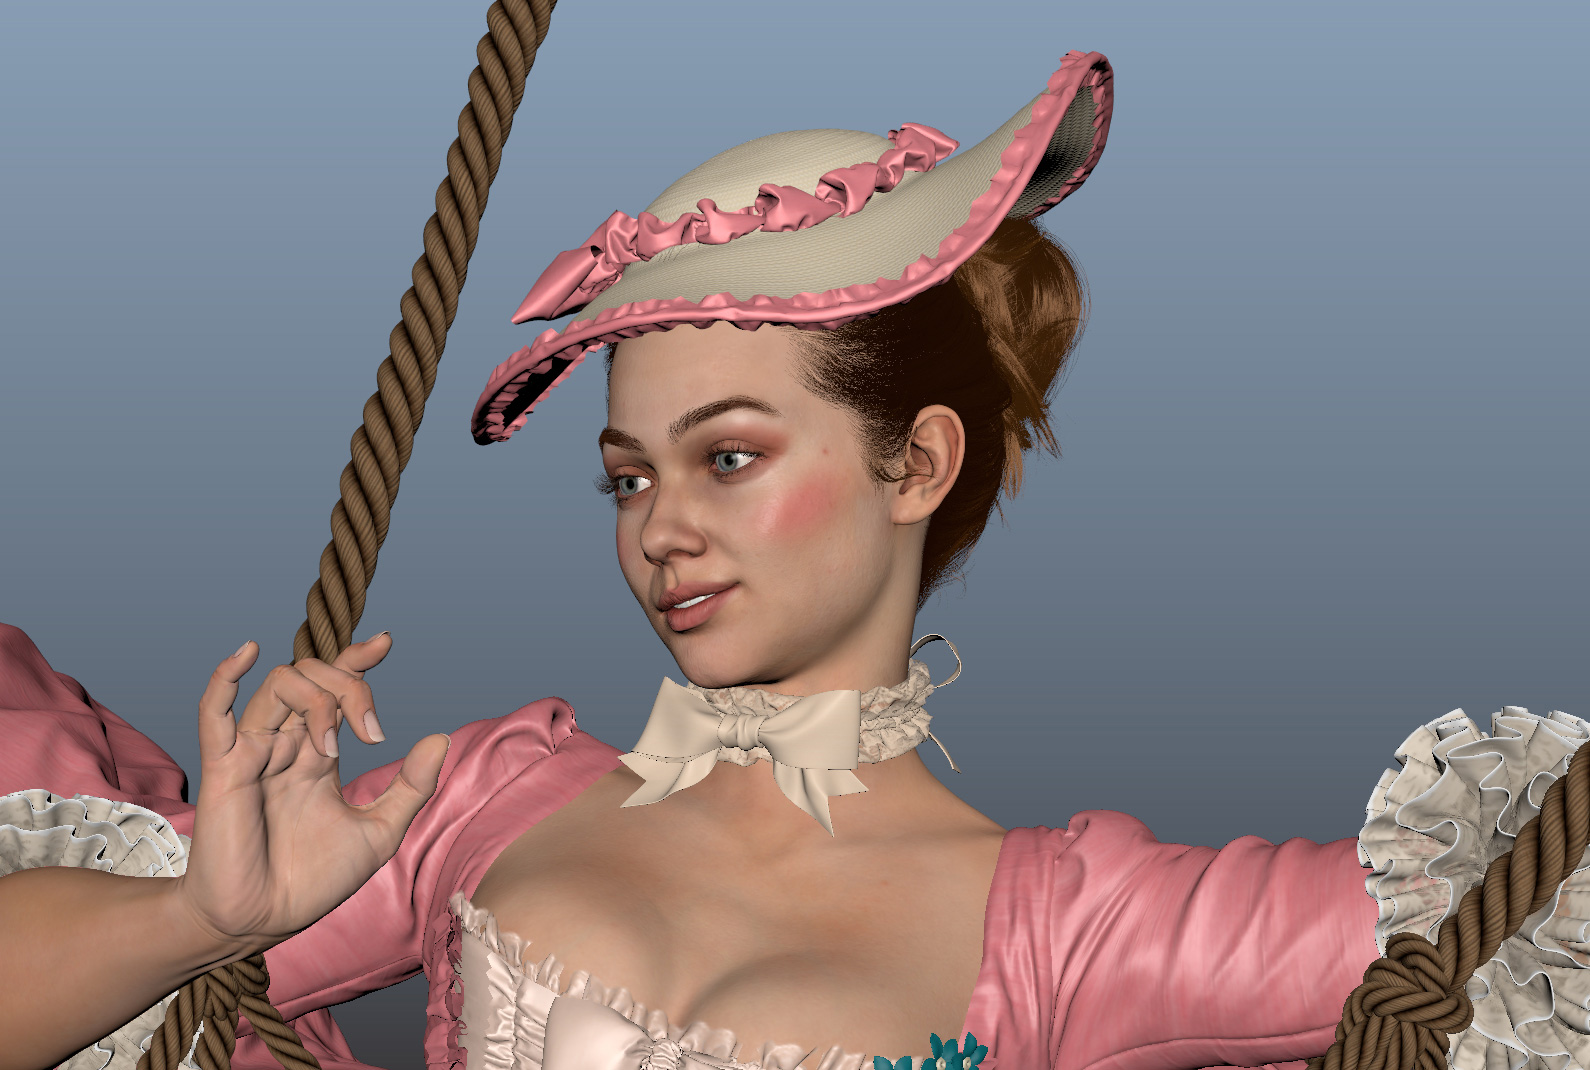
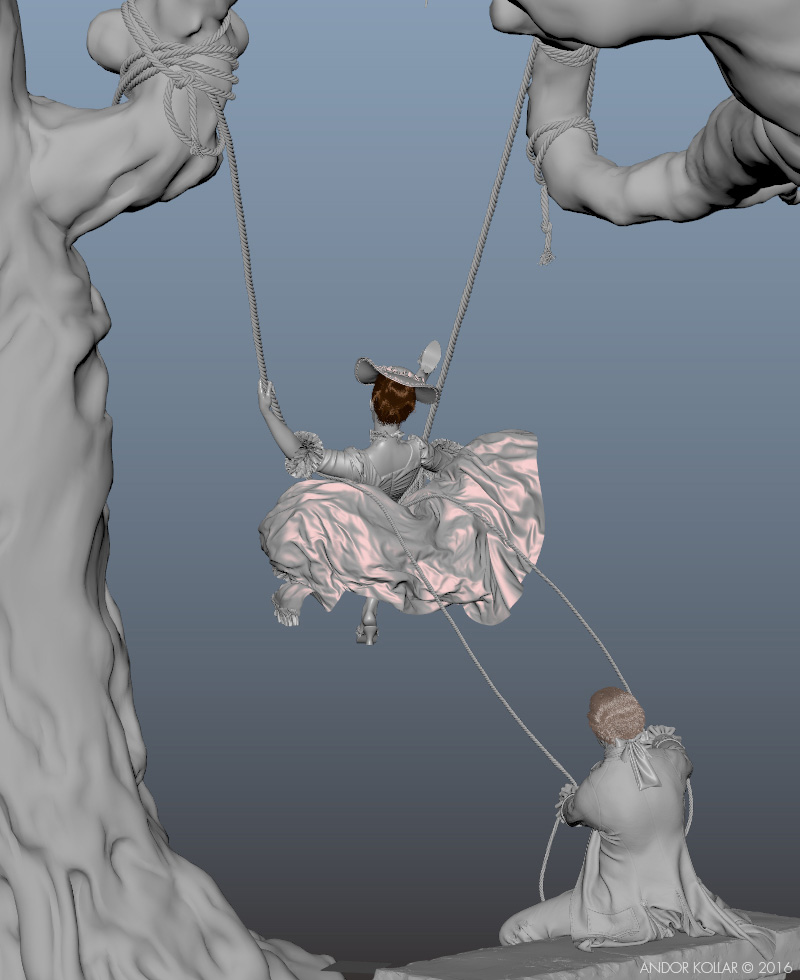
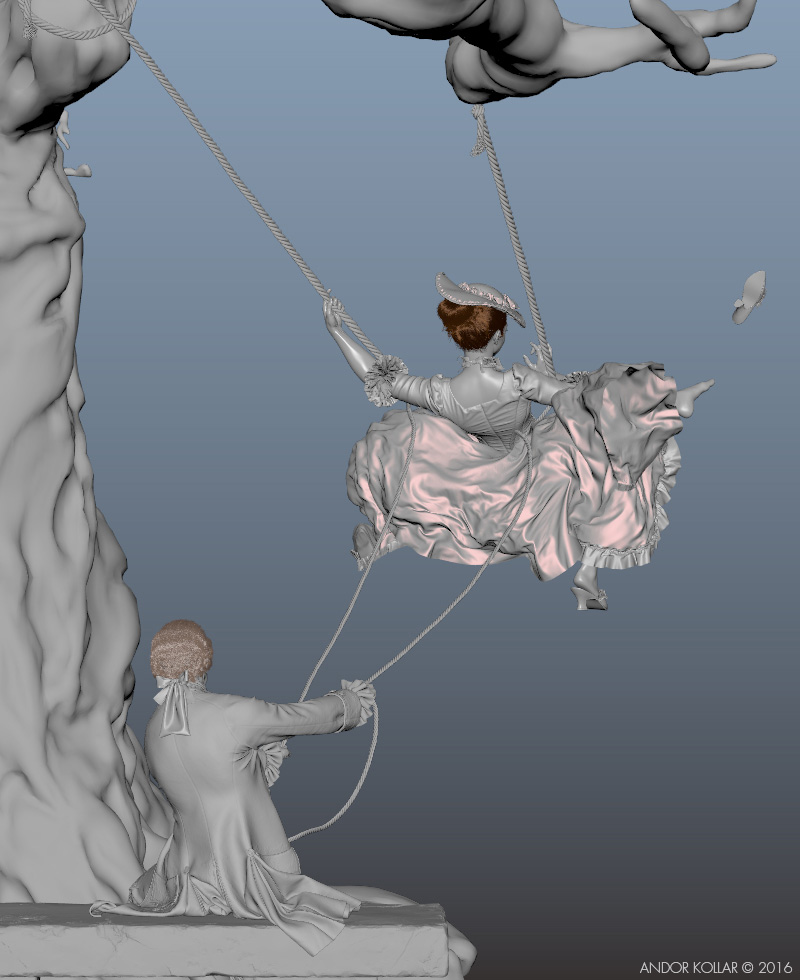
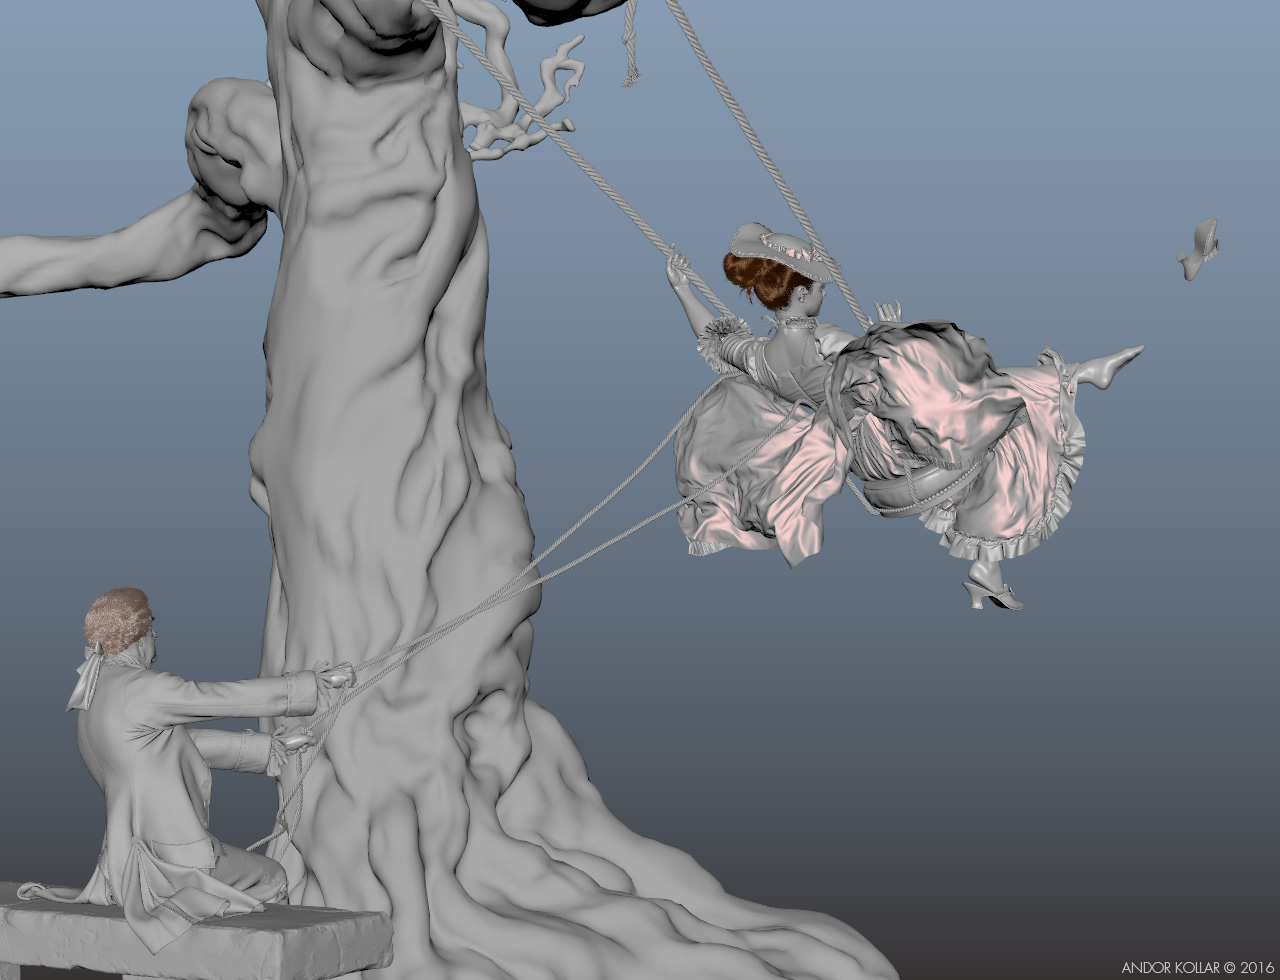
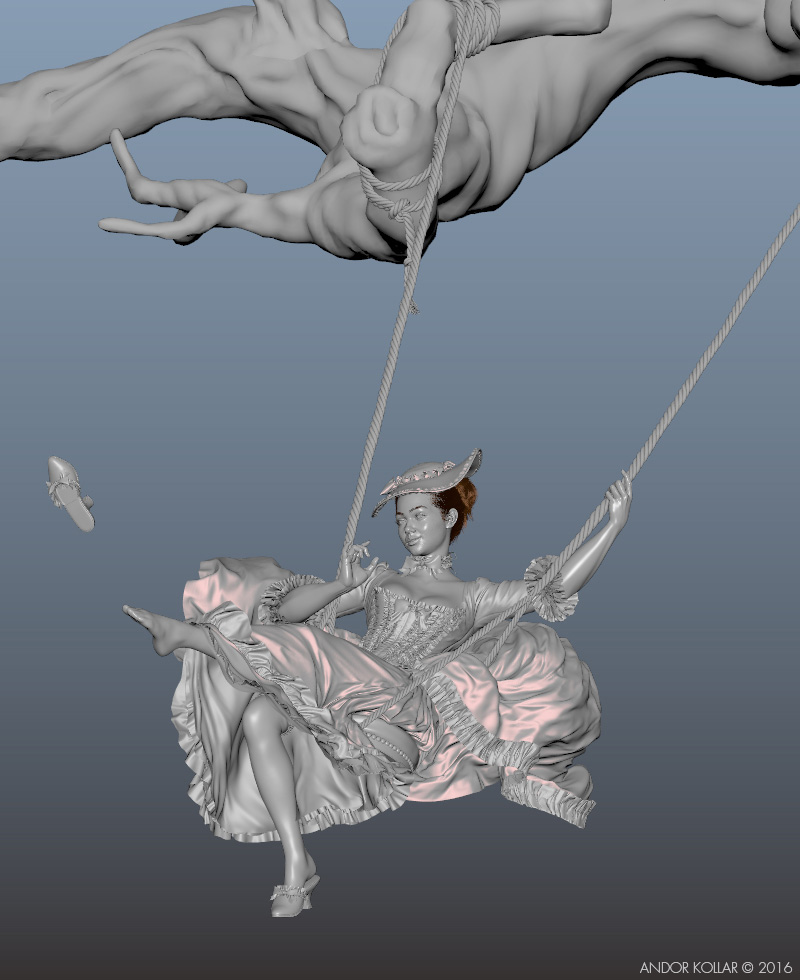
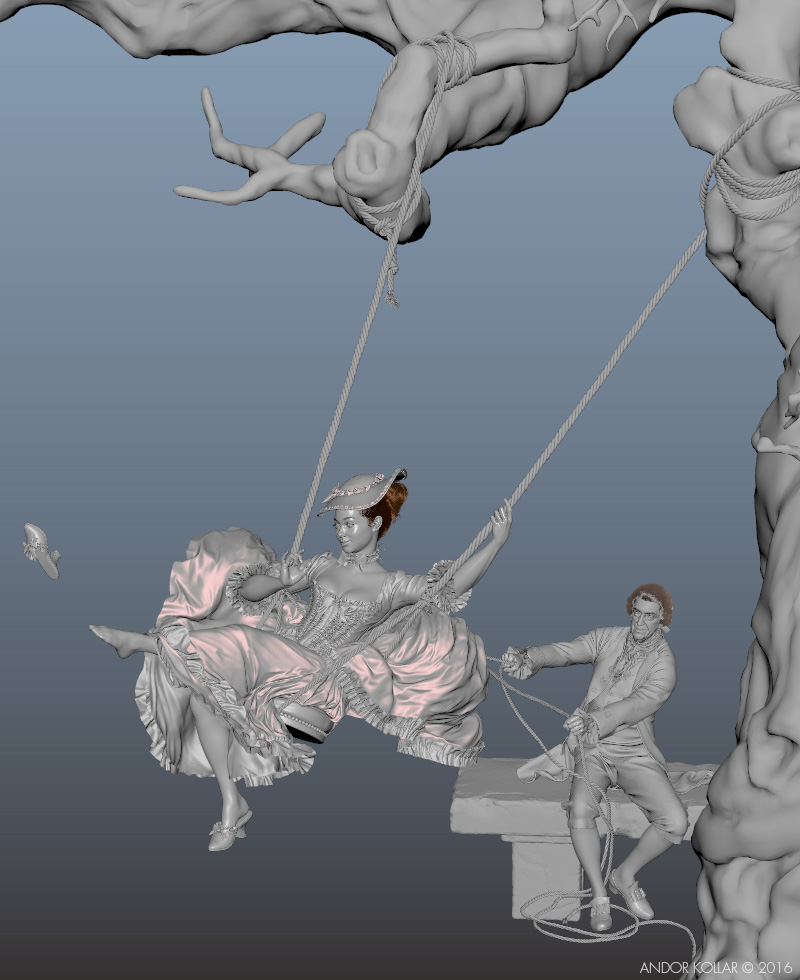
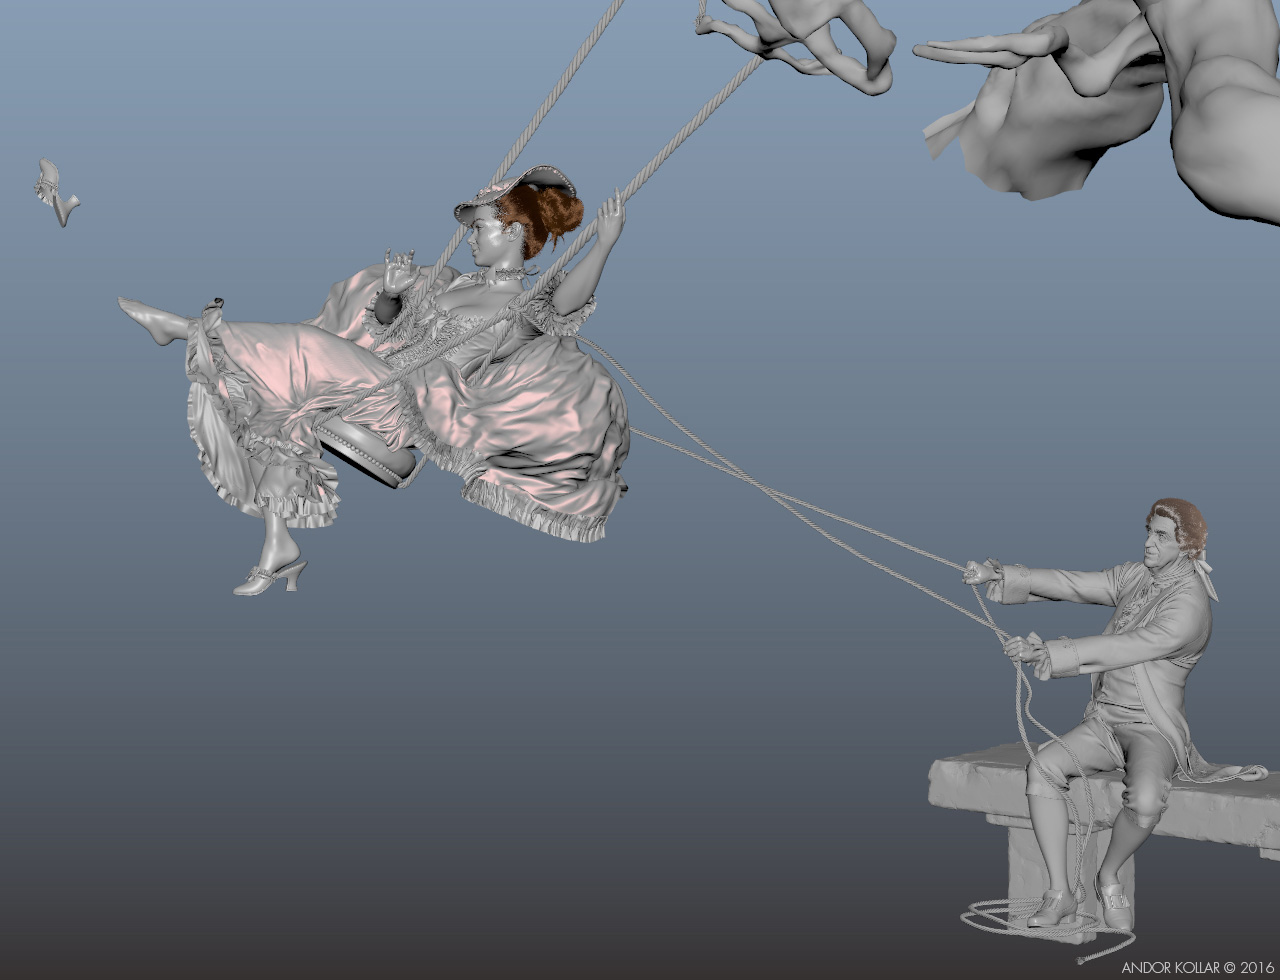
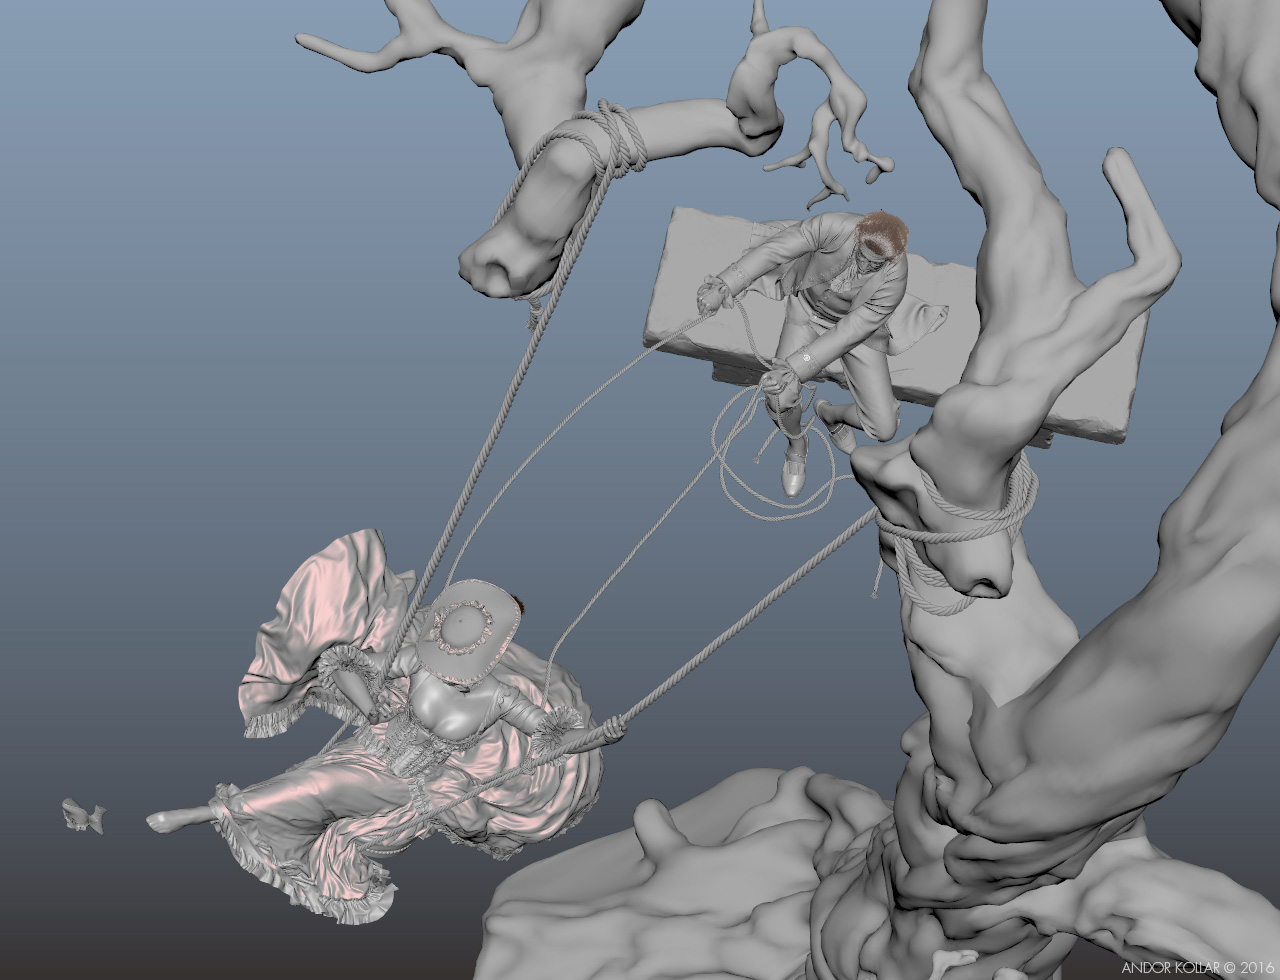
I have set up the rope, the branches, the Old Man following the original artwork for the lively Swinging Lady. The tree and the base of the Lady’s billowing dress were made by another artist. In ZBrush I polished this fancy costume then I textured it.
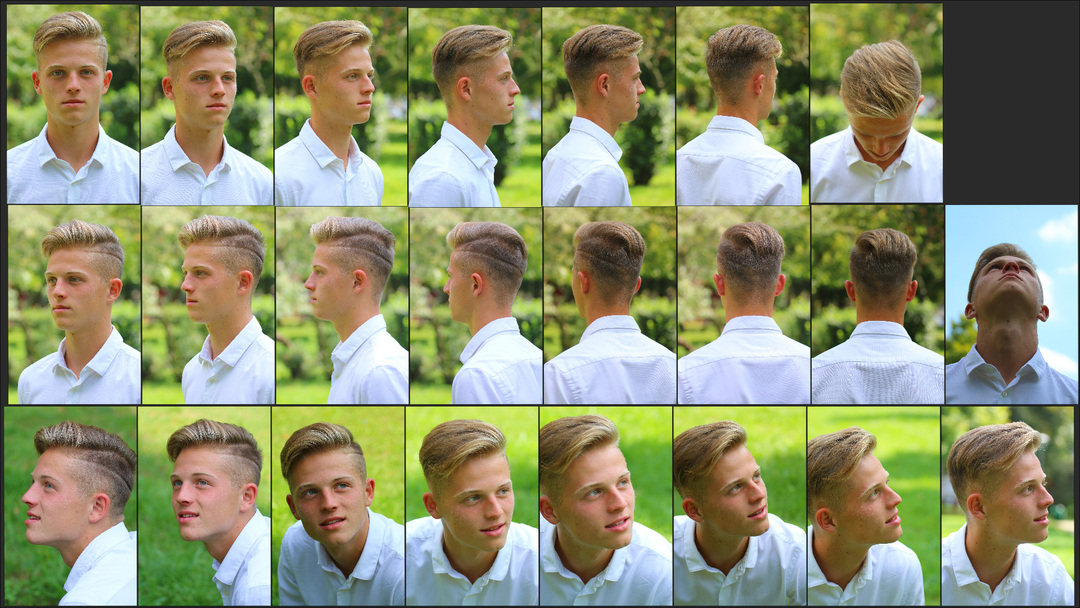
For the Young Man I took reference photos of a friend with my professional camera. I also asked him to pose in order to capture the right expression of the desired face.
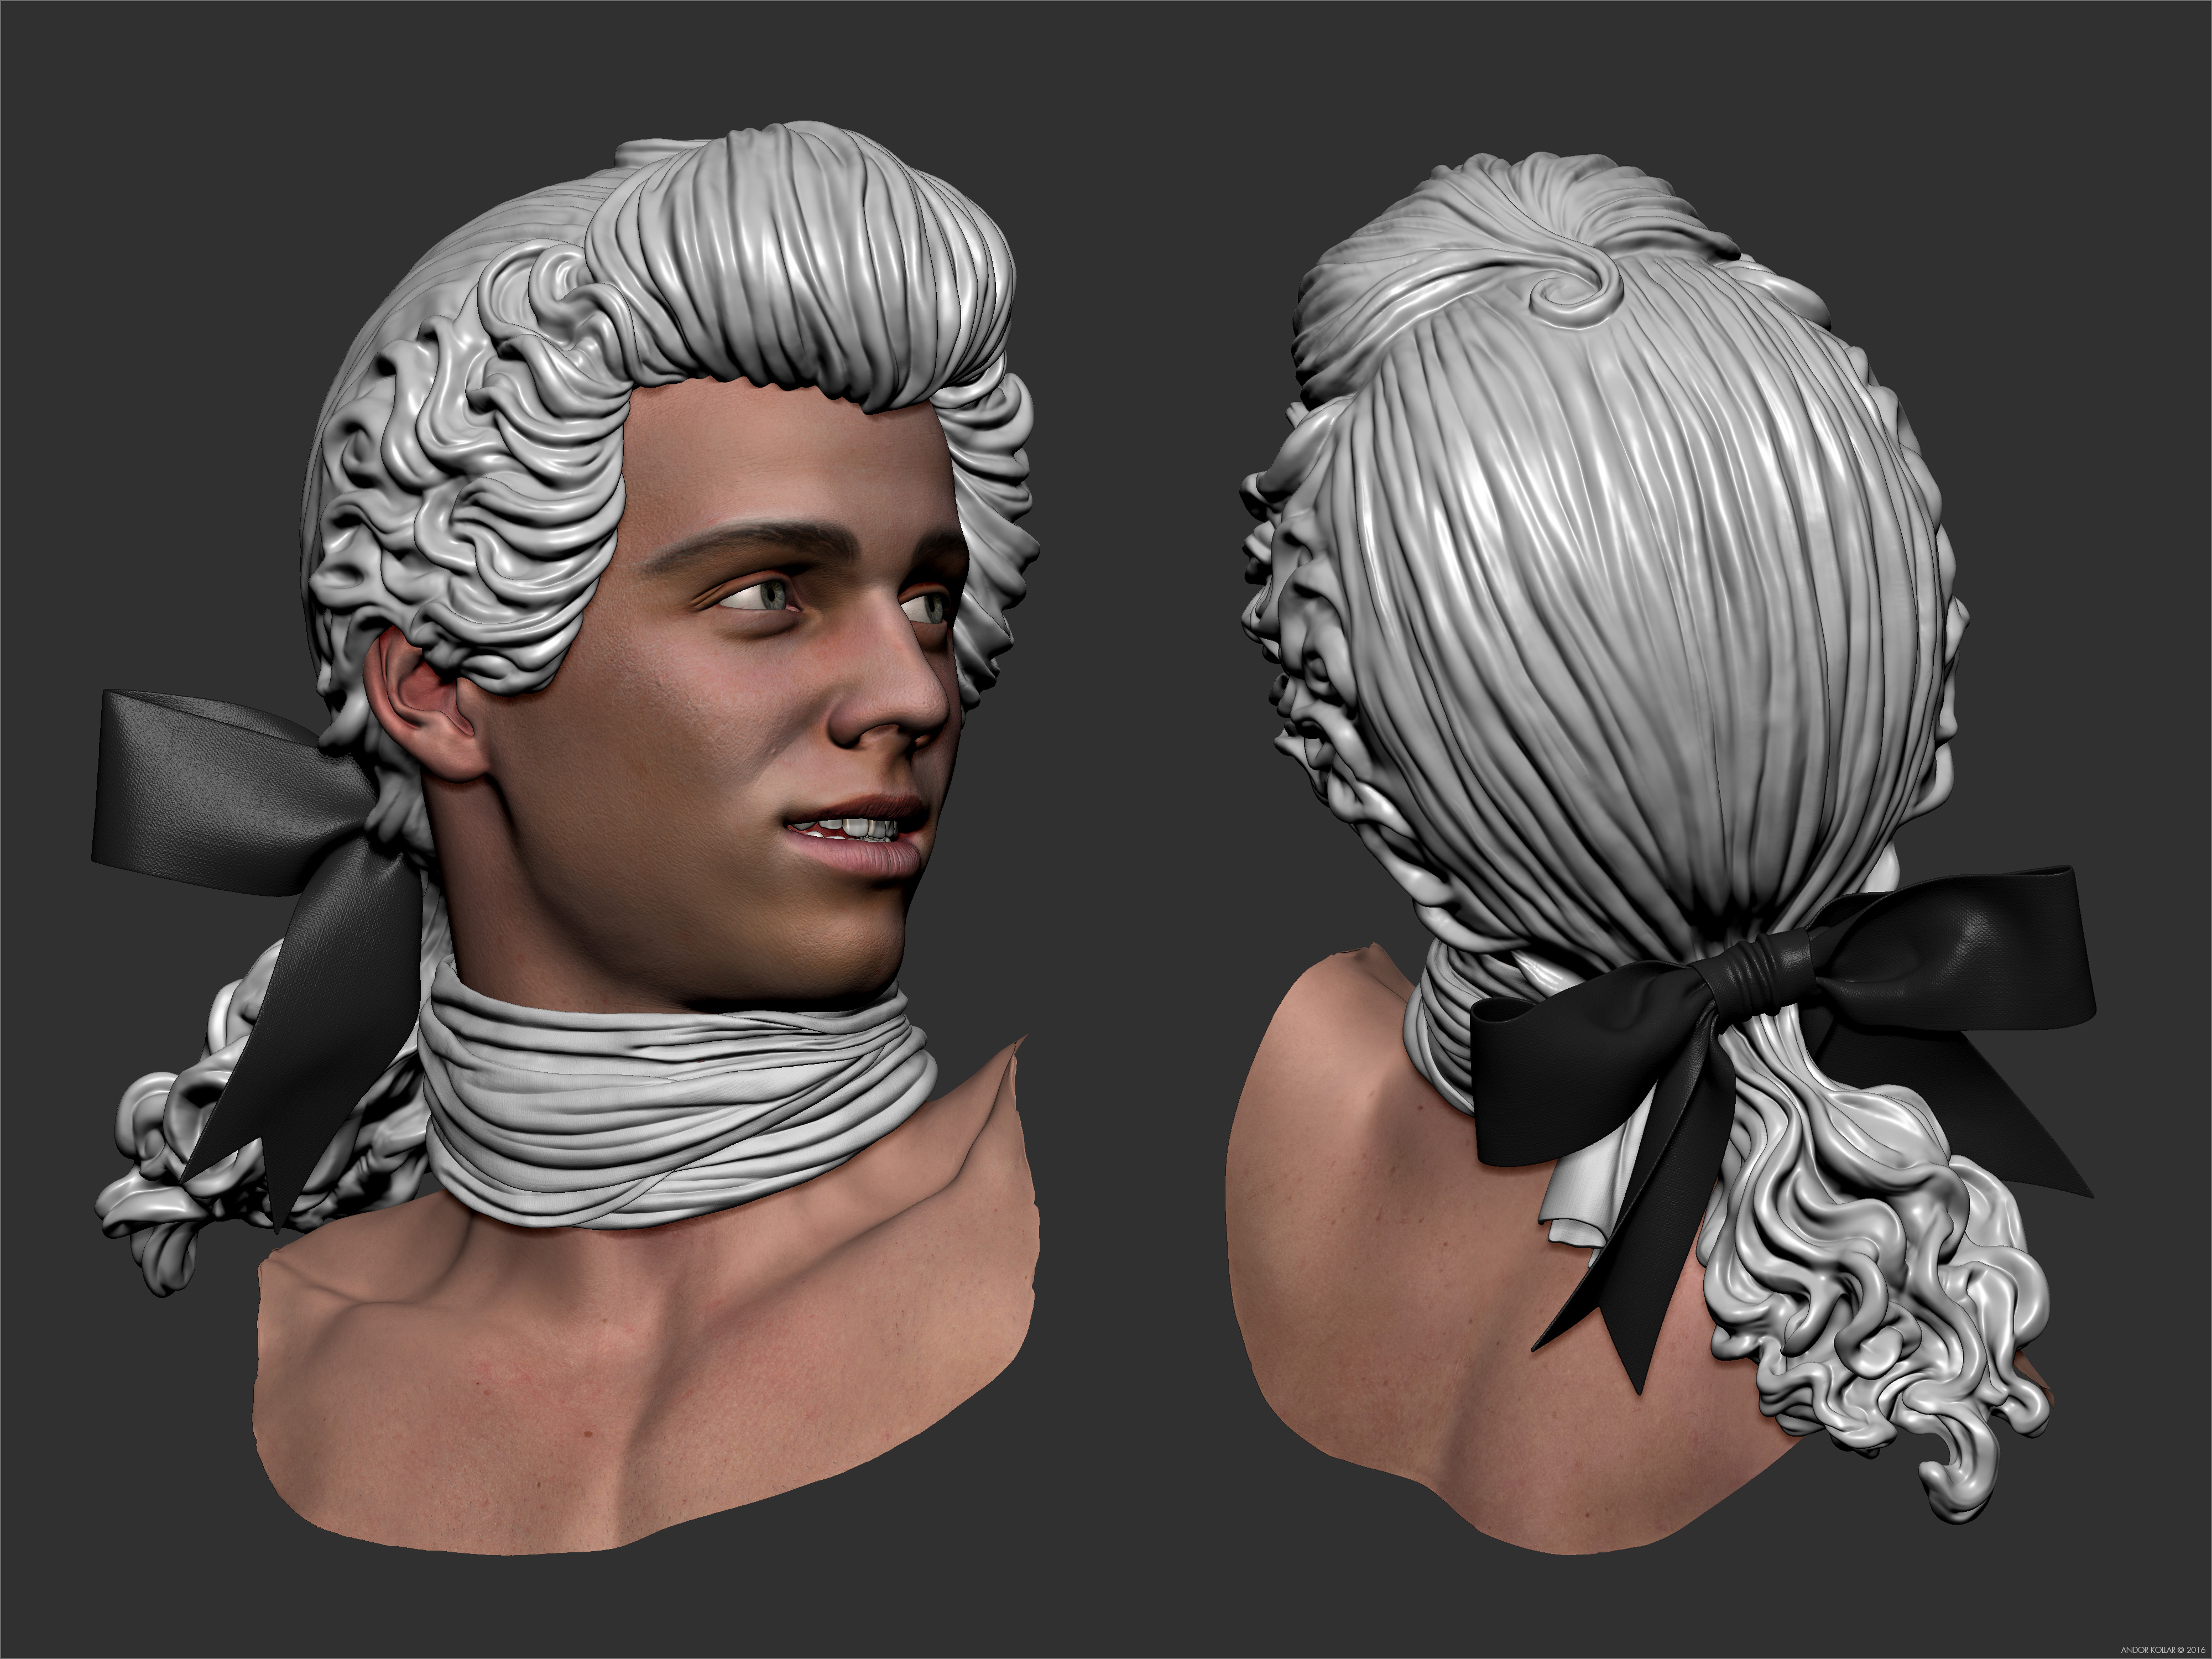
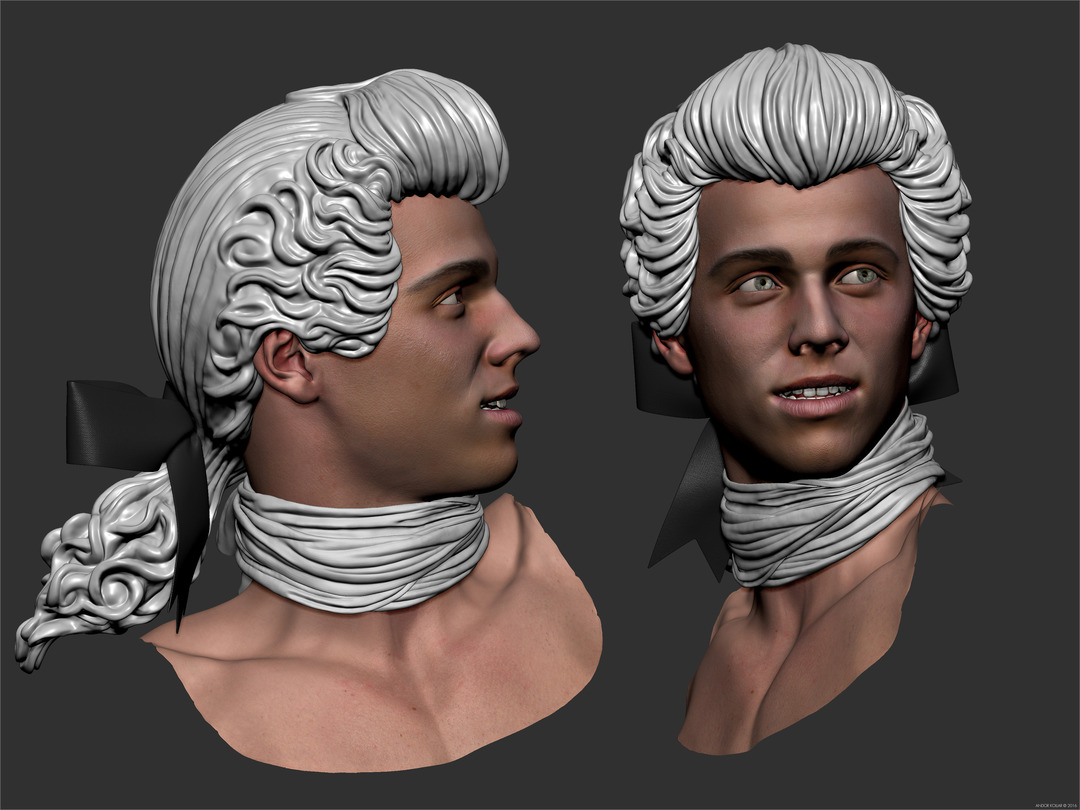
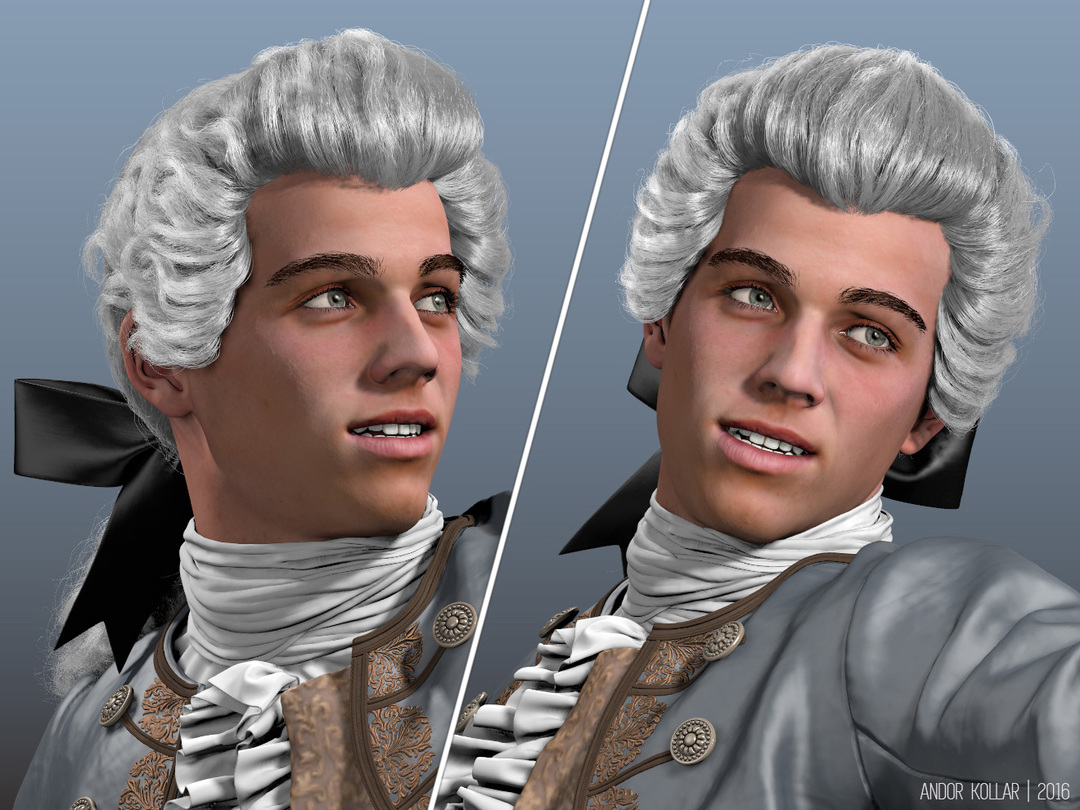
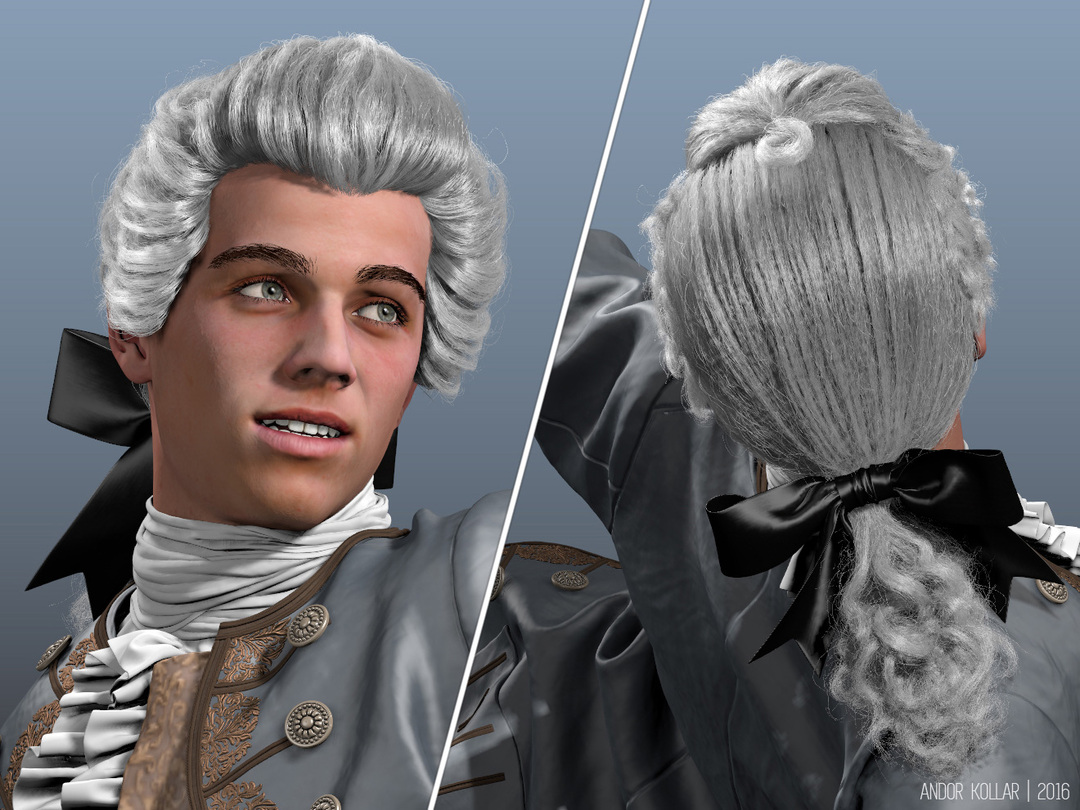
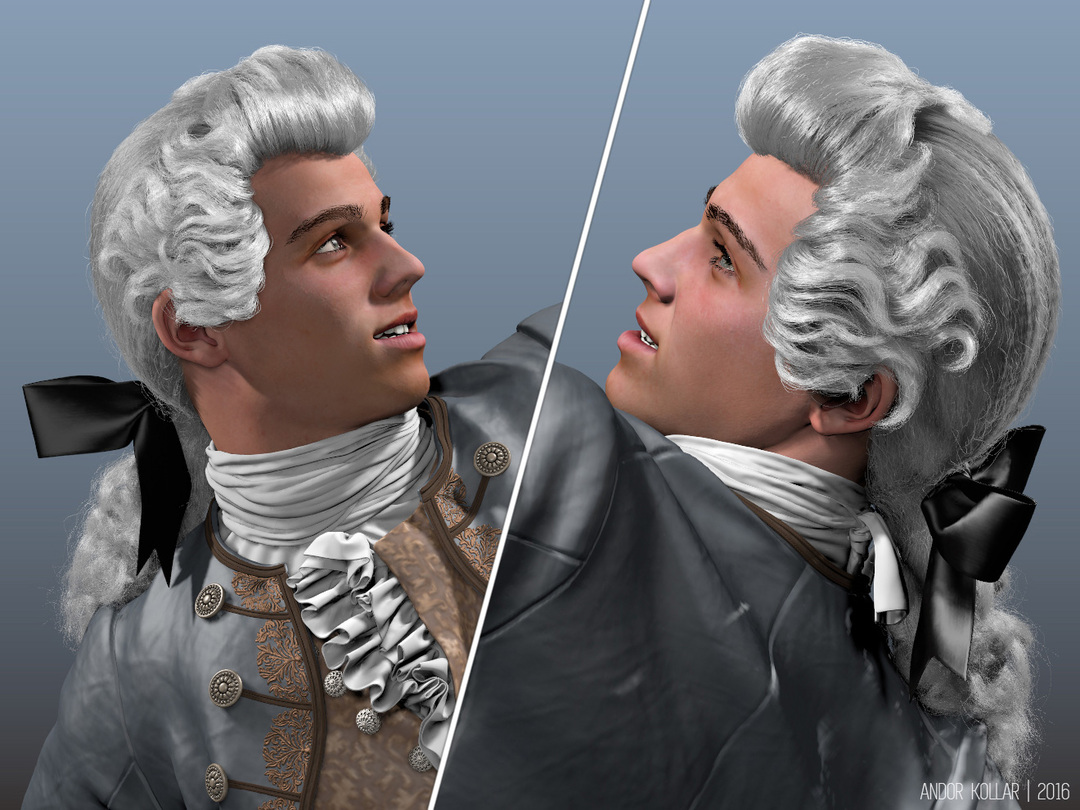
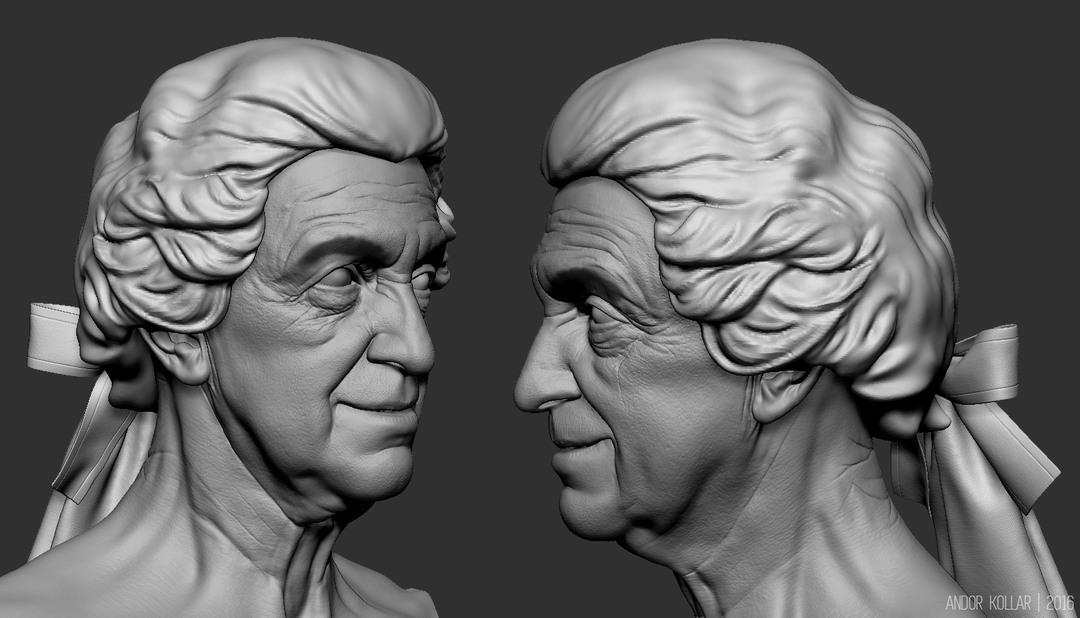
I used Heath Ledger’s wig from the Casanova movie as a reference and I sculpted the wig model as a template for the 3d hair. I did the base of the bow in Marvelous Designer.
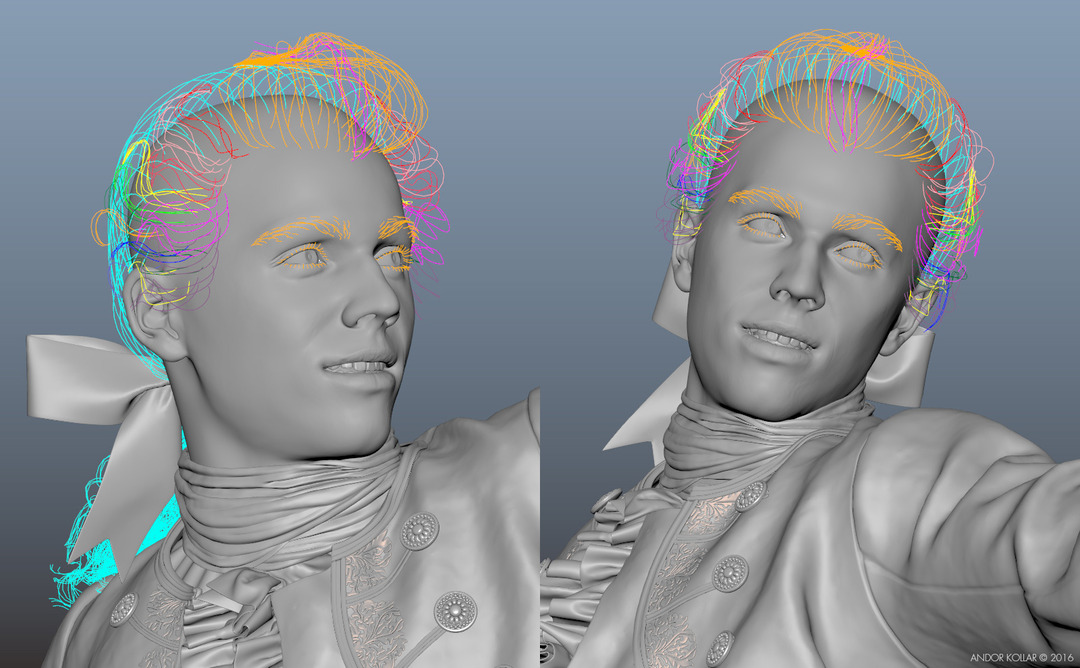
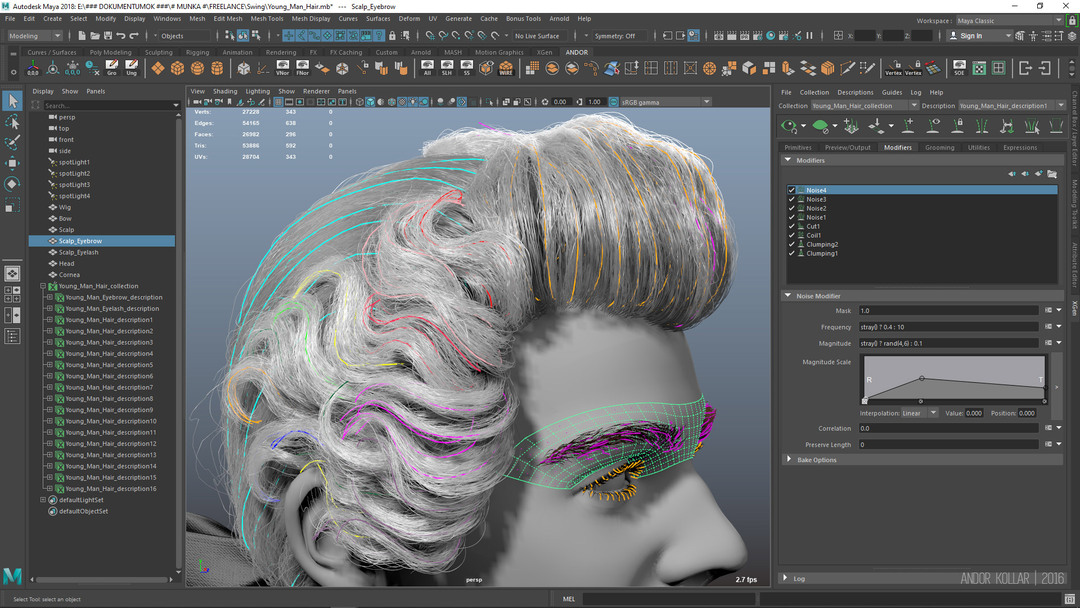
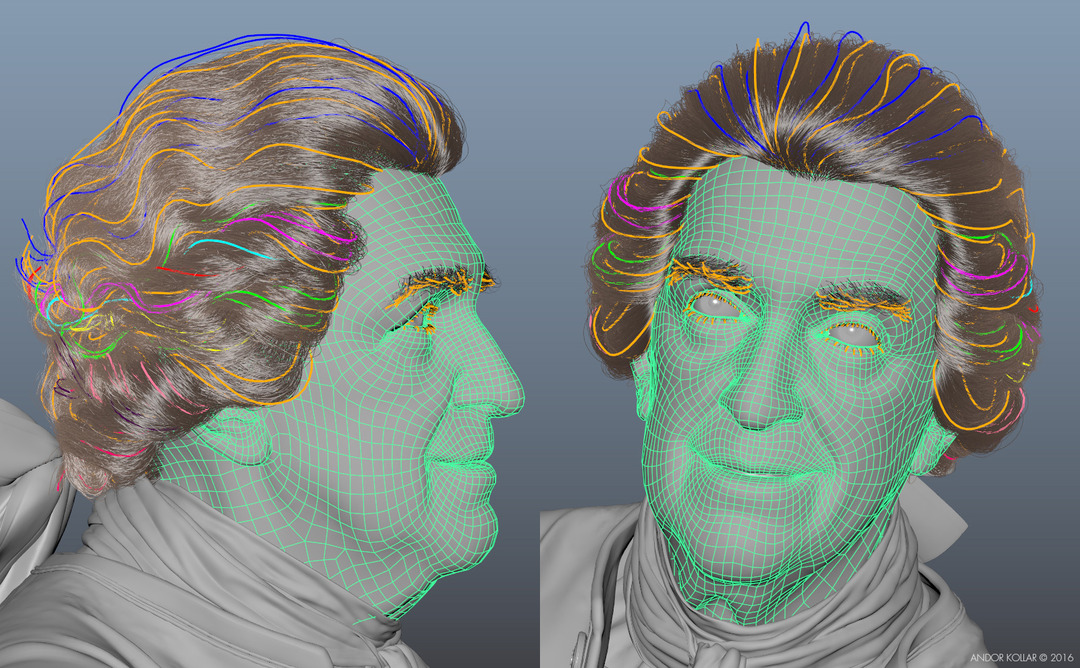
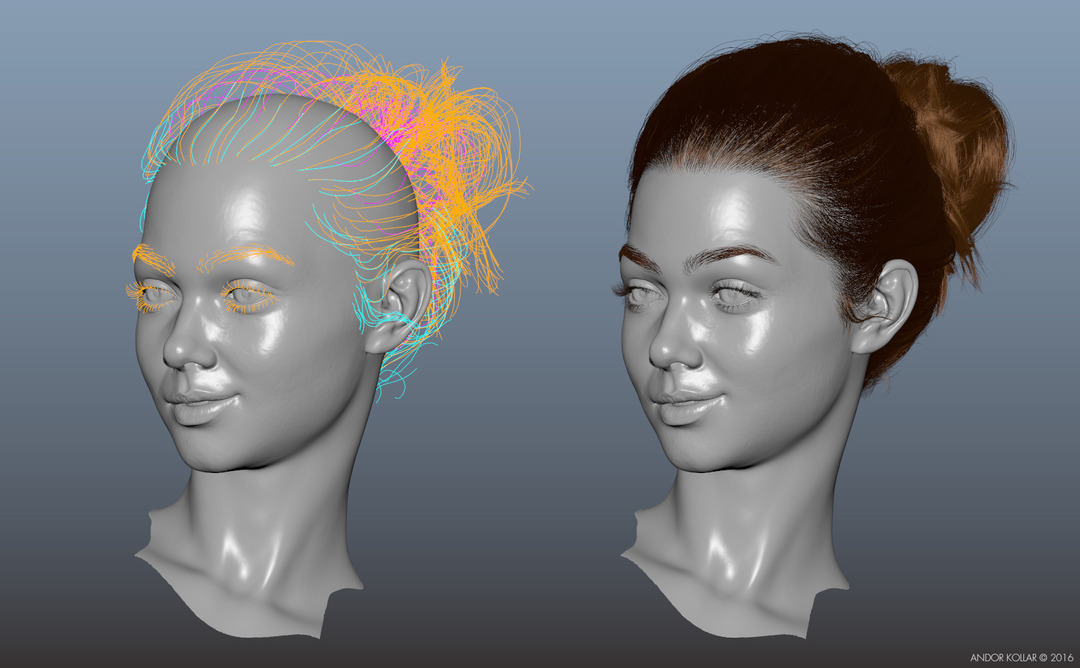
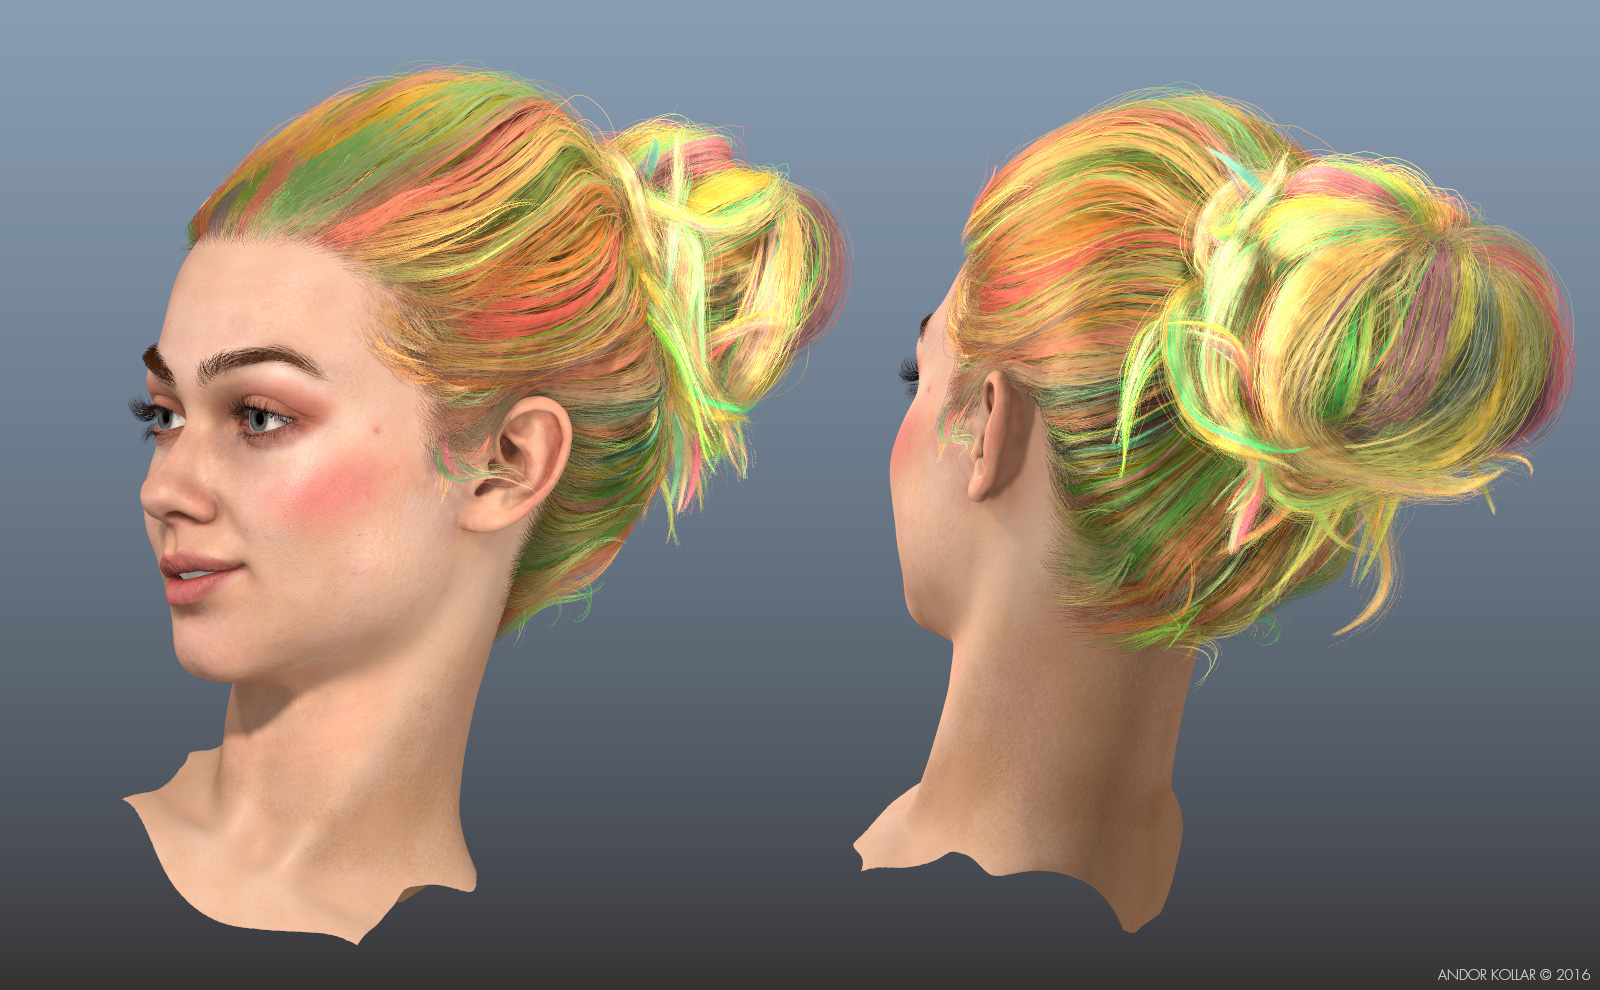
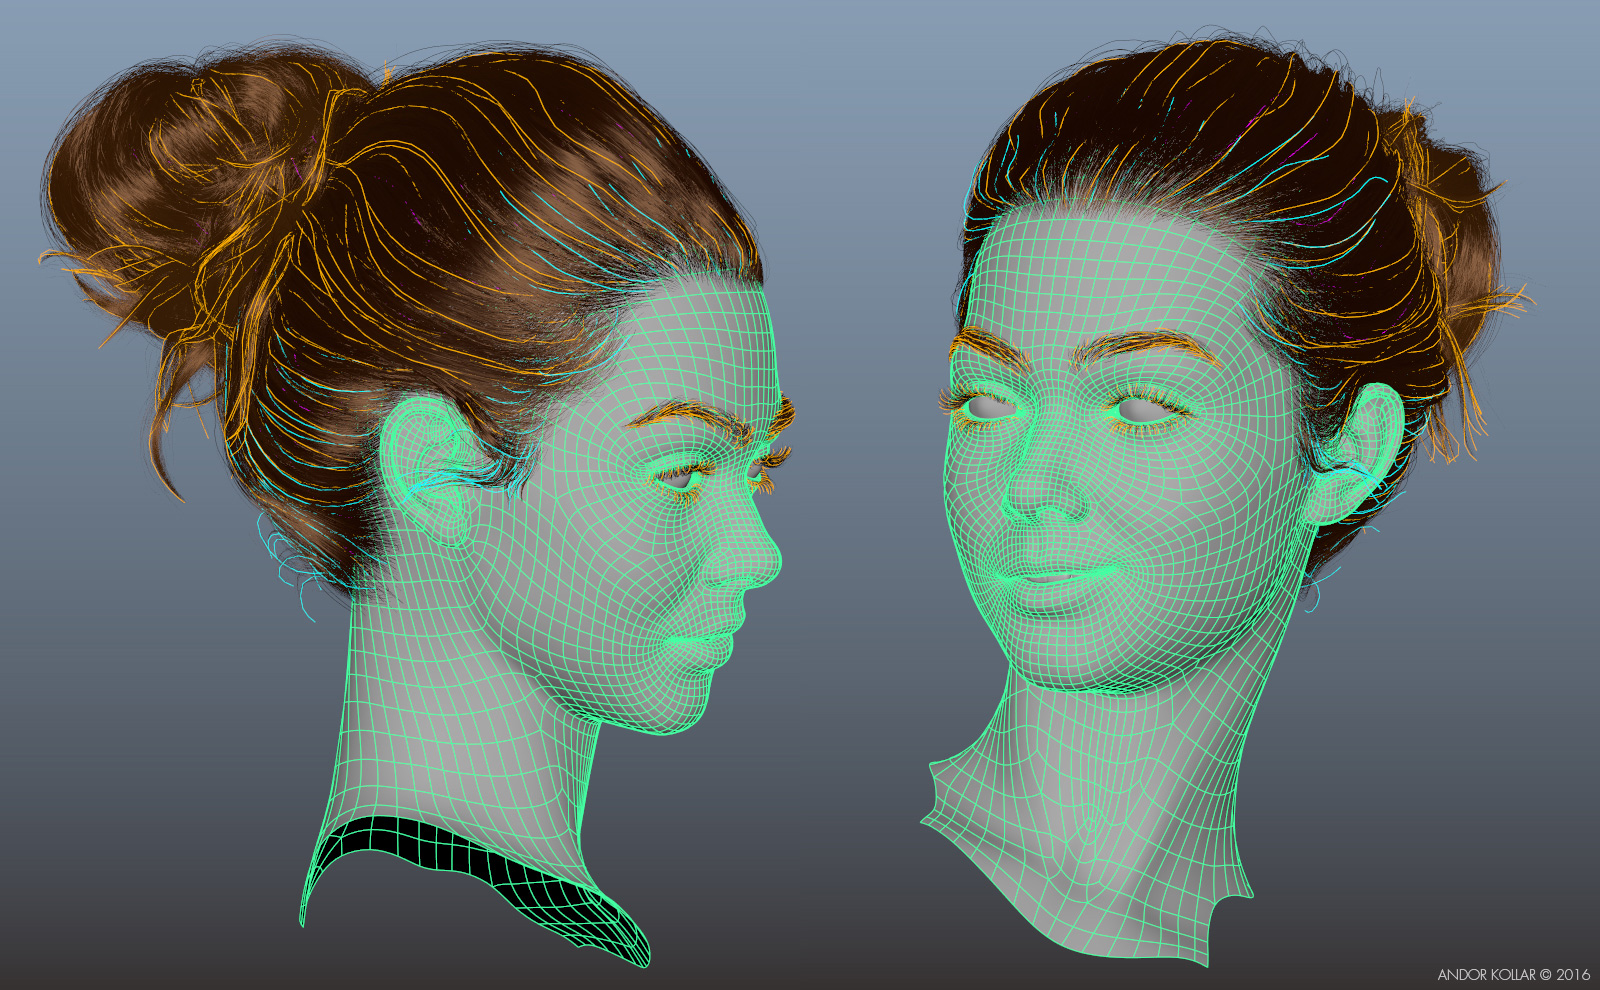
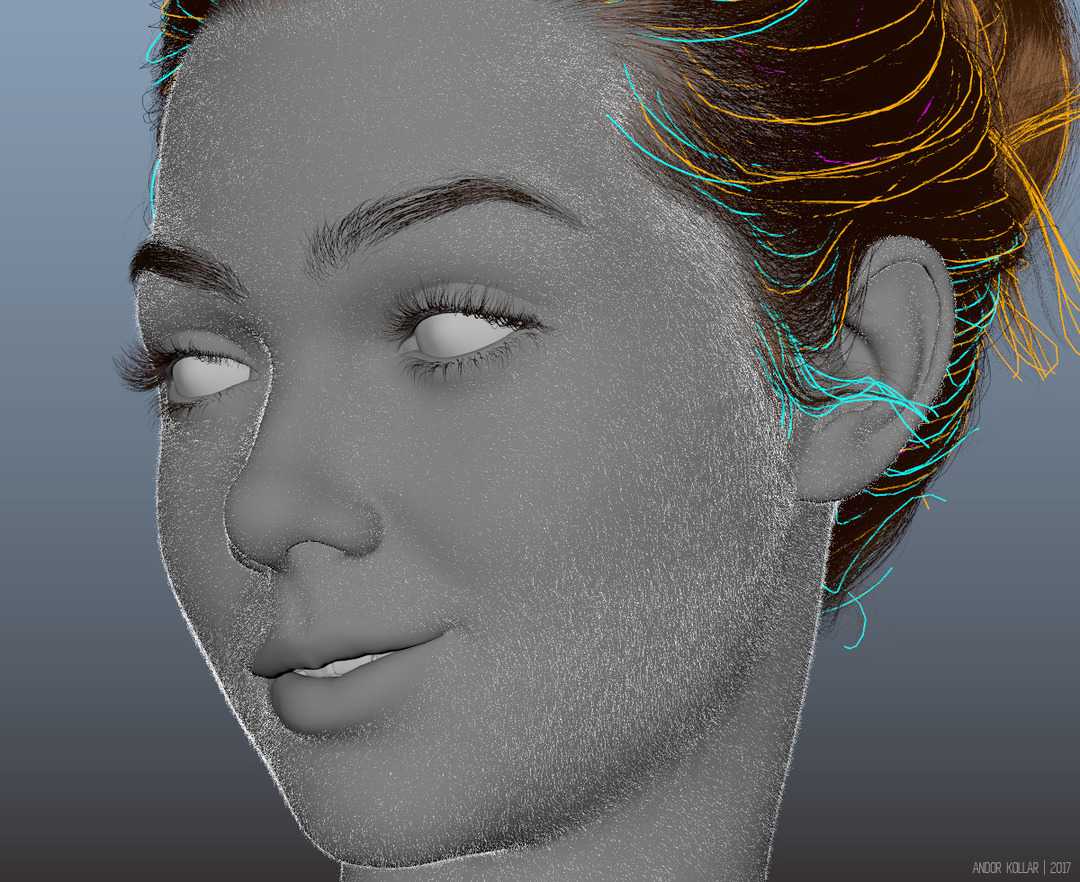
I used the powerful Maya XGen for the final hairs of this project. From the head mesh I extracted three scalp meshes from which I grew the hairs, eyebrows and the eyelashes. This wig is a very complex hair so I used many descriptions, in this way I could split the hair elements to make them more manageable. Each color of the guide lines means different description and every description has different hair settings. I painted masks for the density and the width of the hair. I also used many hair modifiers such as fly away, noise and clumping to achieve a realistic result.
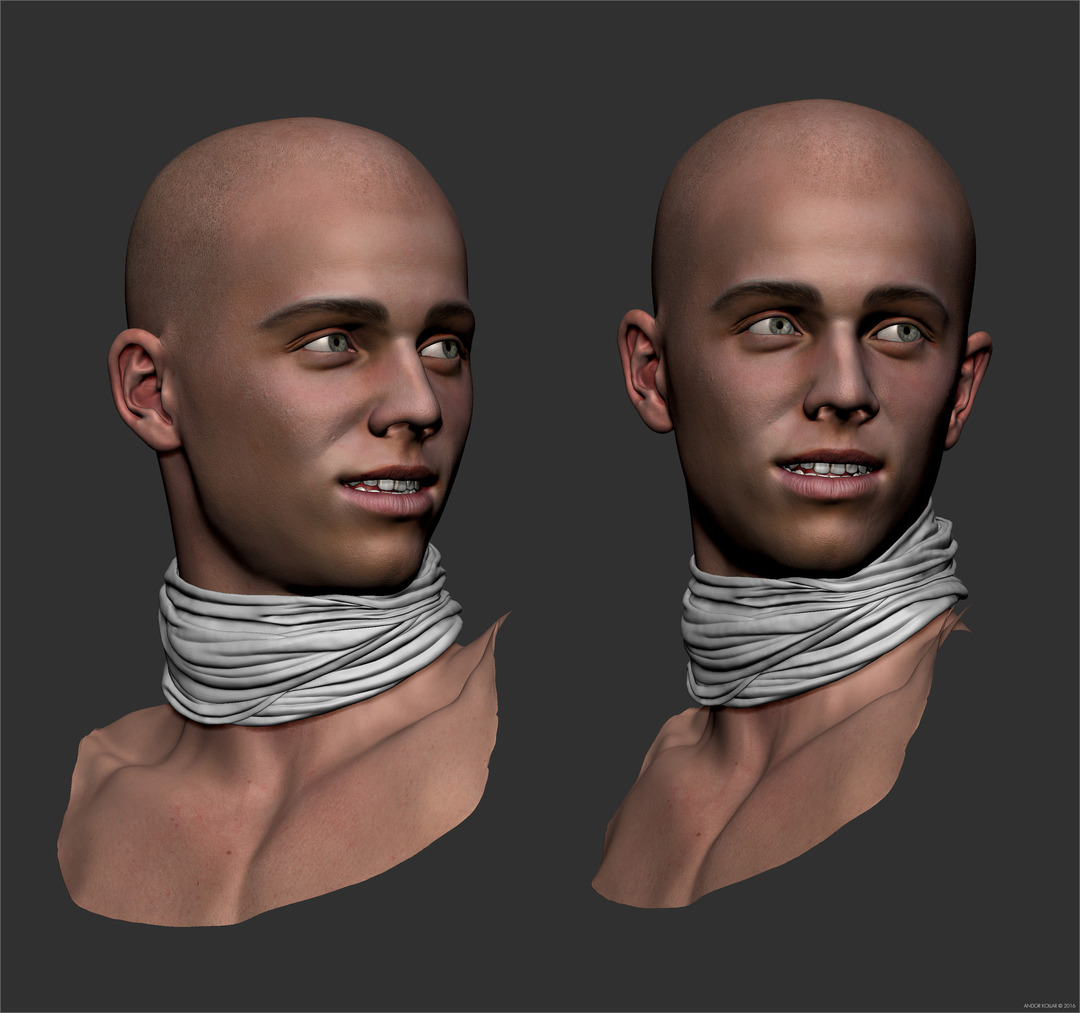
This is the final white wig with a smiling facial expression.
This is the laying young man who watches his lover.
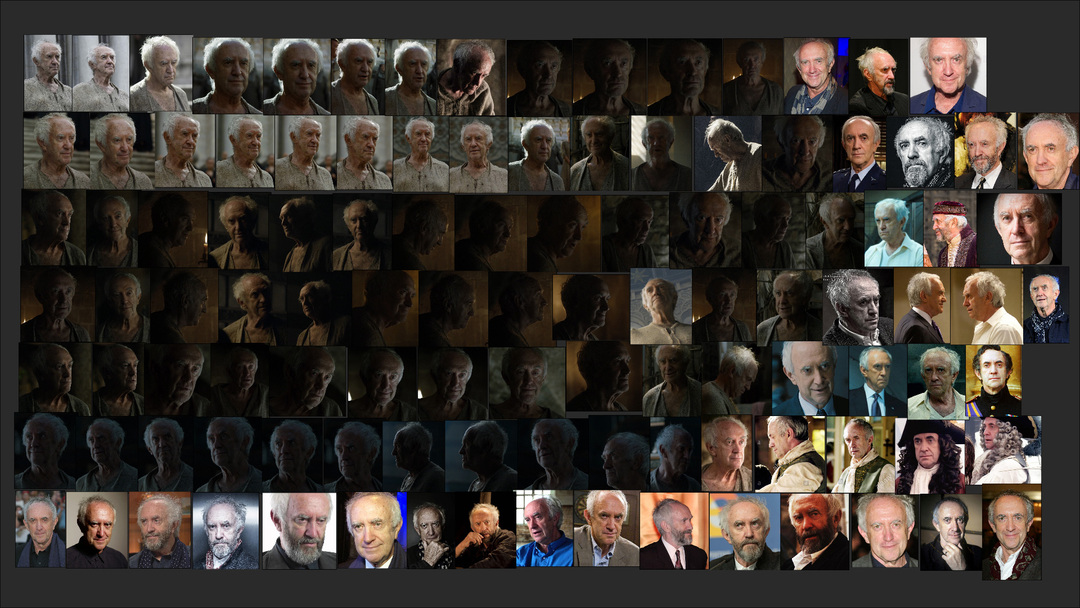
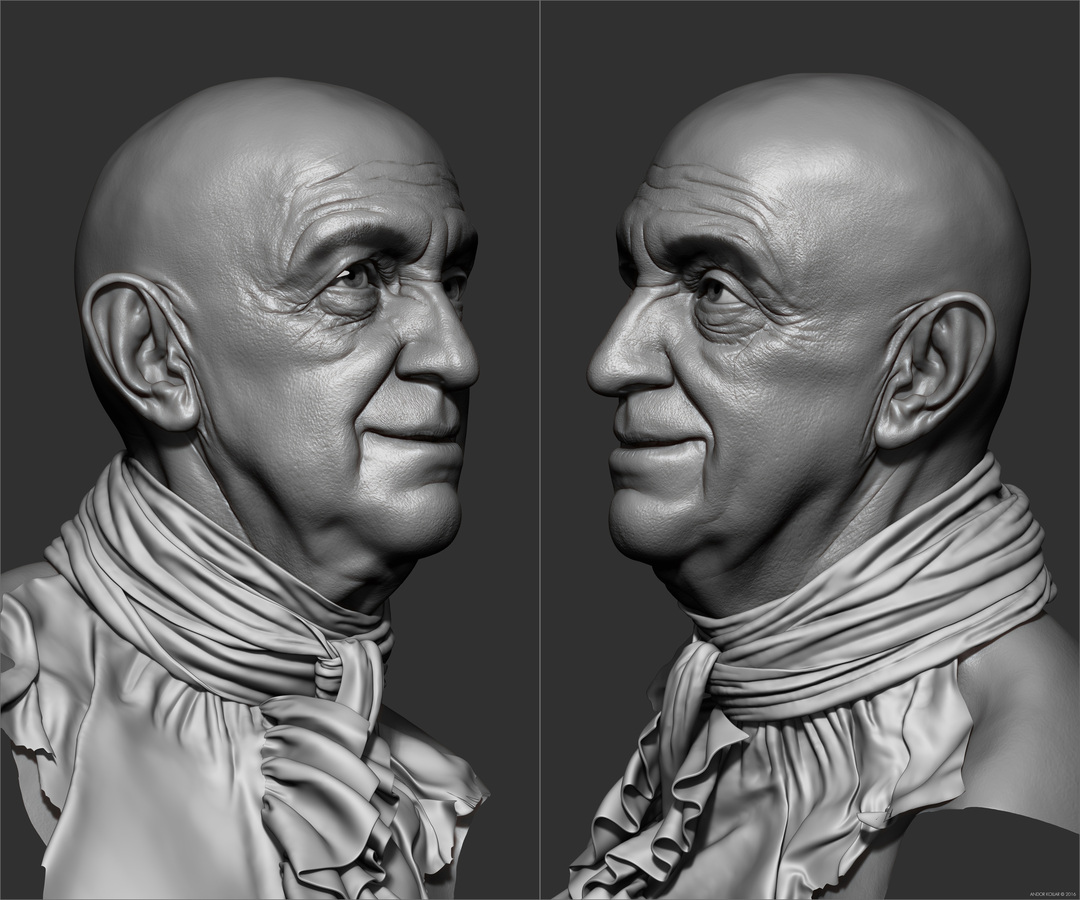
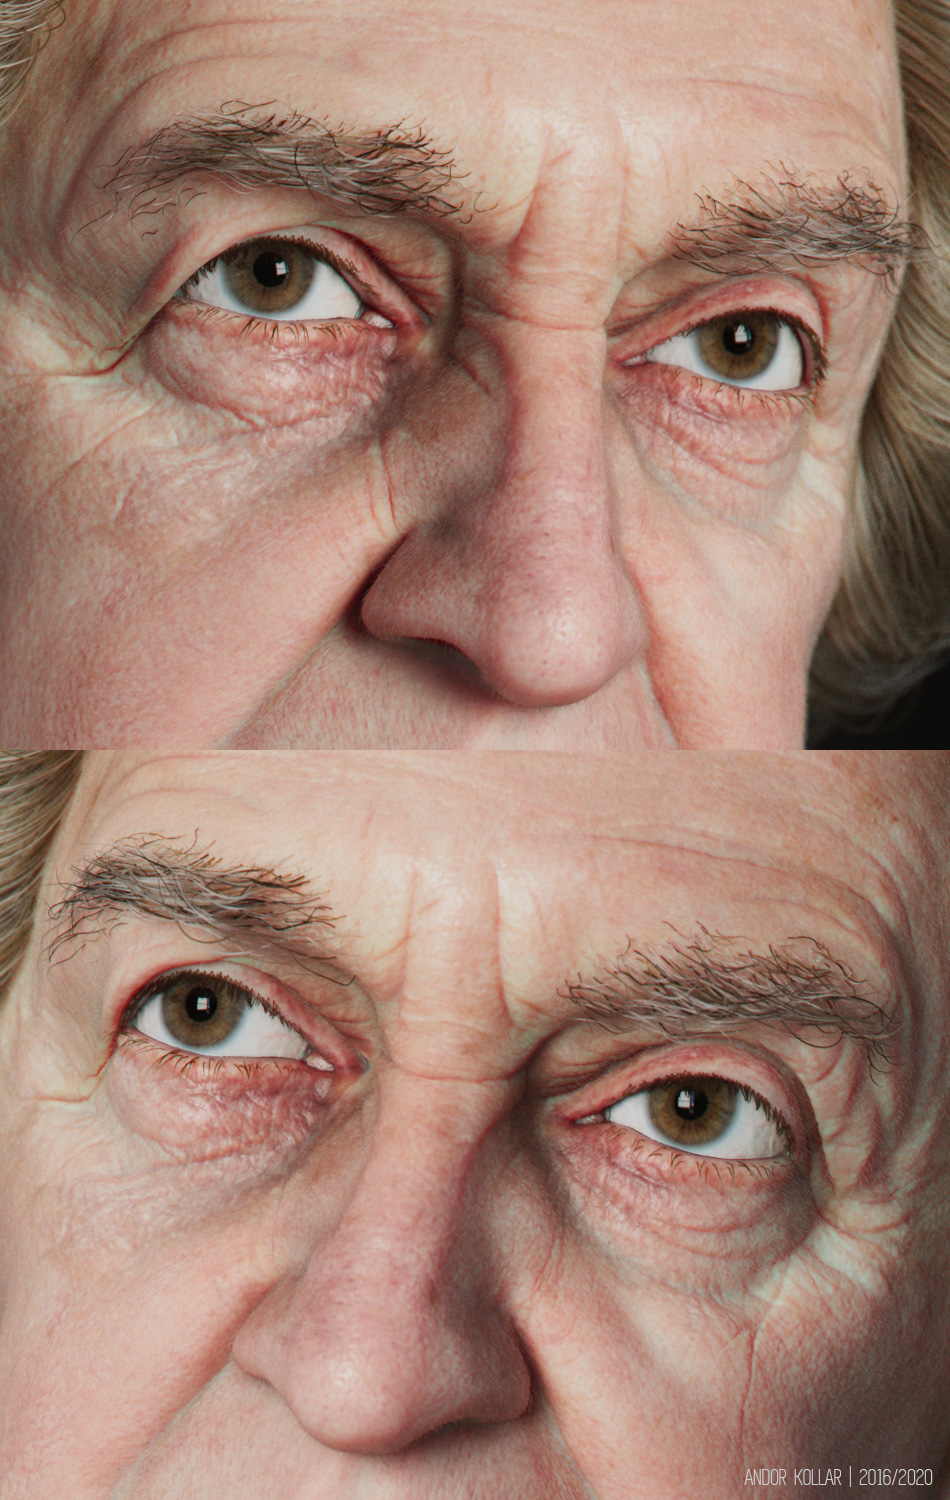
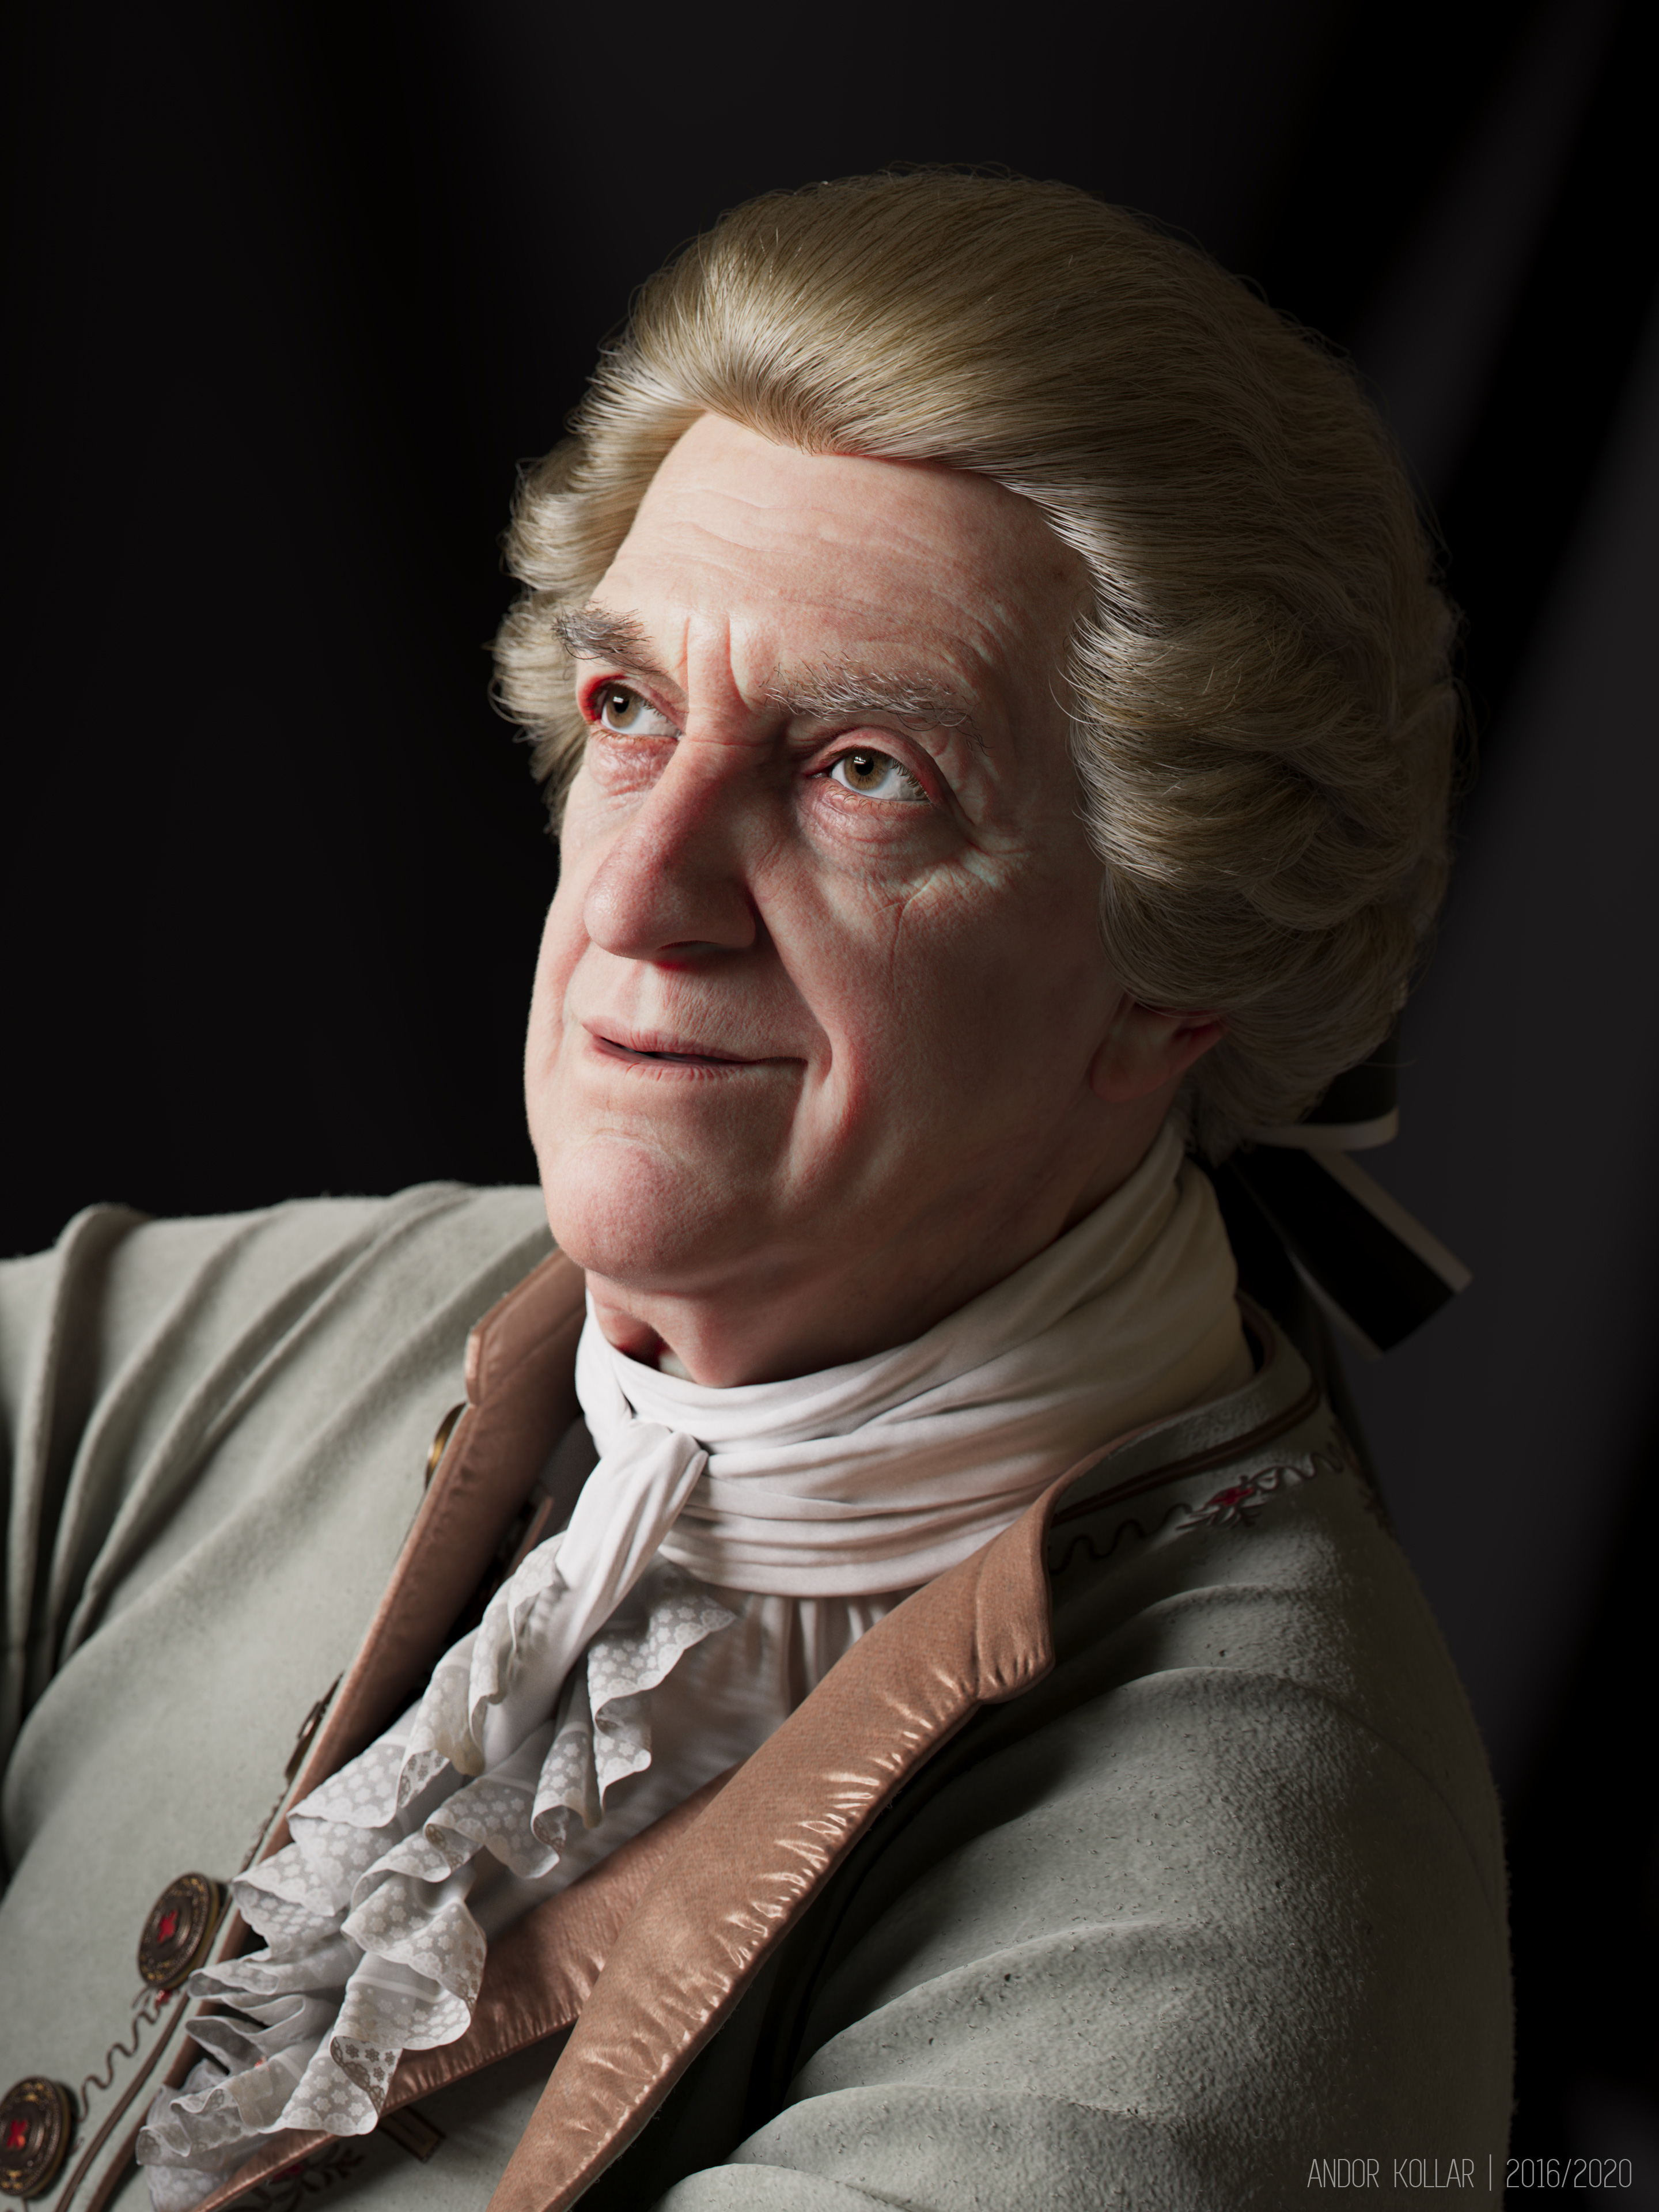
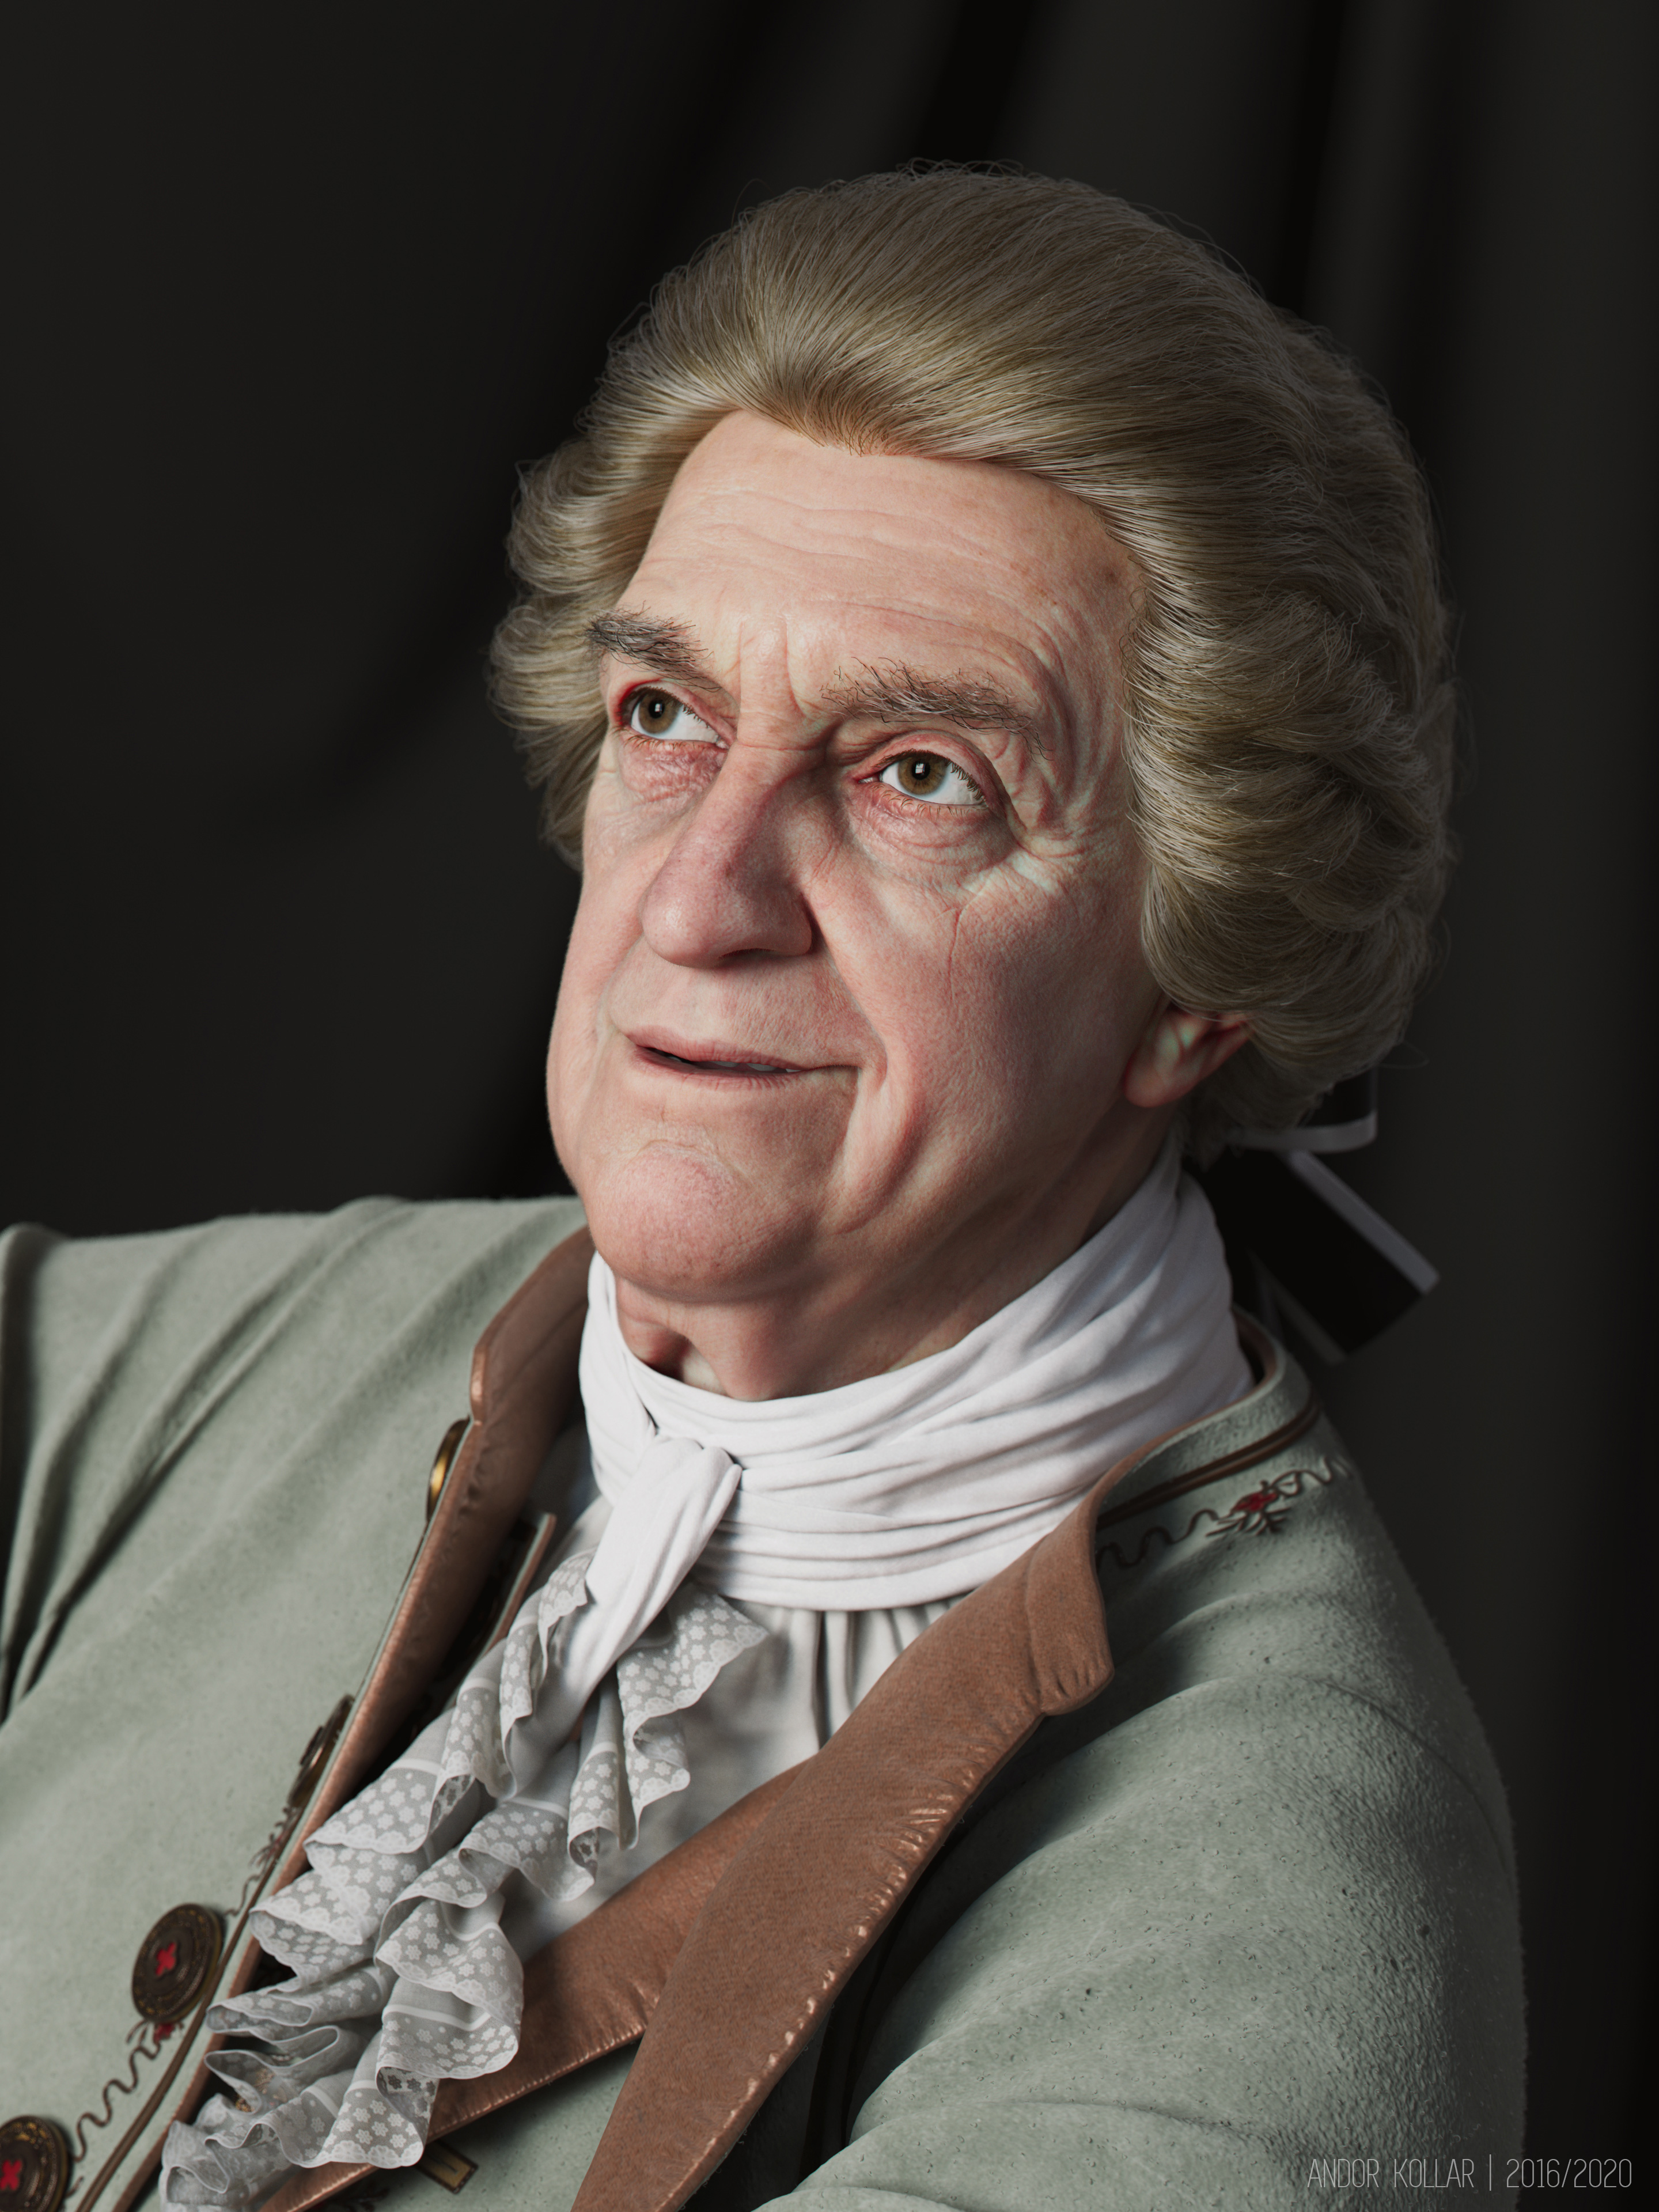
I used the face of Jonathan Pryce as reference for the Old Man then I sculpted his face in ZBrush.
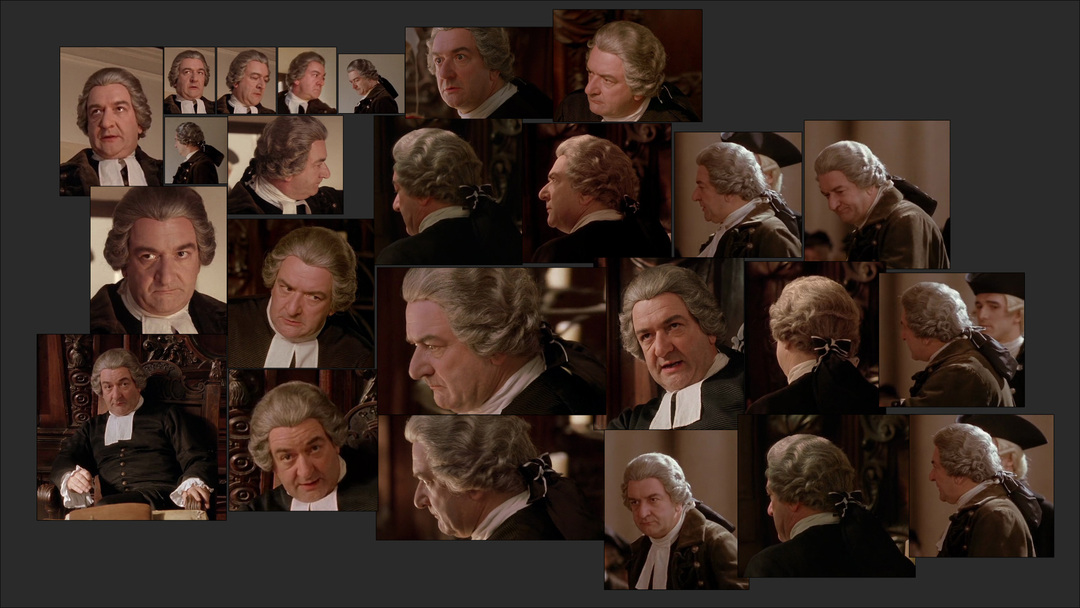
I used this reference images for the wig and I sculpted the shape.
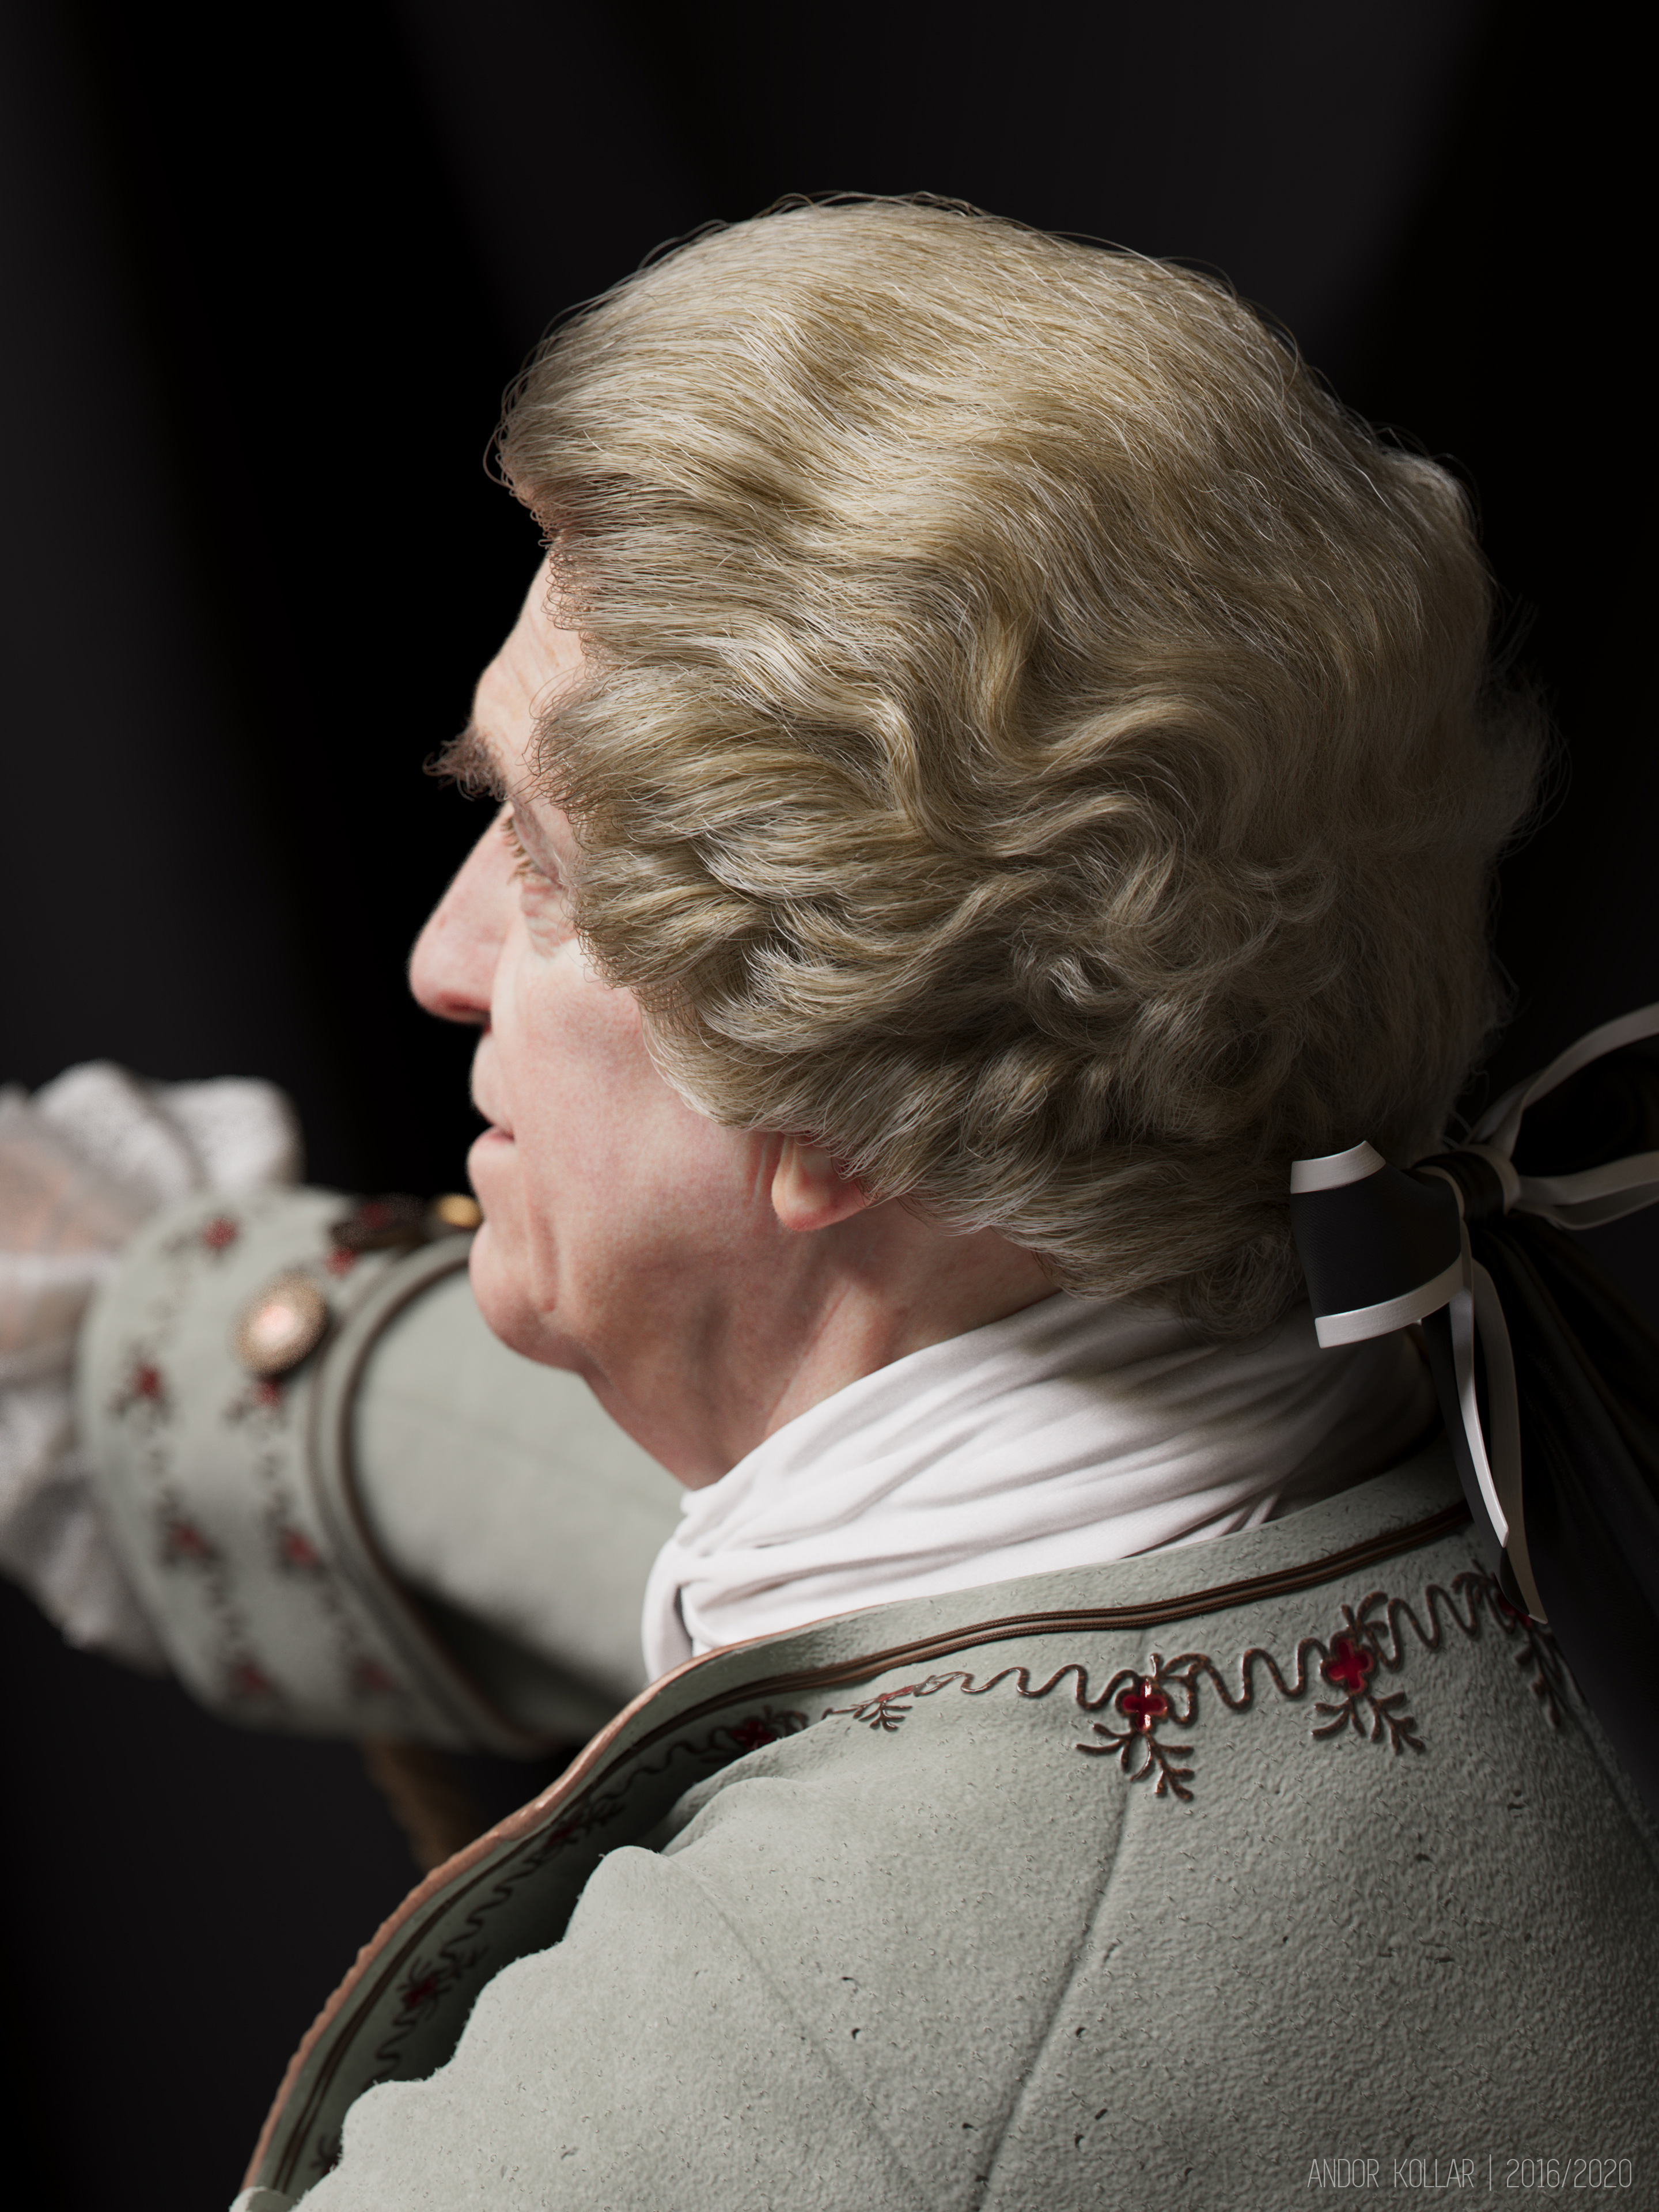
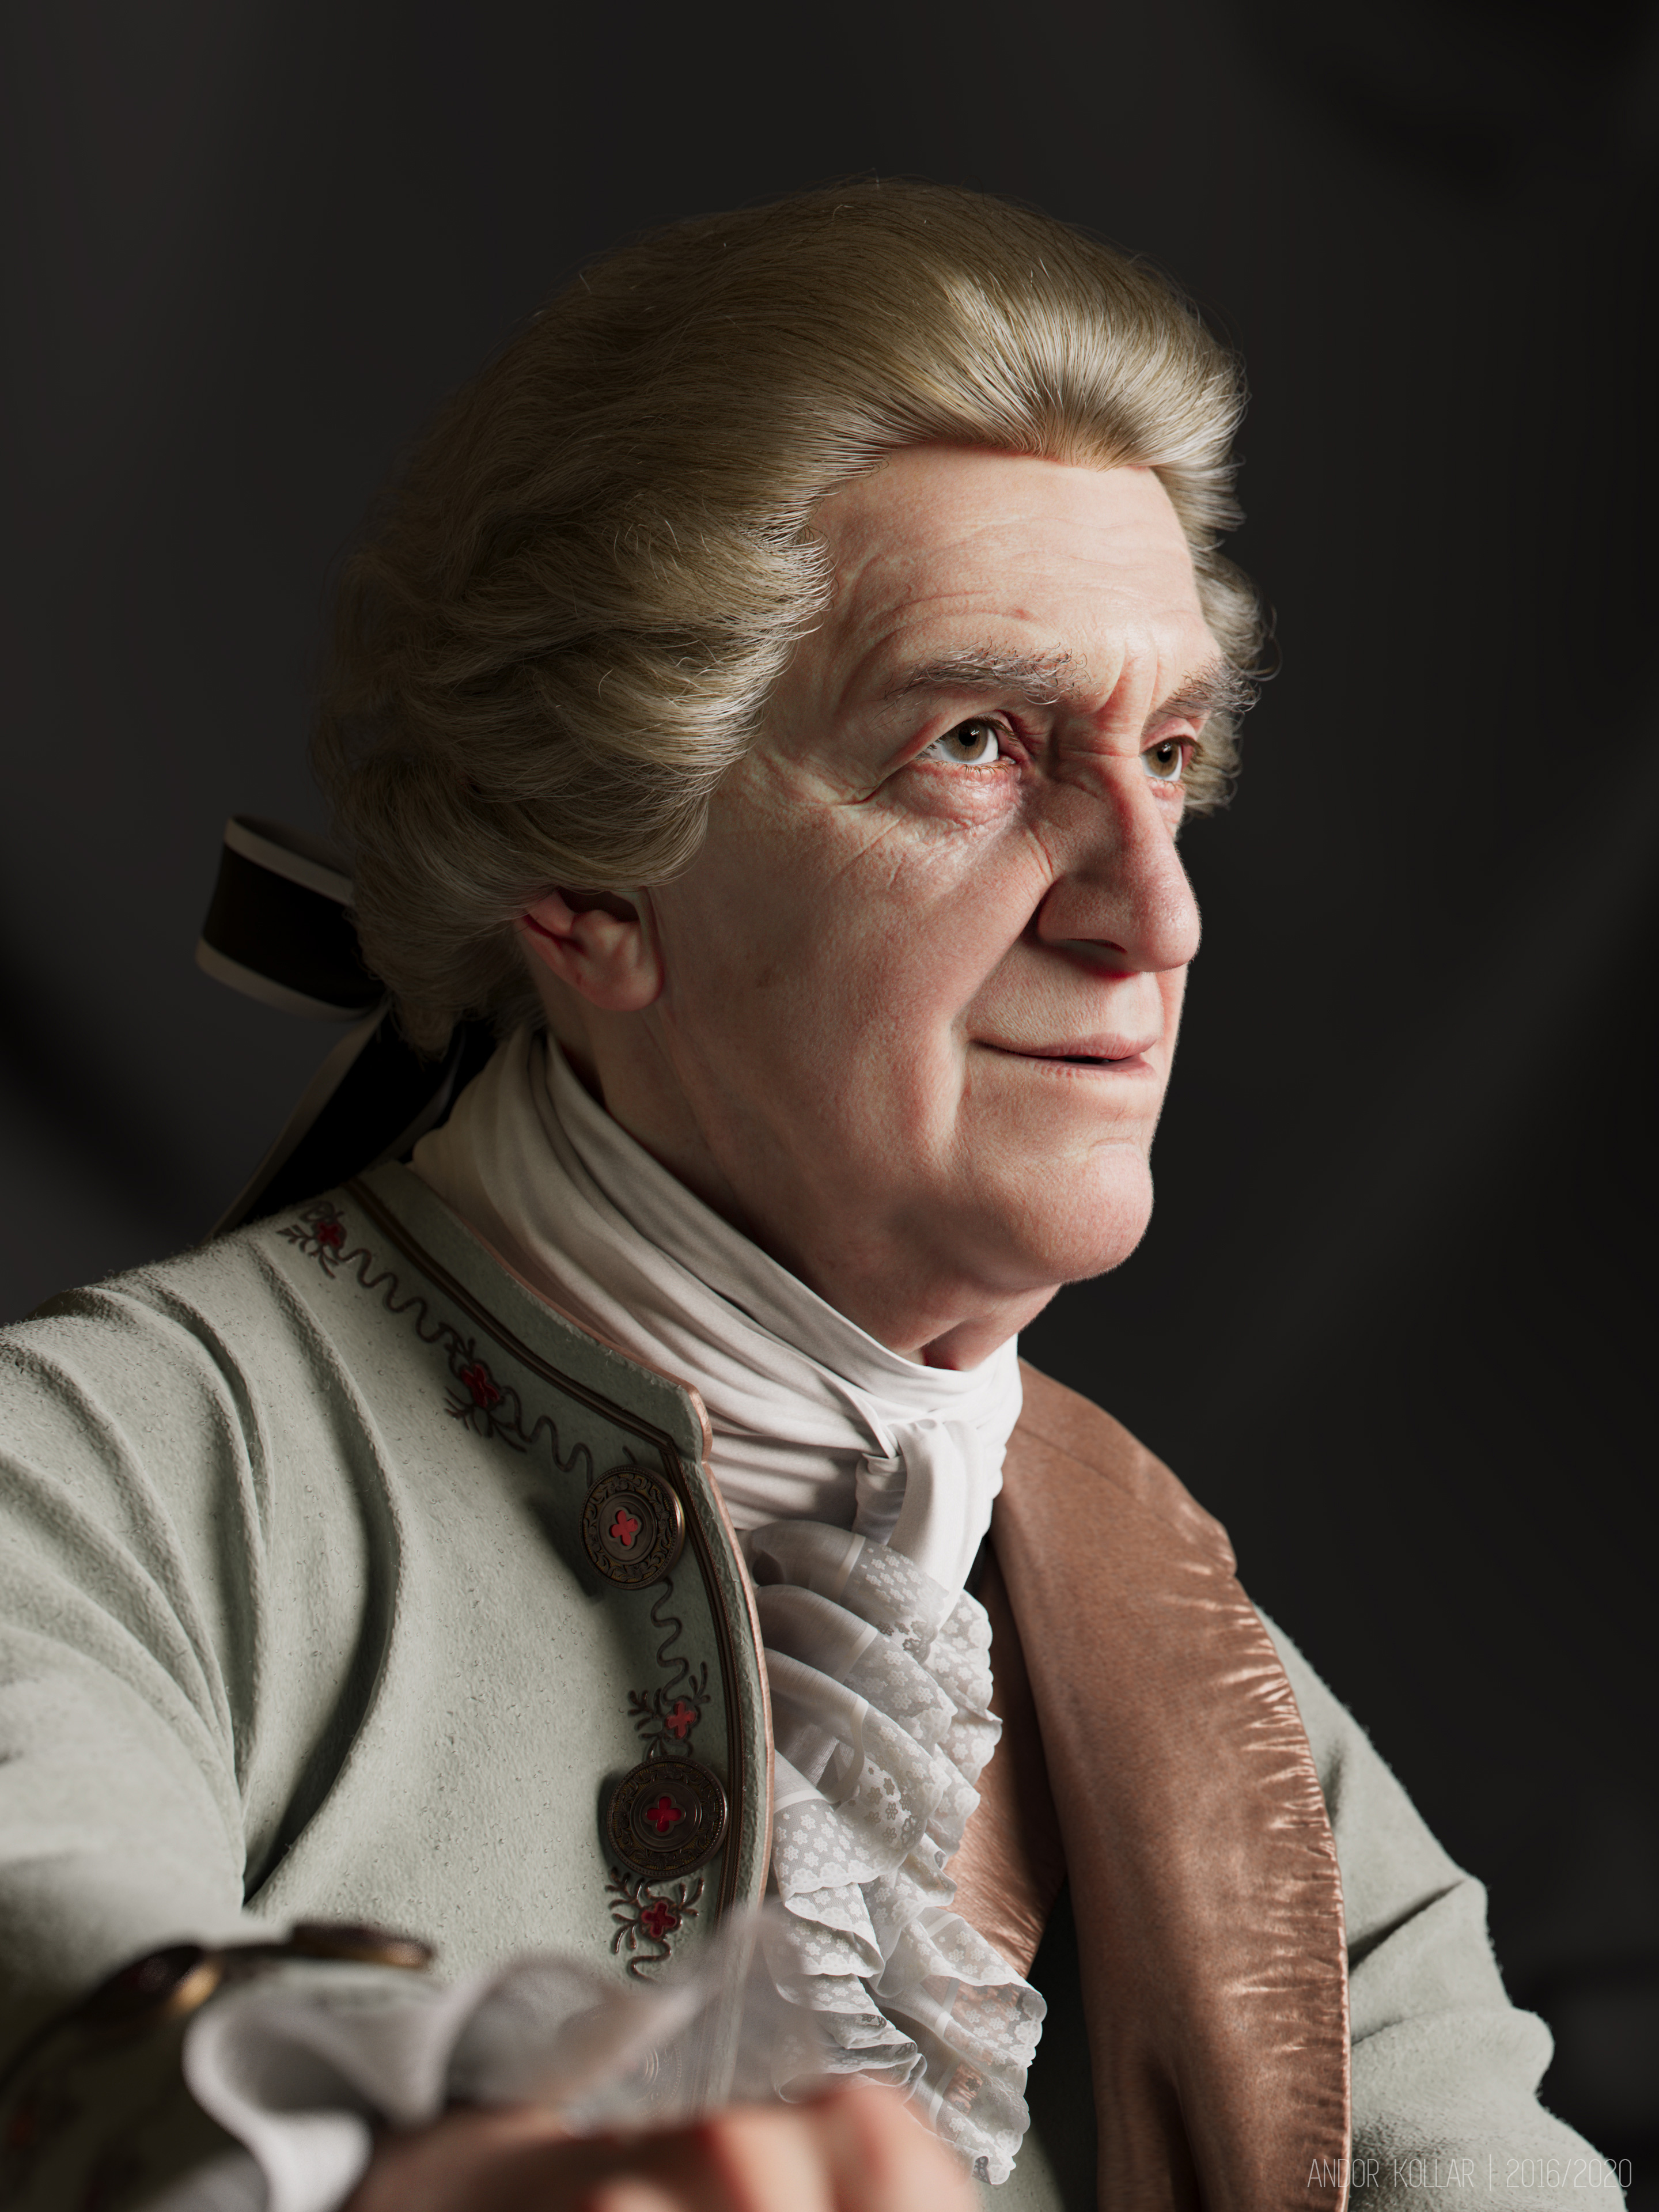
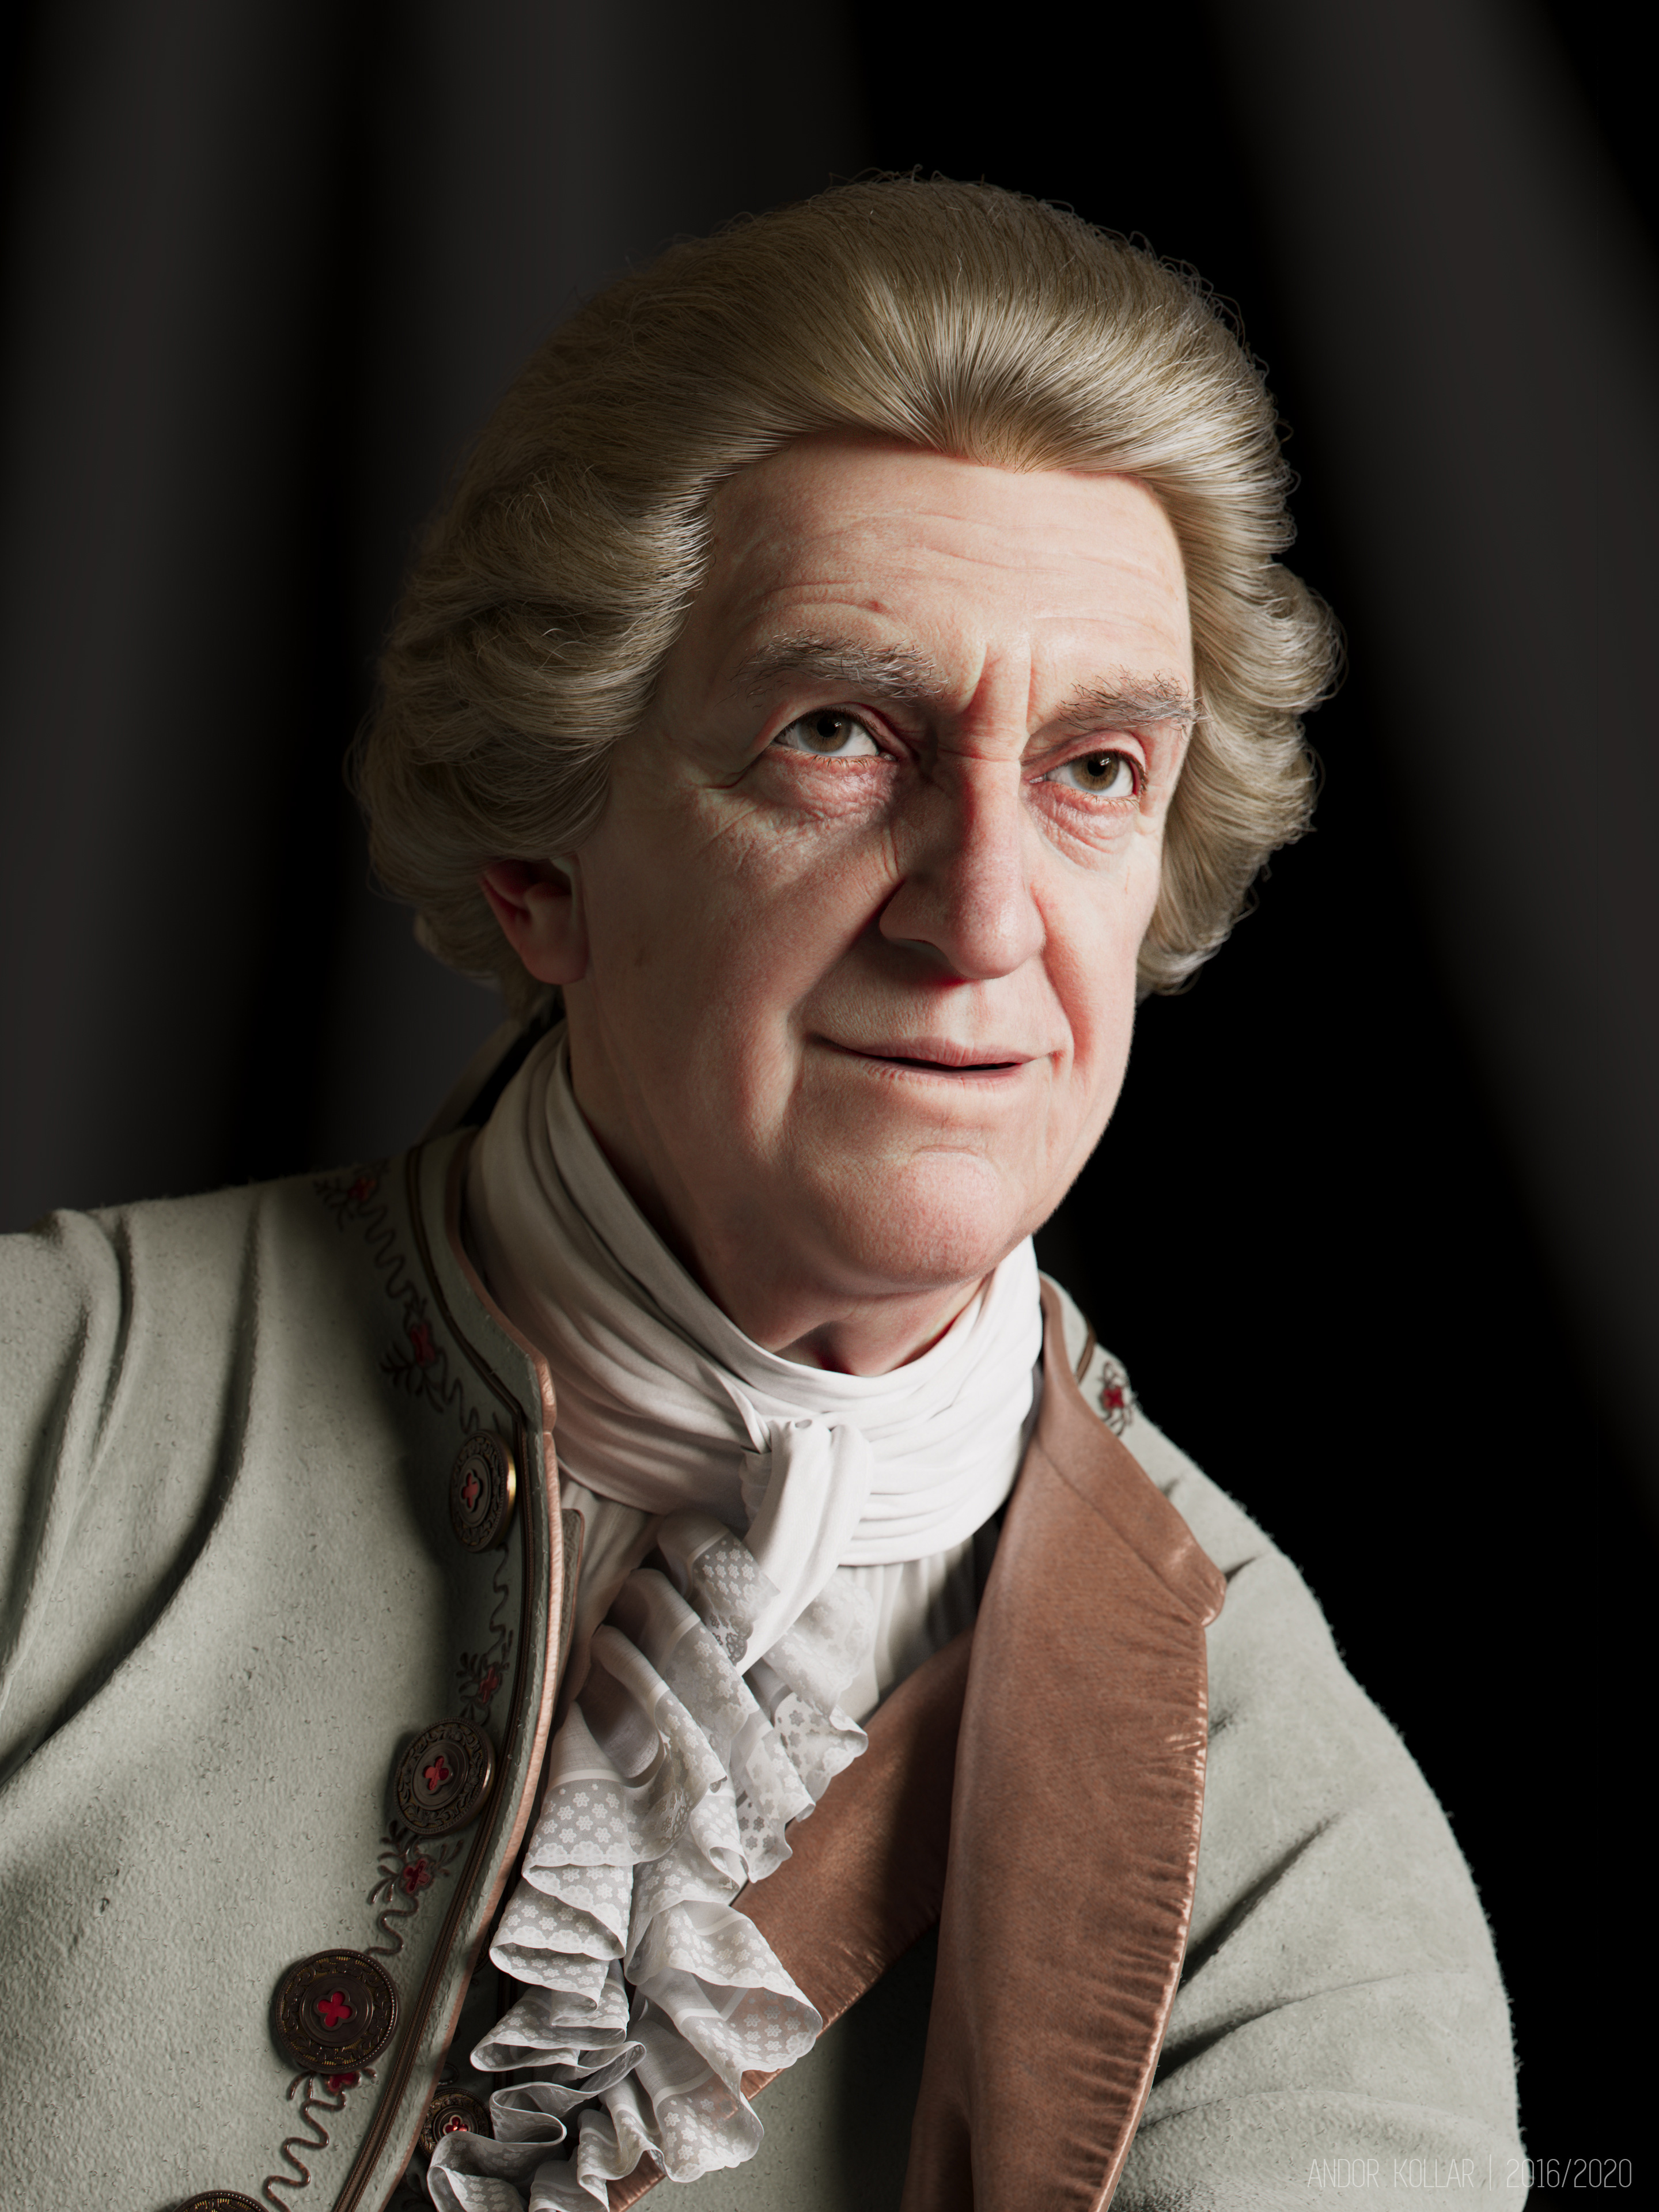
This is the Old Man with a big bow and the final wig.
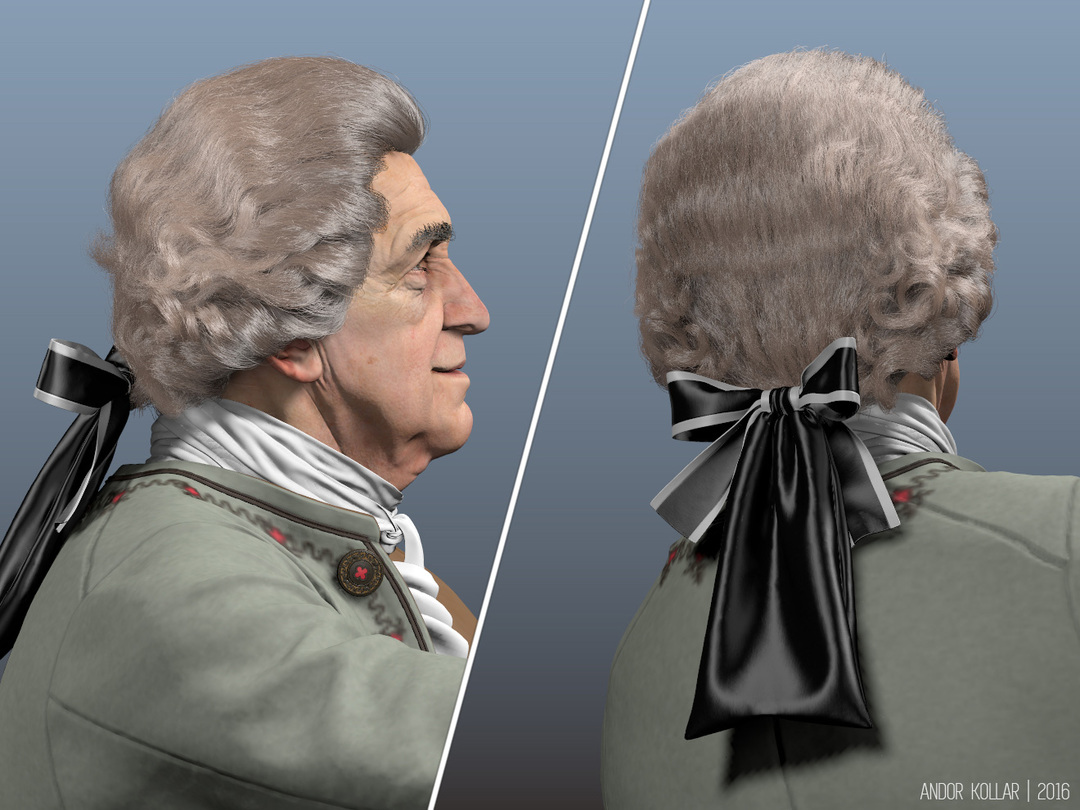
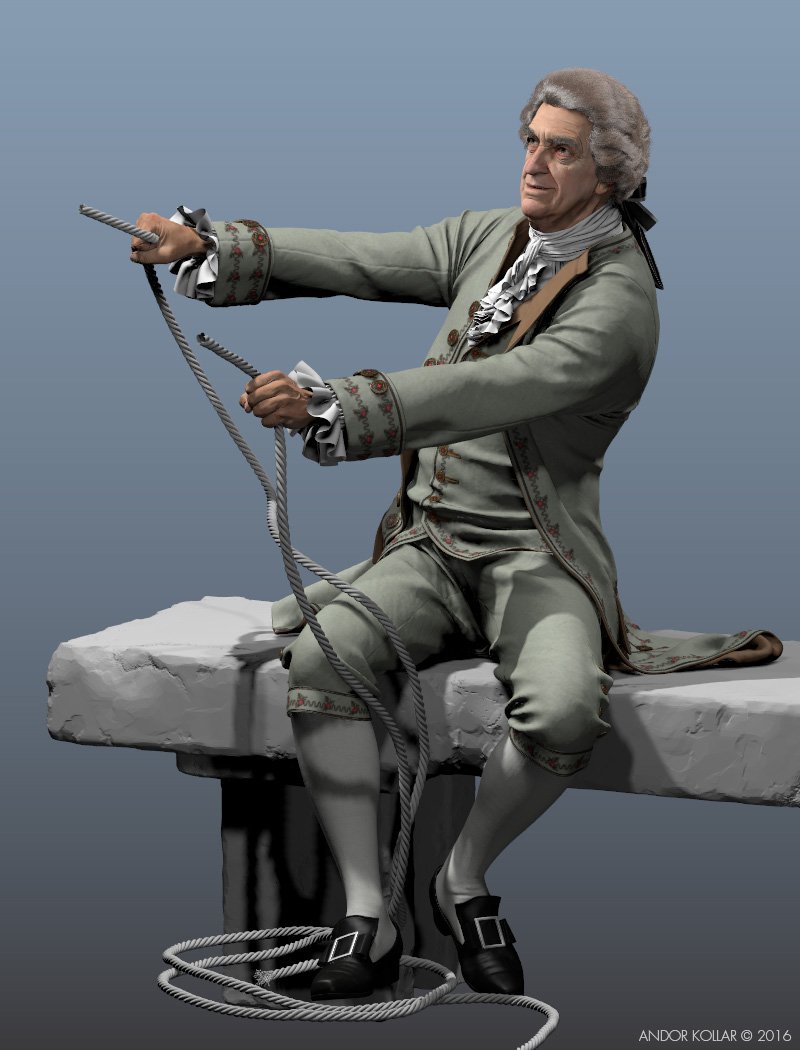
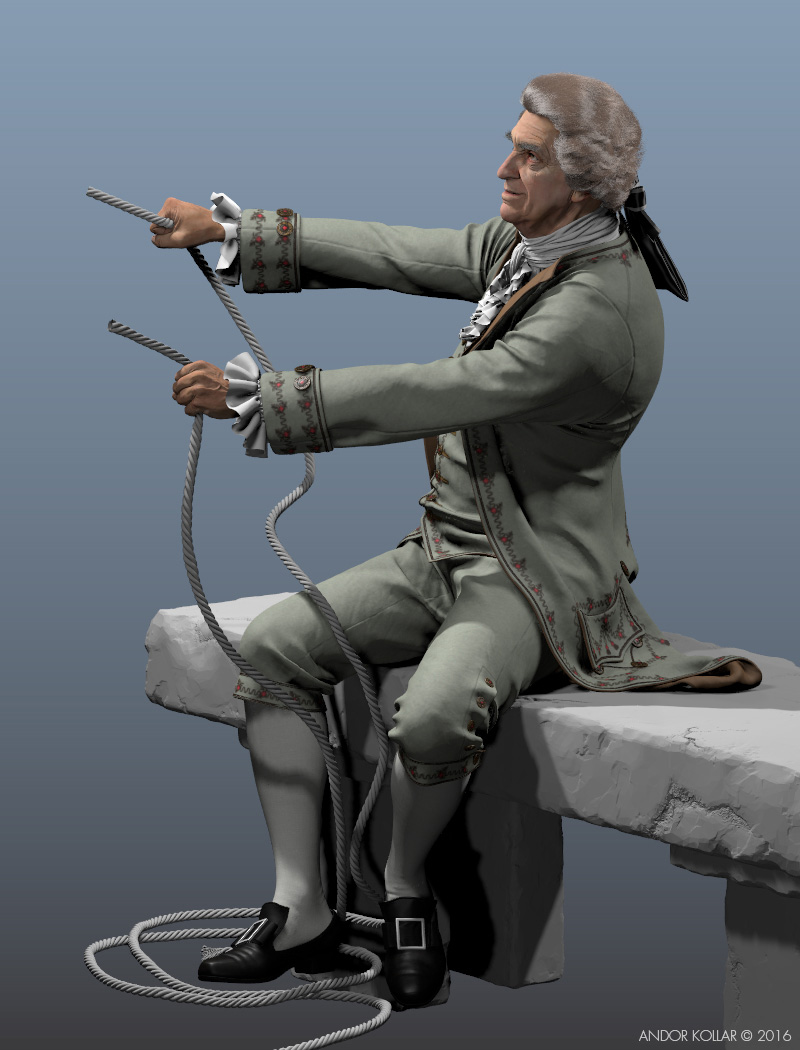
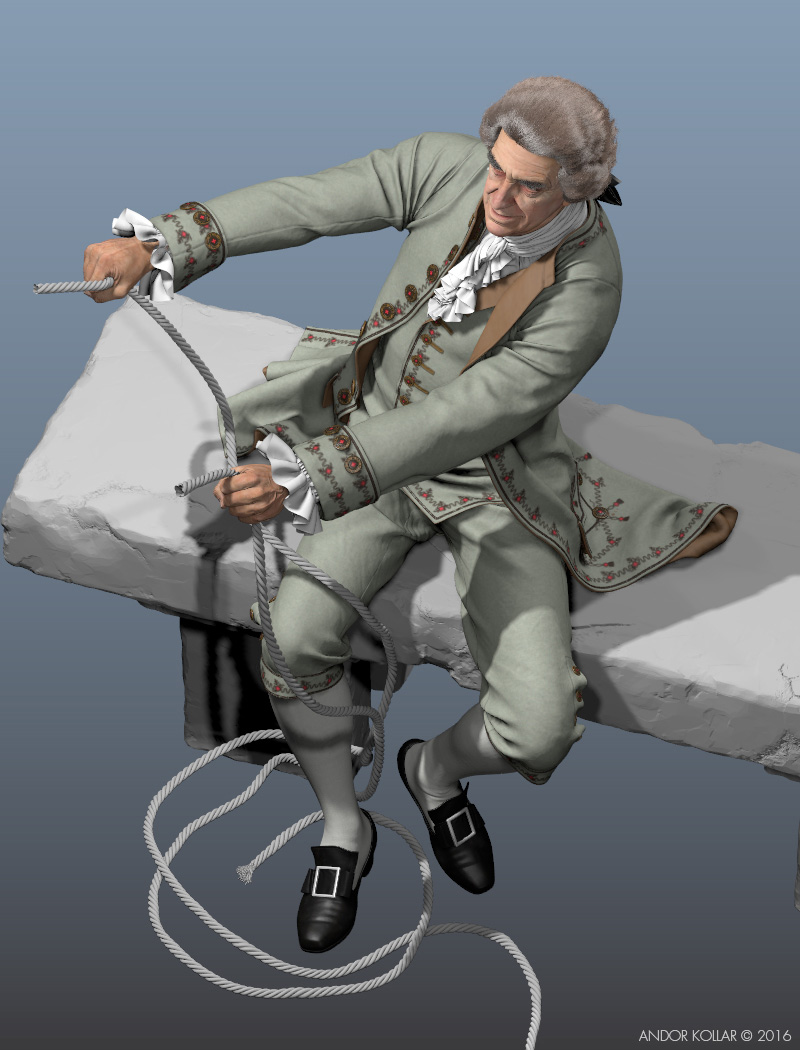
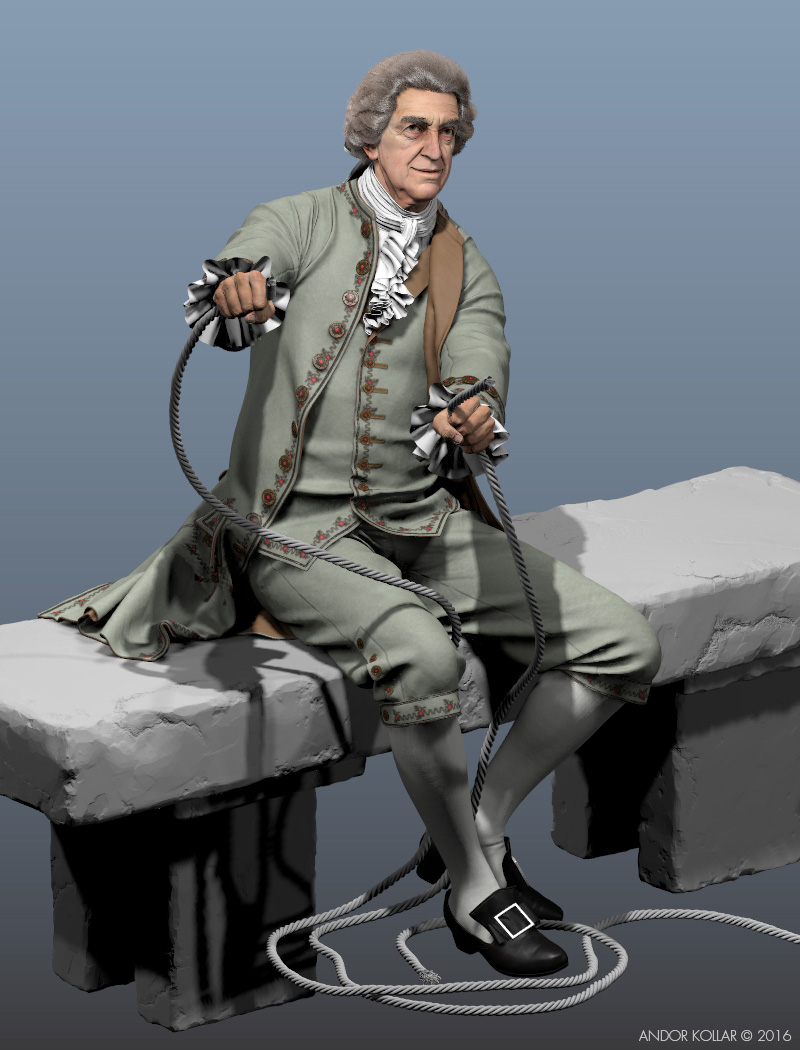
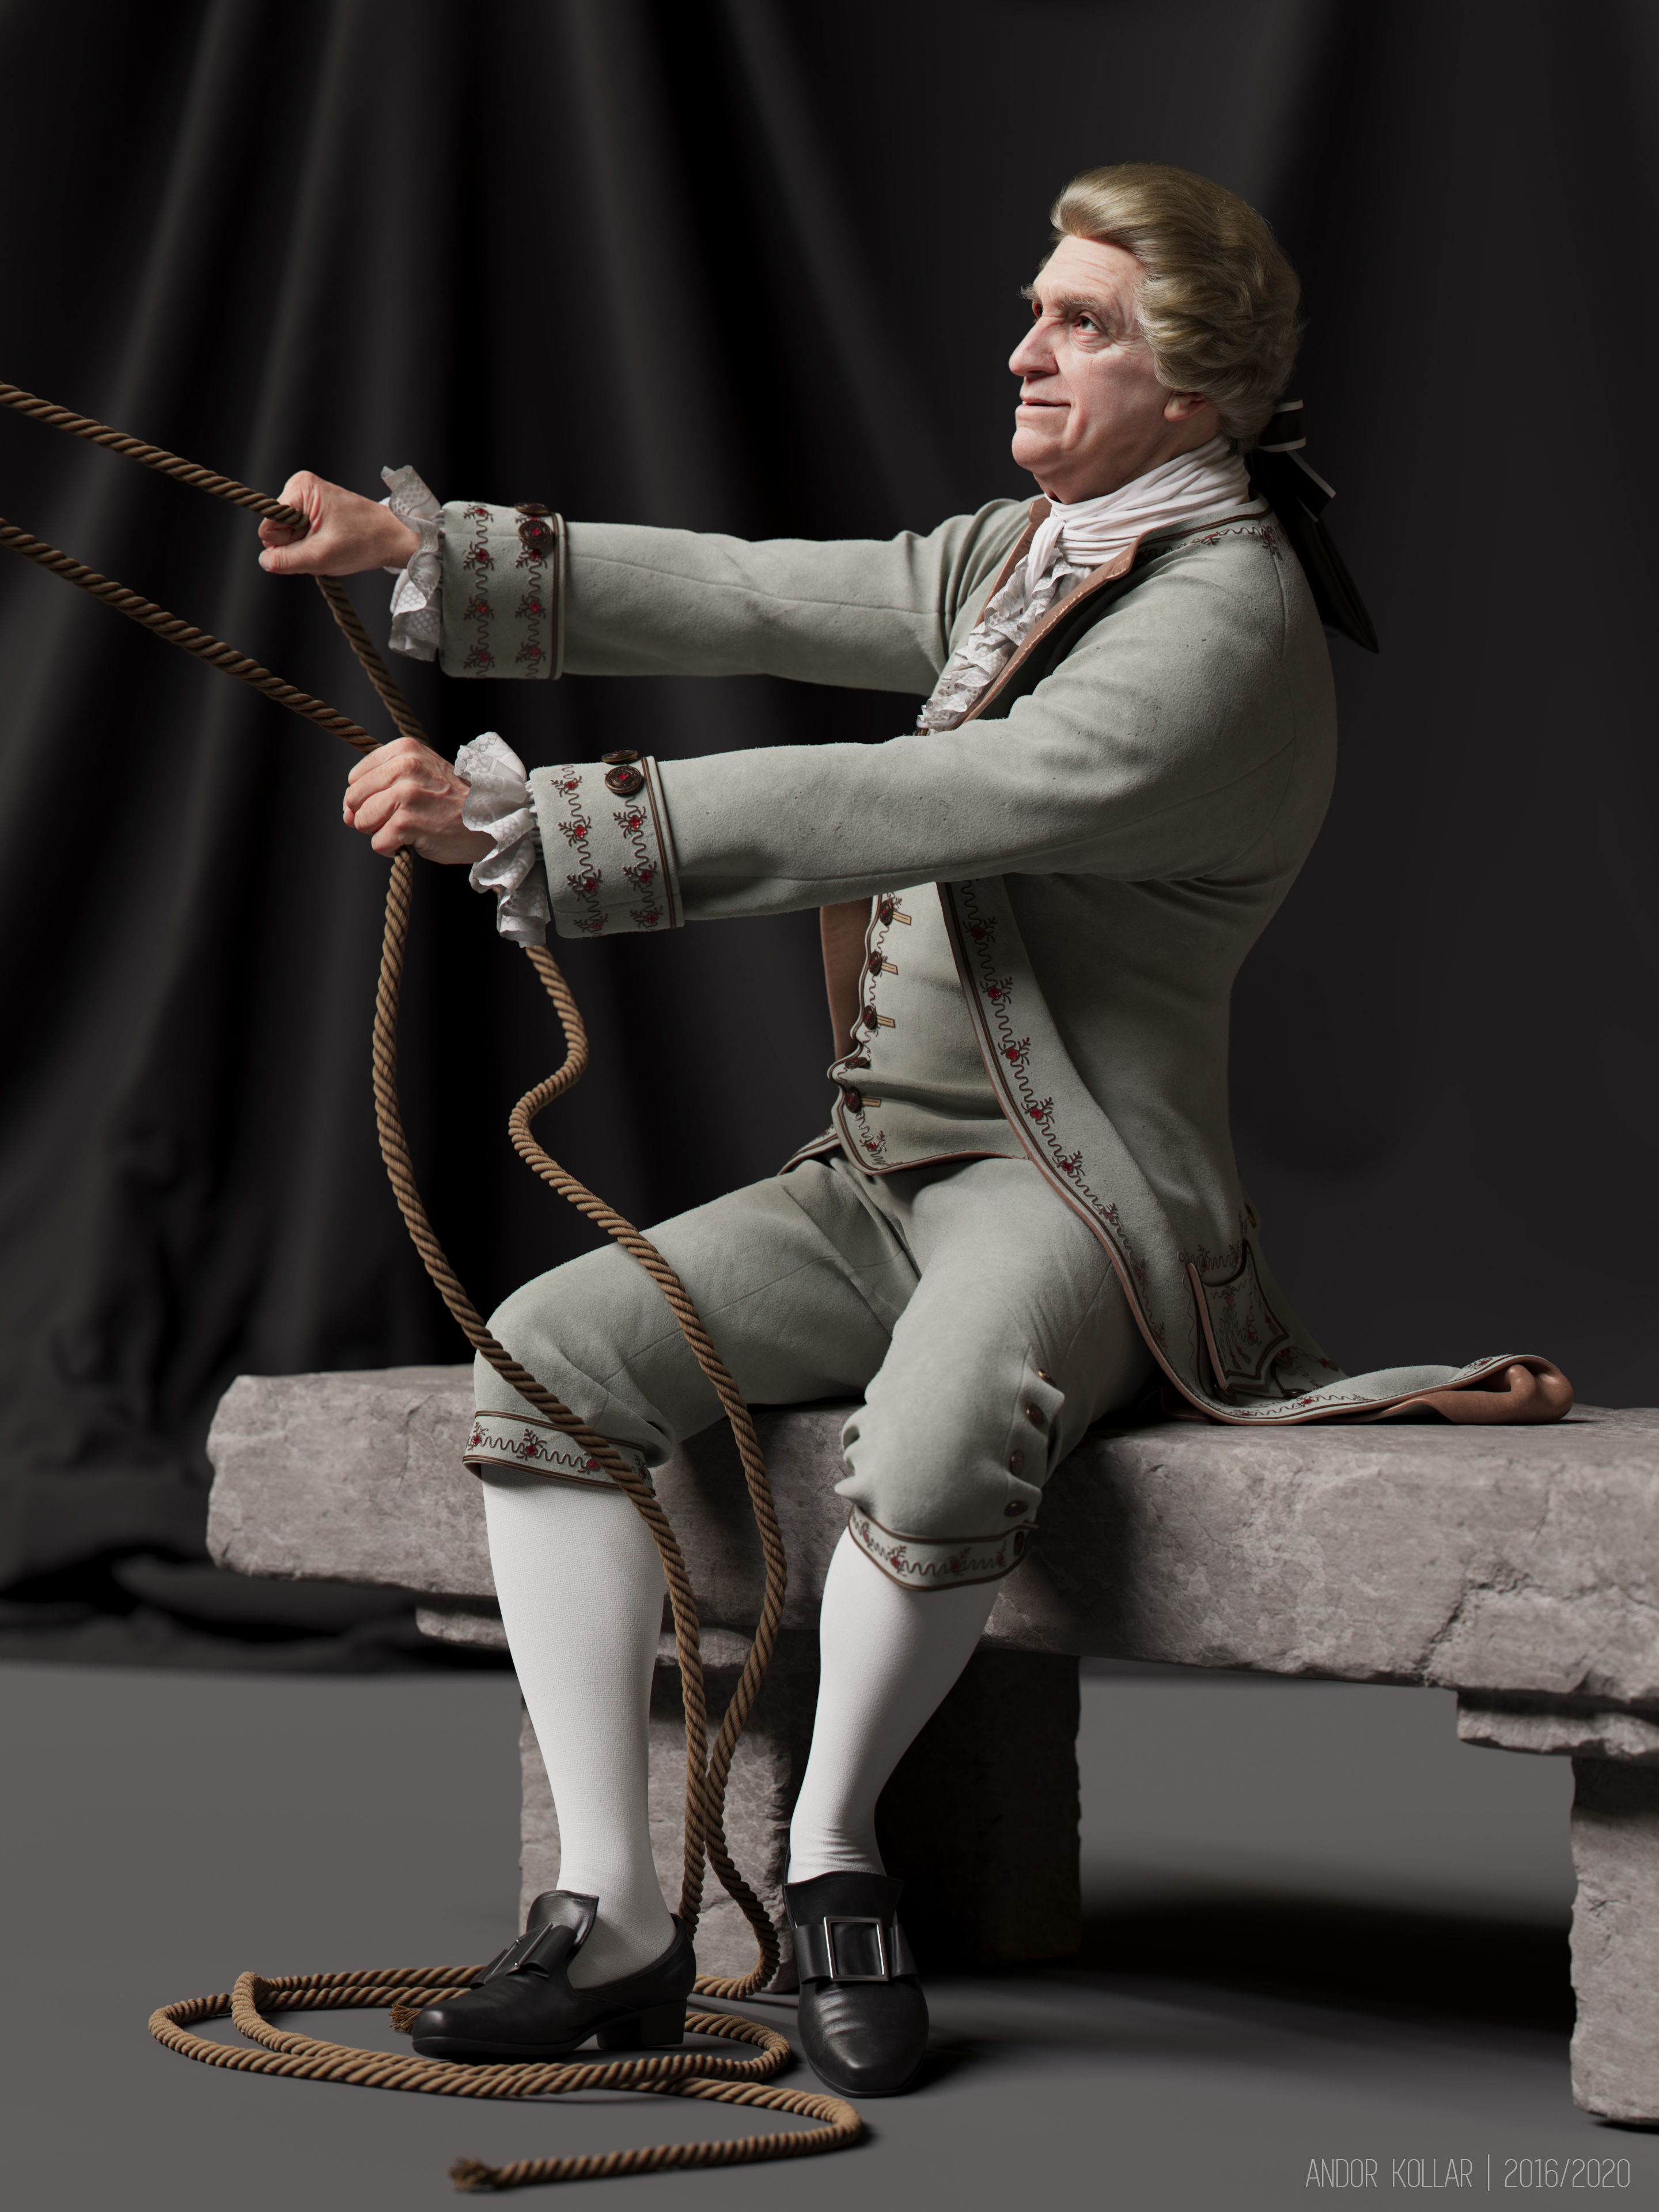
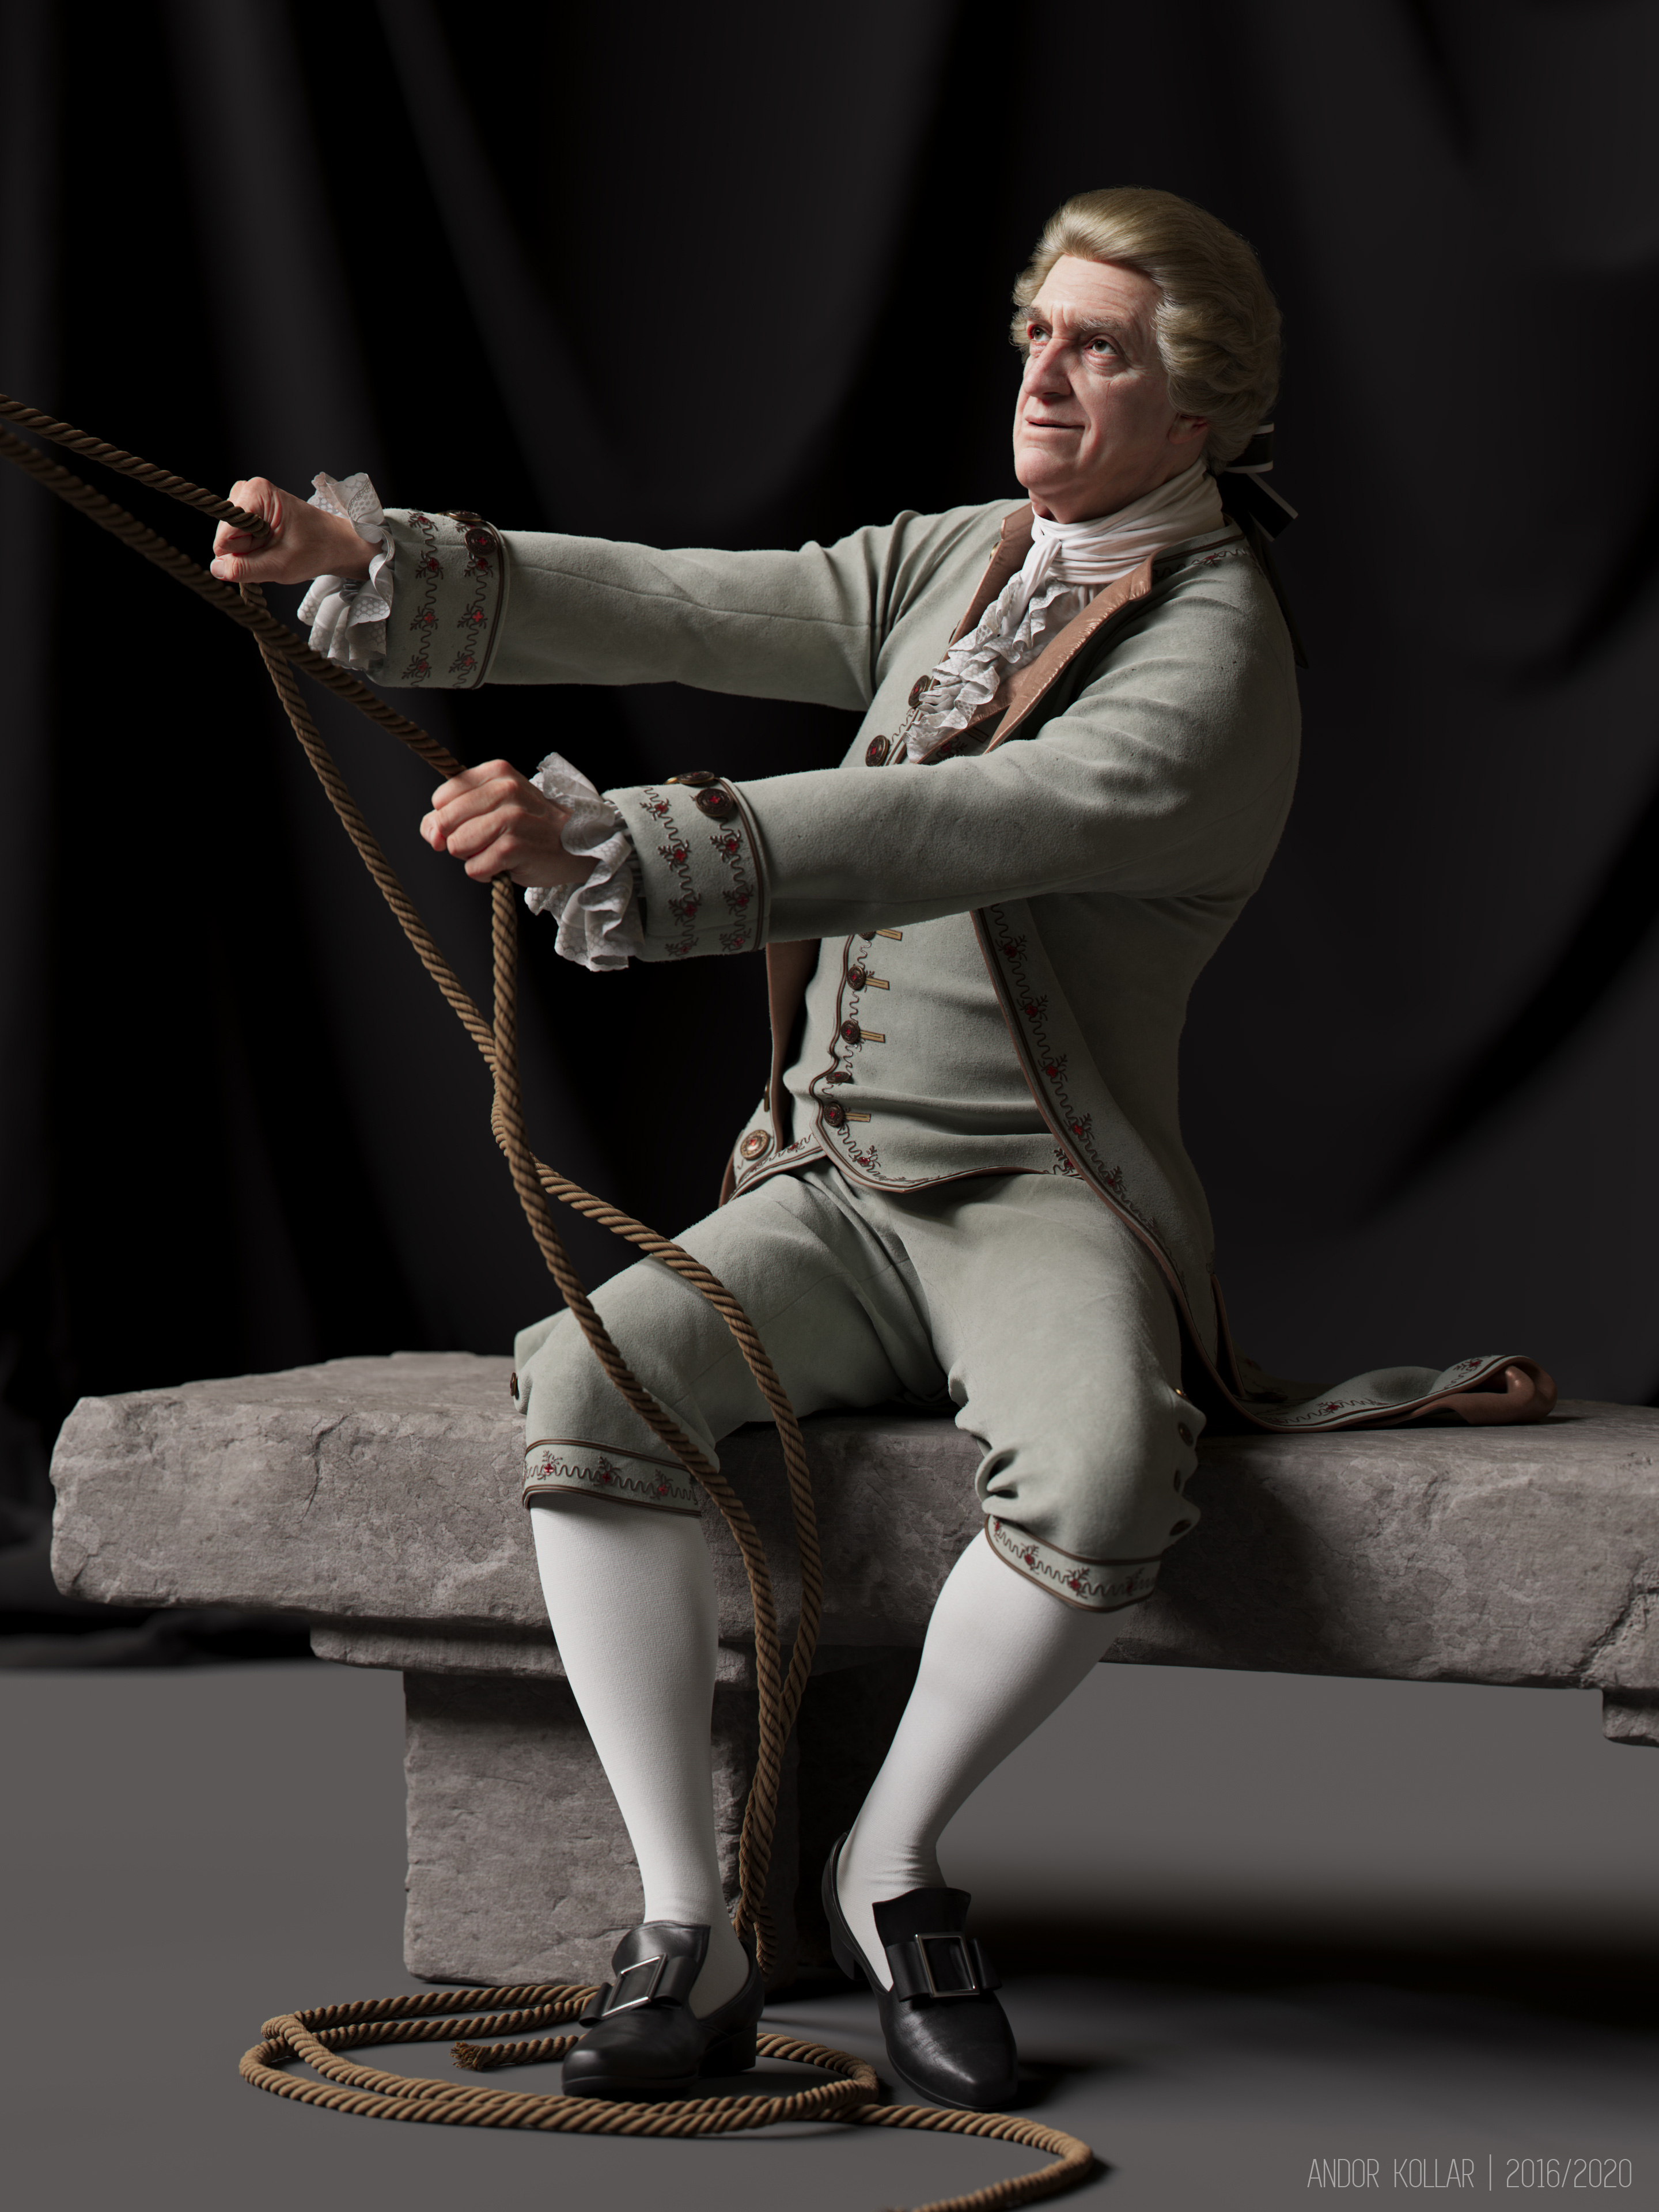
This is the sitting Old Man who propels the swing with a pair of ropes.
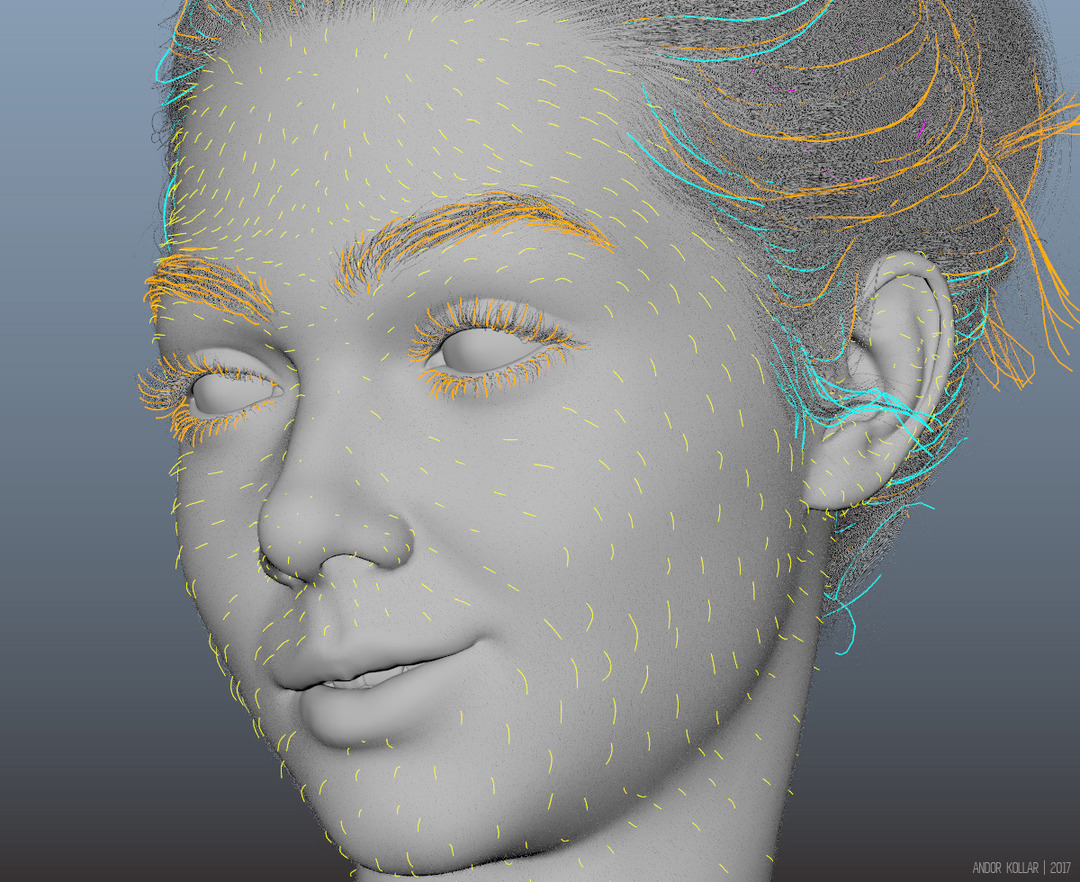
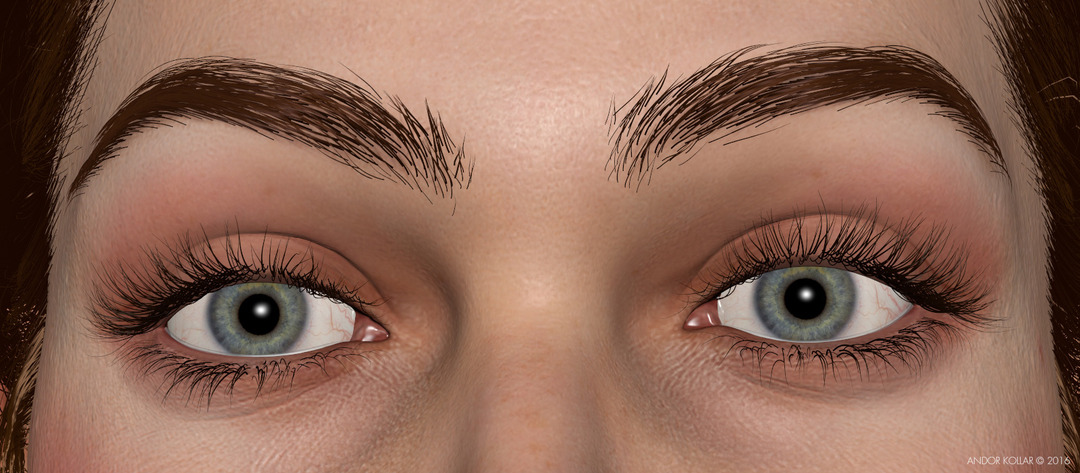
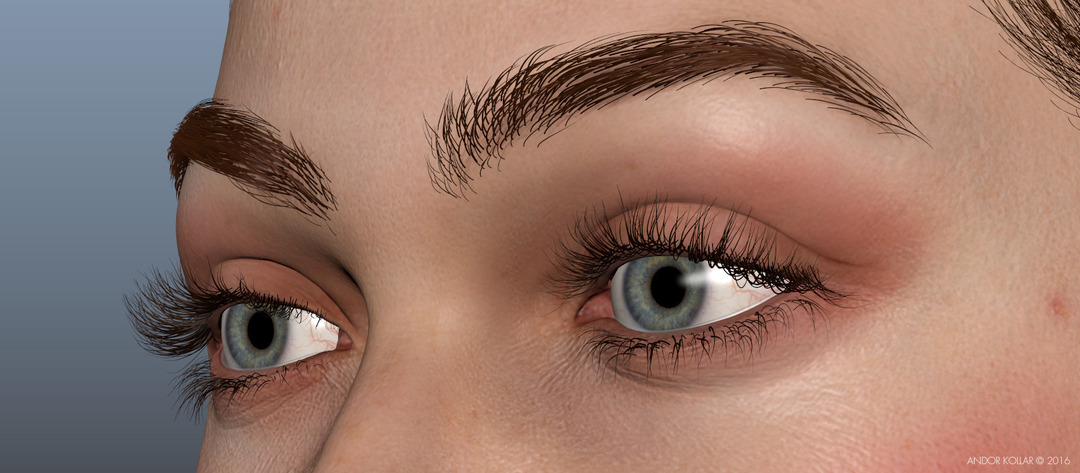
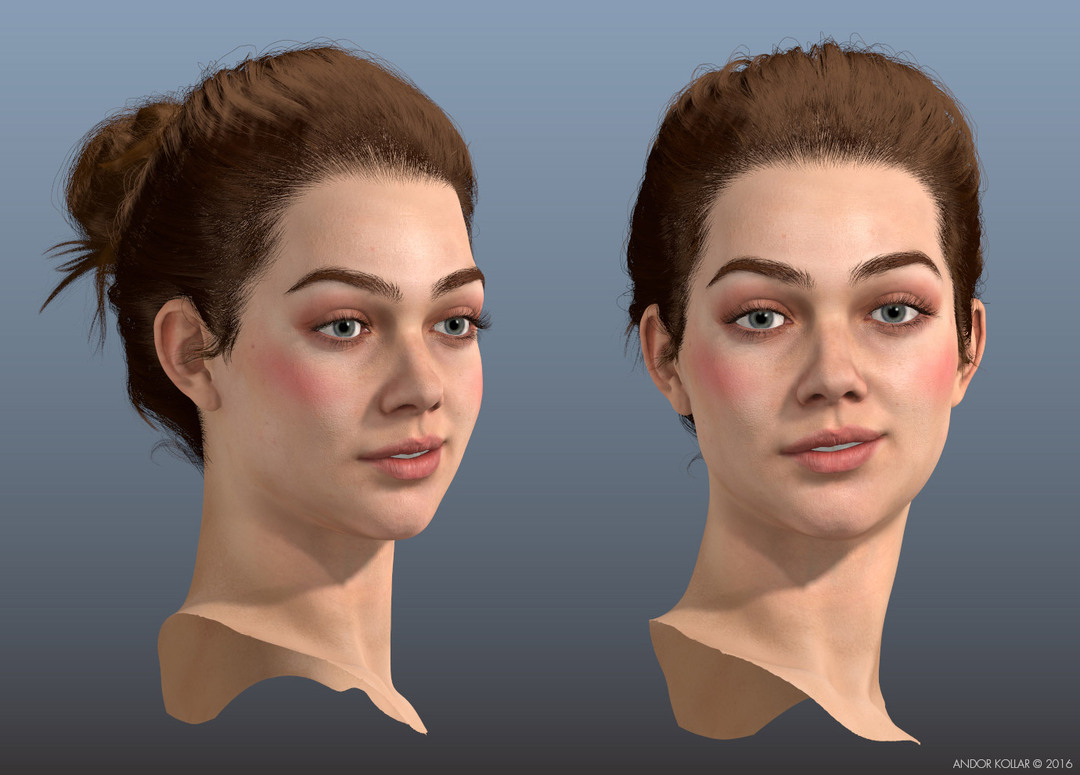
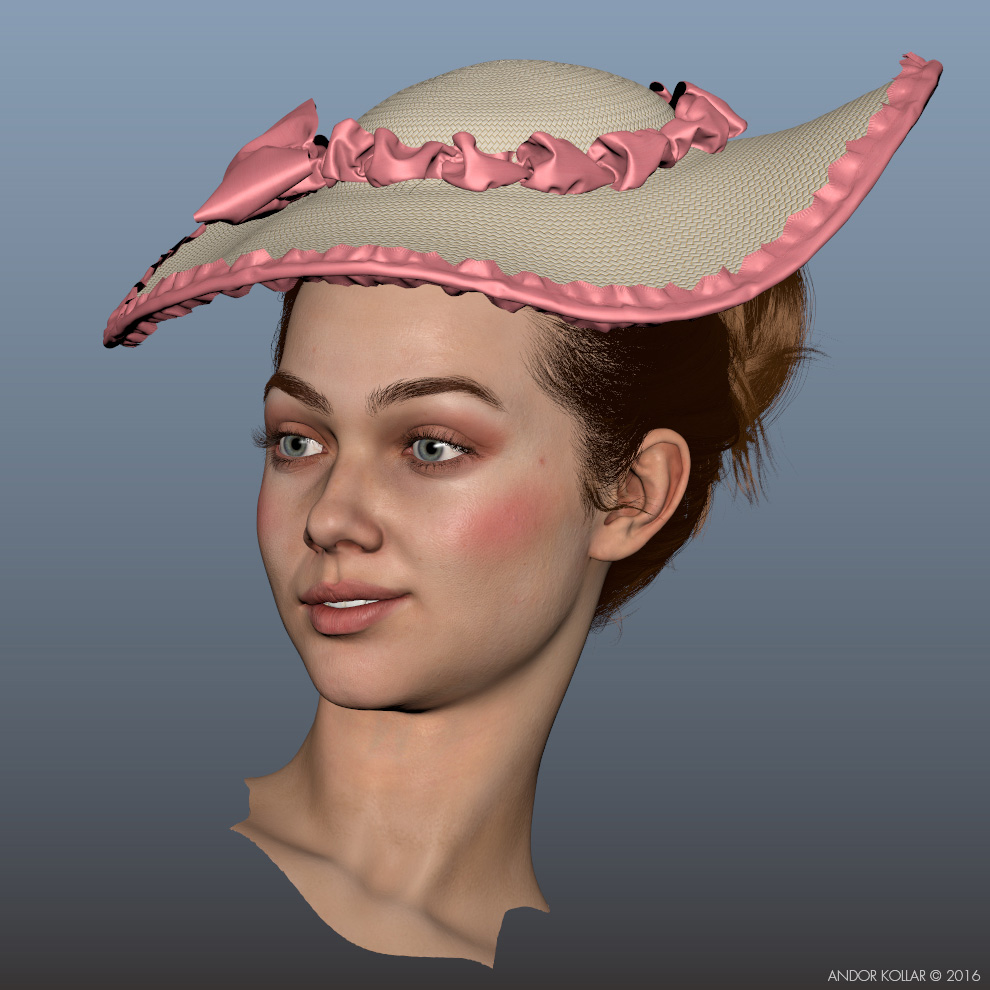
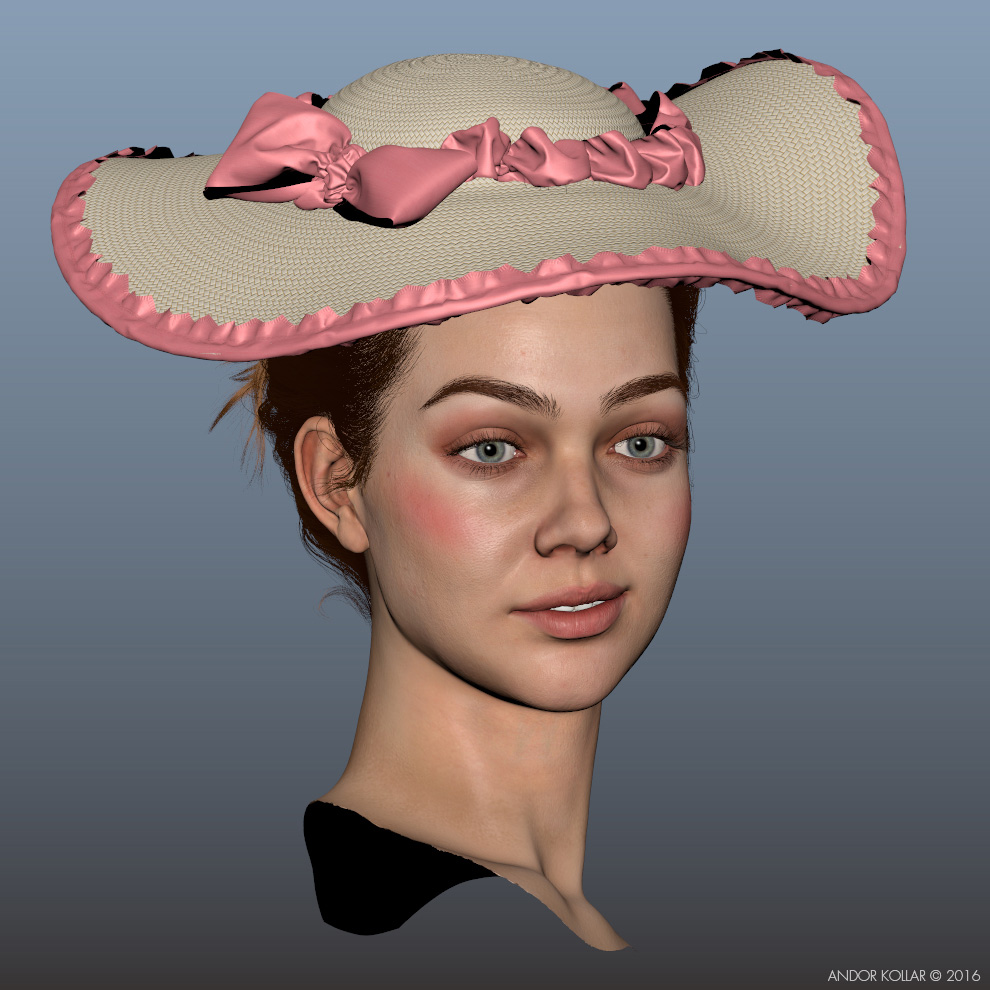
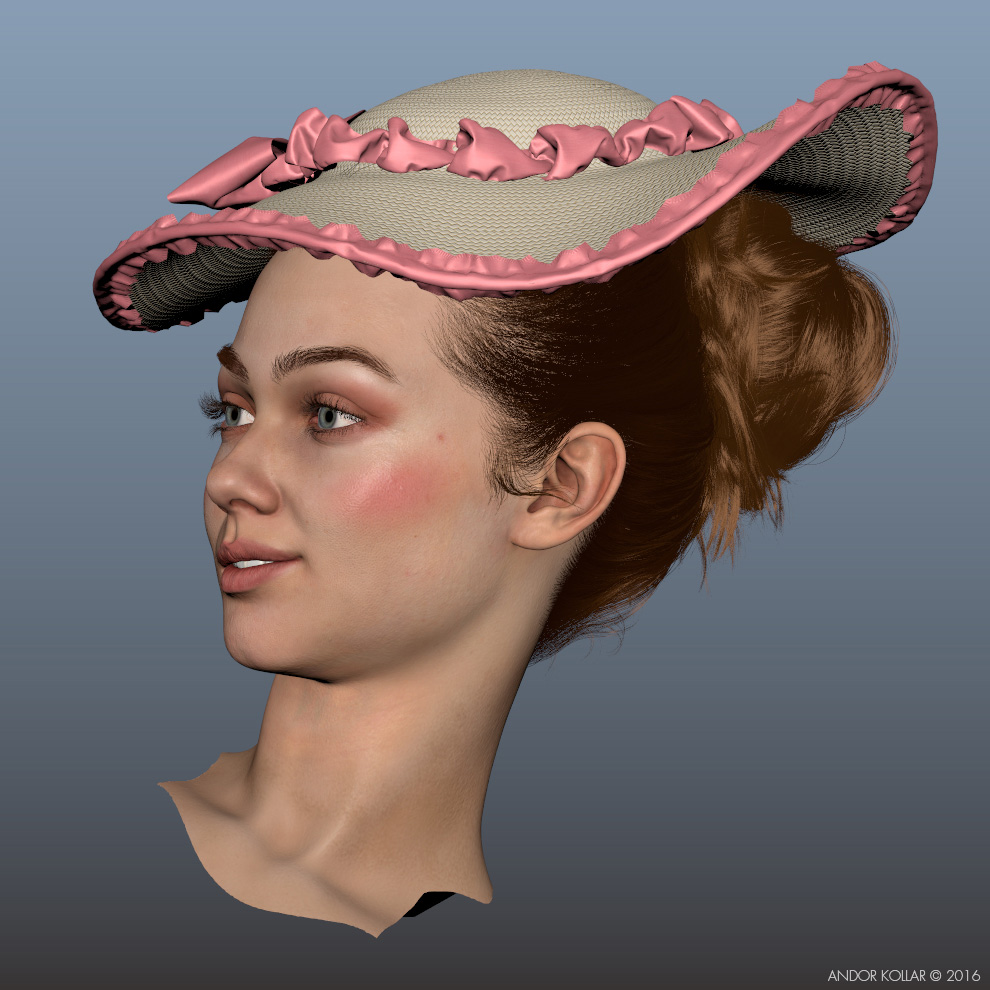
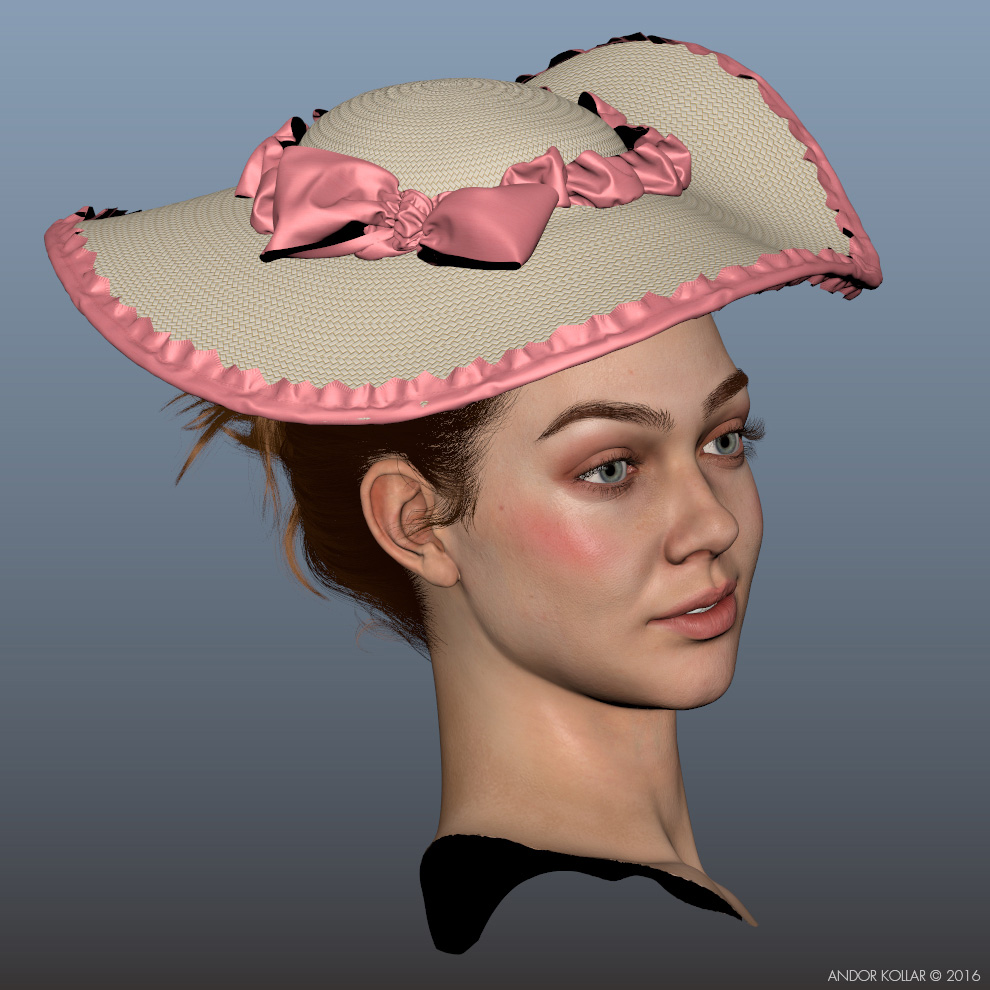
First I checked videos about how to make a bun hair in order to understand the structure better. So I drew the guide lines exactly like a real bun. I used six hair descriptions for the Lady’s hair: the bun, hair inside, thin hair around, eyebrows, eyelashes and peach fuzz.
I show you some close-up shots from the eyebrows and eyelashes.
And this is the final bun hair for the Lady. I groomed the hair to fit to the shepherdess hat.
If you want see more details just check out my video presentations about the XGen hairs and the 3d characters in ZBrush and Maya.
This tutorial show you how I converted XGen Hair to geometry. I used the “Curve to Tube mesh” tool.
Here is a wip render by Spencer Fitch.
I made some experiment using alShaders in Maya. I painted the subsurface scattering (SSS) textures in Mari.
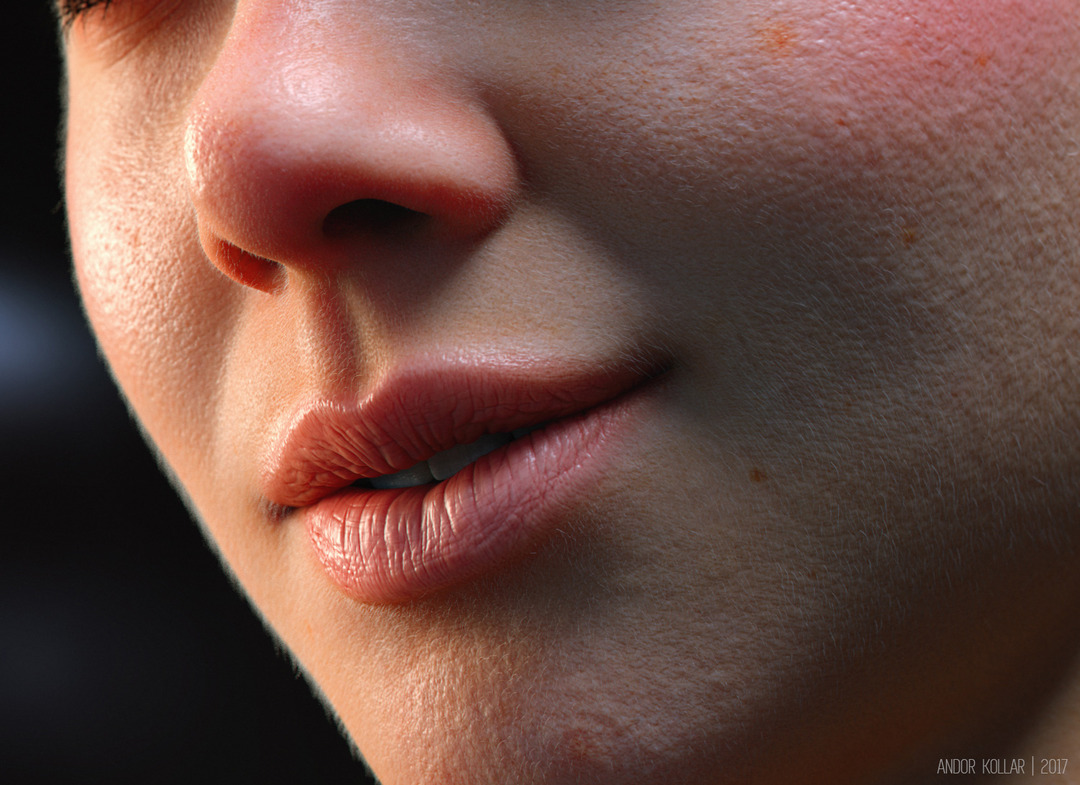
I rendered this close-up shot of the Lady’s face in Maya with Arnold.
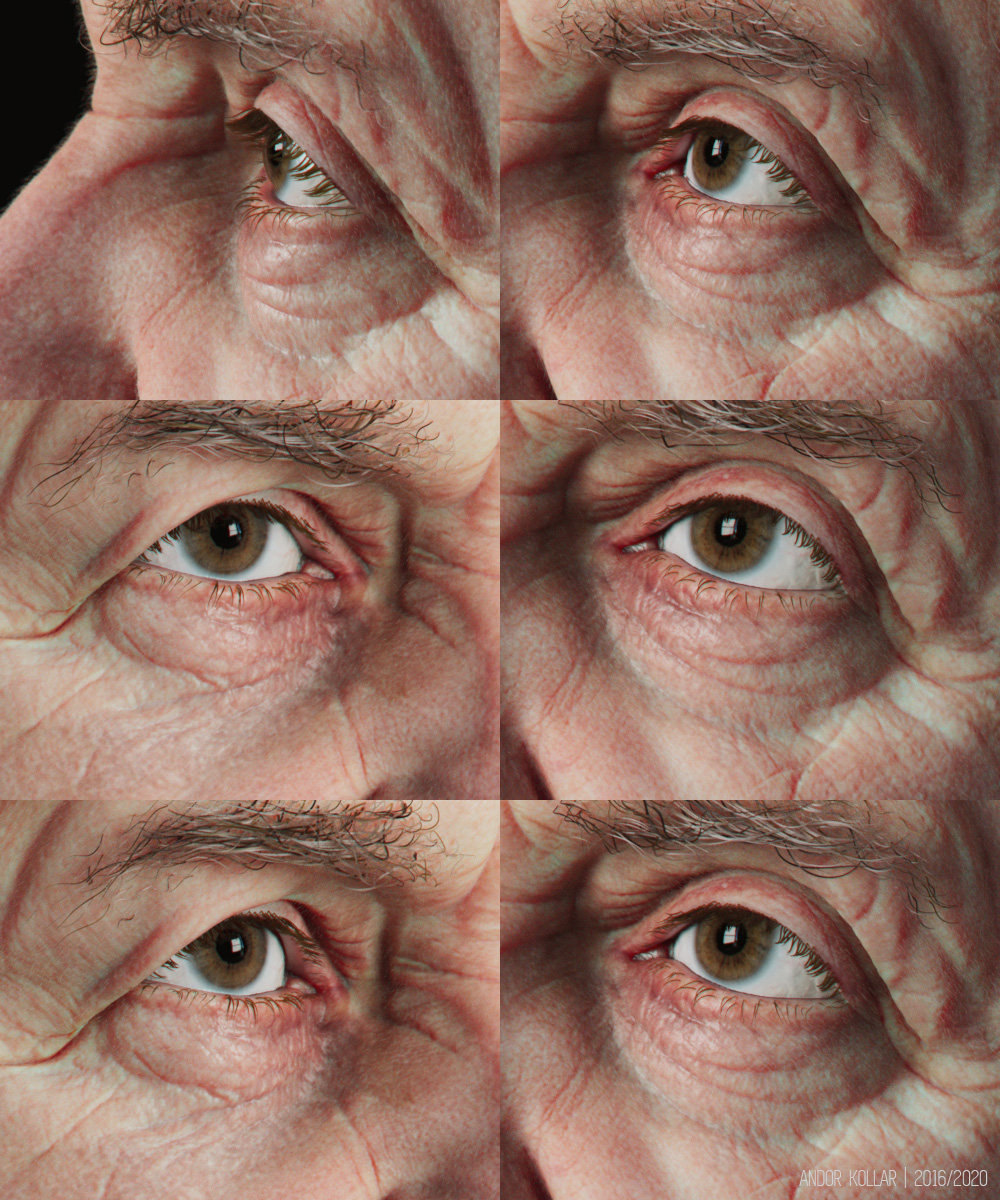
Originally I created the characters in 2016. Finally I had time to make a proper render from the Old Man character in 2020 with the newest Arnold shaders in Maya 2020. I captured a video of how can you render in Maya with Arnold a proper and accurate displacement map from ZBrush.
I used the Node Editor for the shader work, in this way I can keep the shader network separately in different tabs to make the work more transparent and tidy. I always rename everything, textures, layers, meshes, shaders, etc.. in my workflow to make my work clear and very tidy.
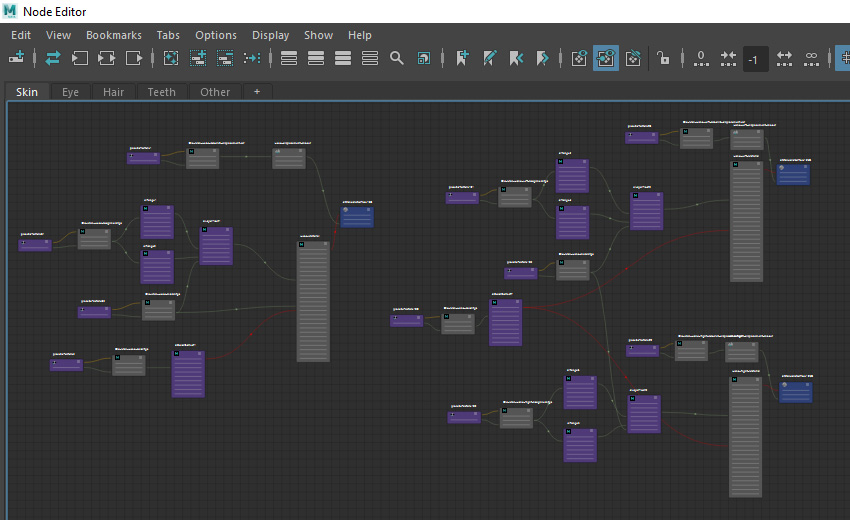
I used 8K texture sets for all meshes, I textured the Old Man in Photoshop and in Substance Painter.
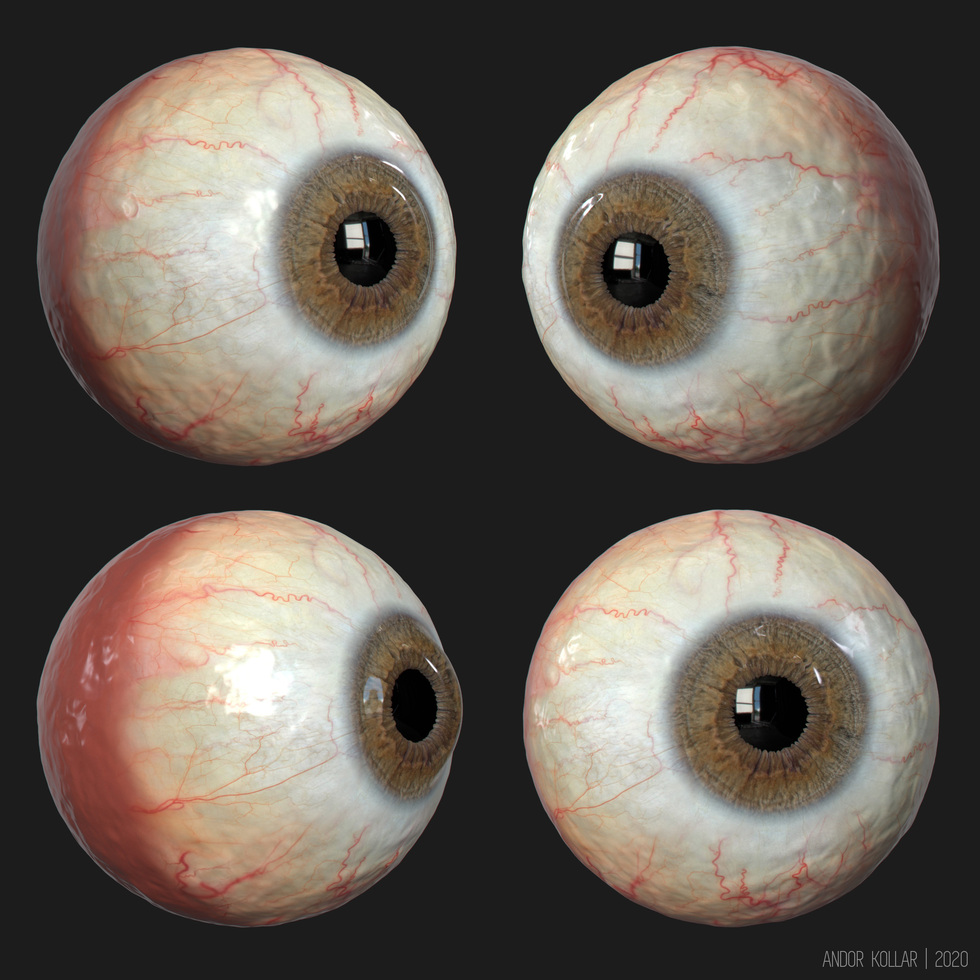
This is my eyeball. I painted the sclera using photos and I used an iris texture from Texturing.xyz. I use different iris texture for the right and left eye.
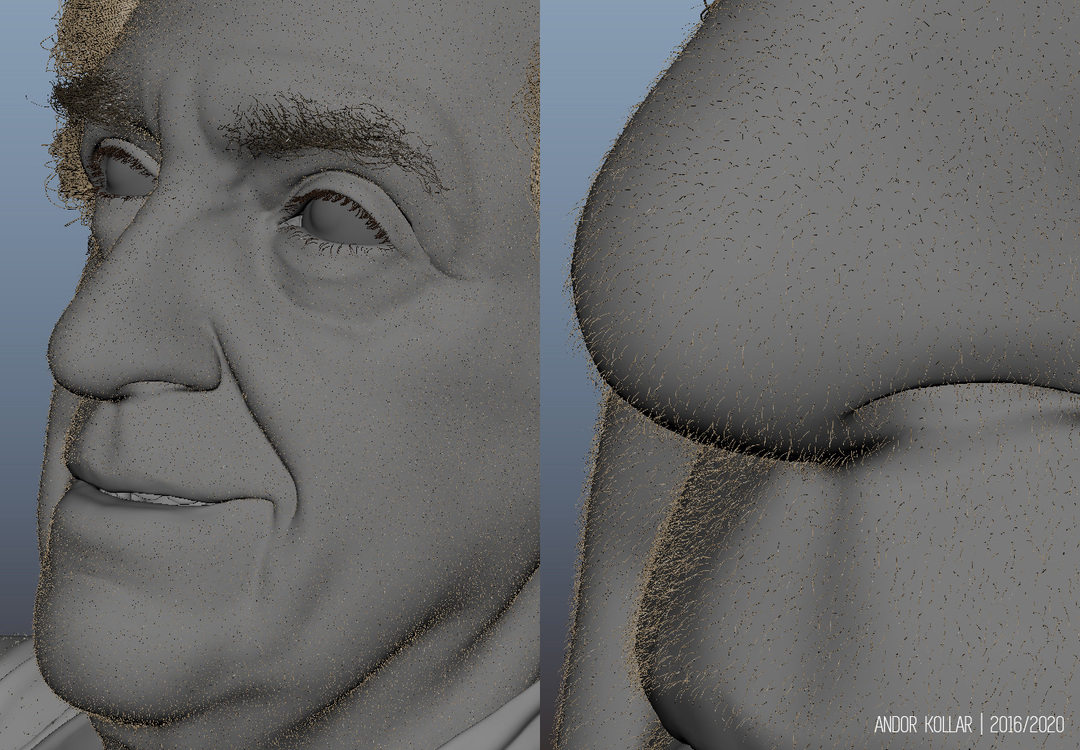
I added peach fuzz for the face of the Old Man. This increase the realism.
I also added fluffs for the coat, I used XGen.
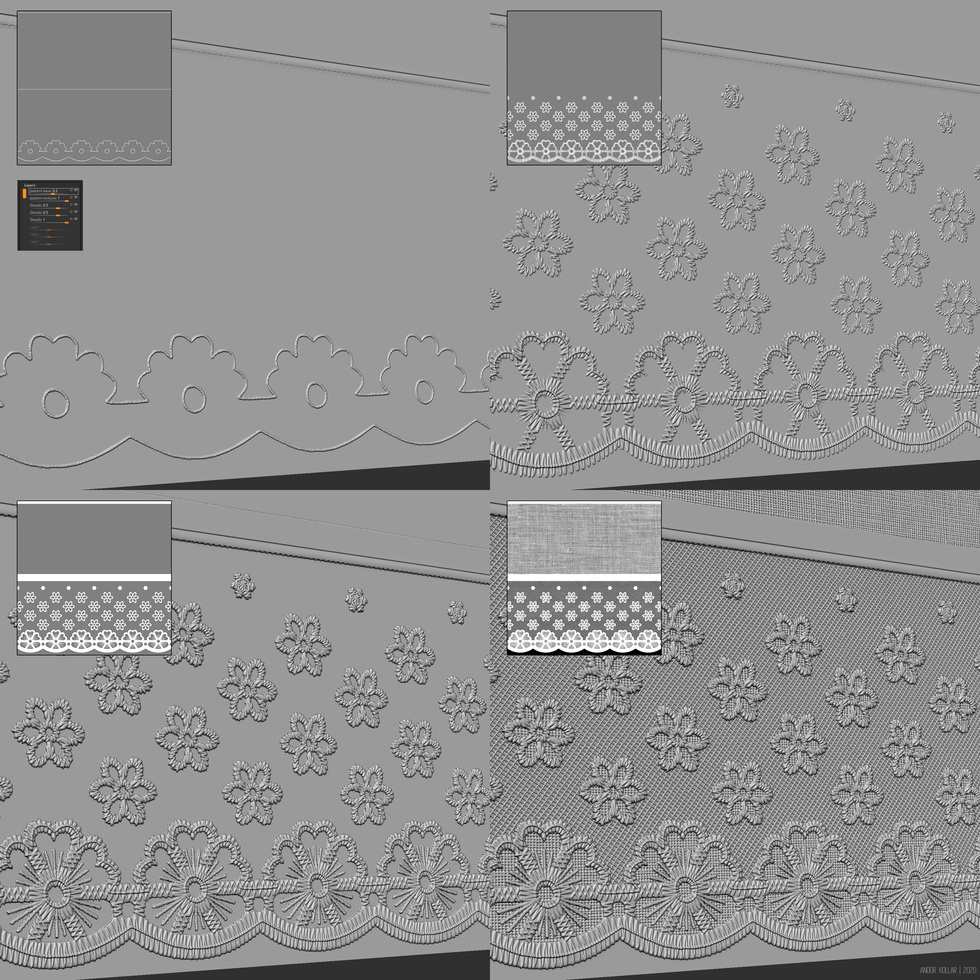
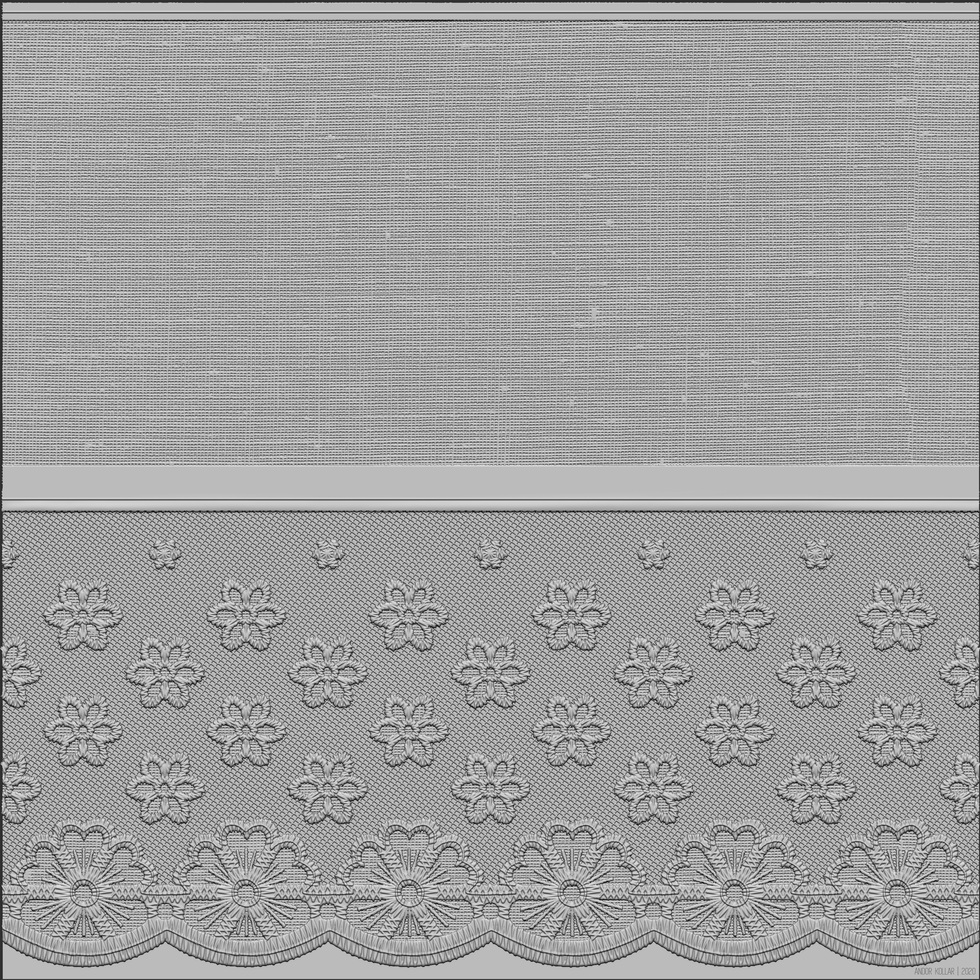
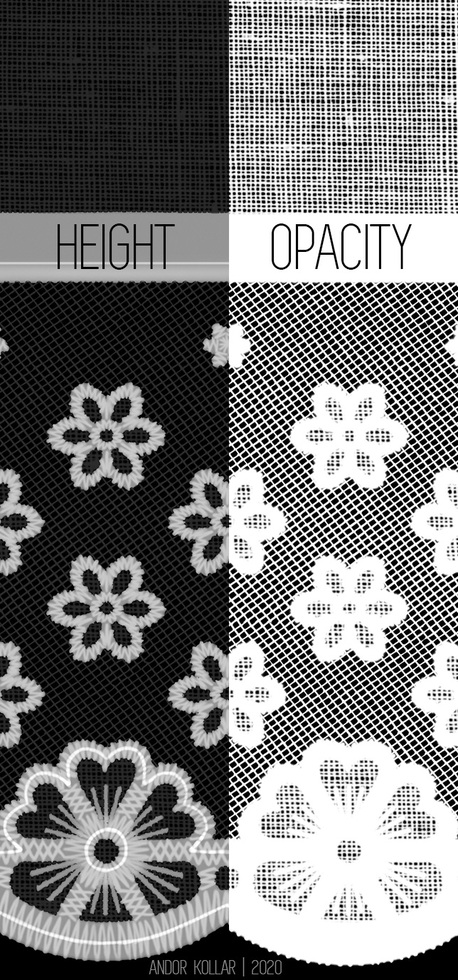
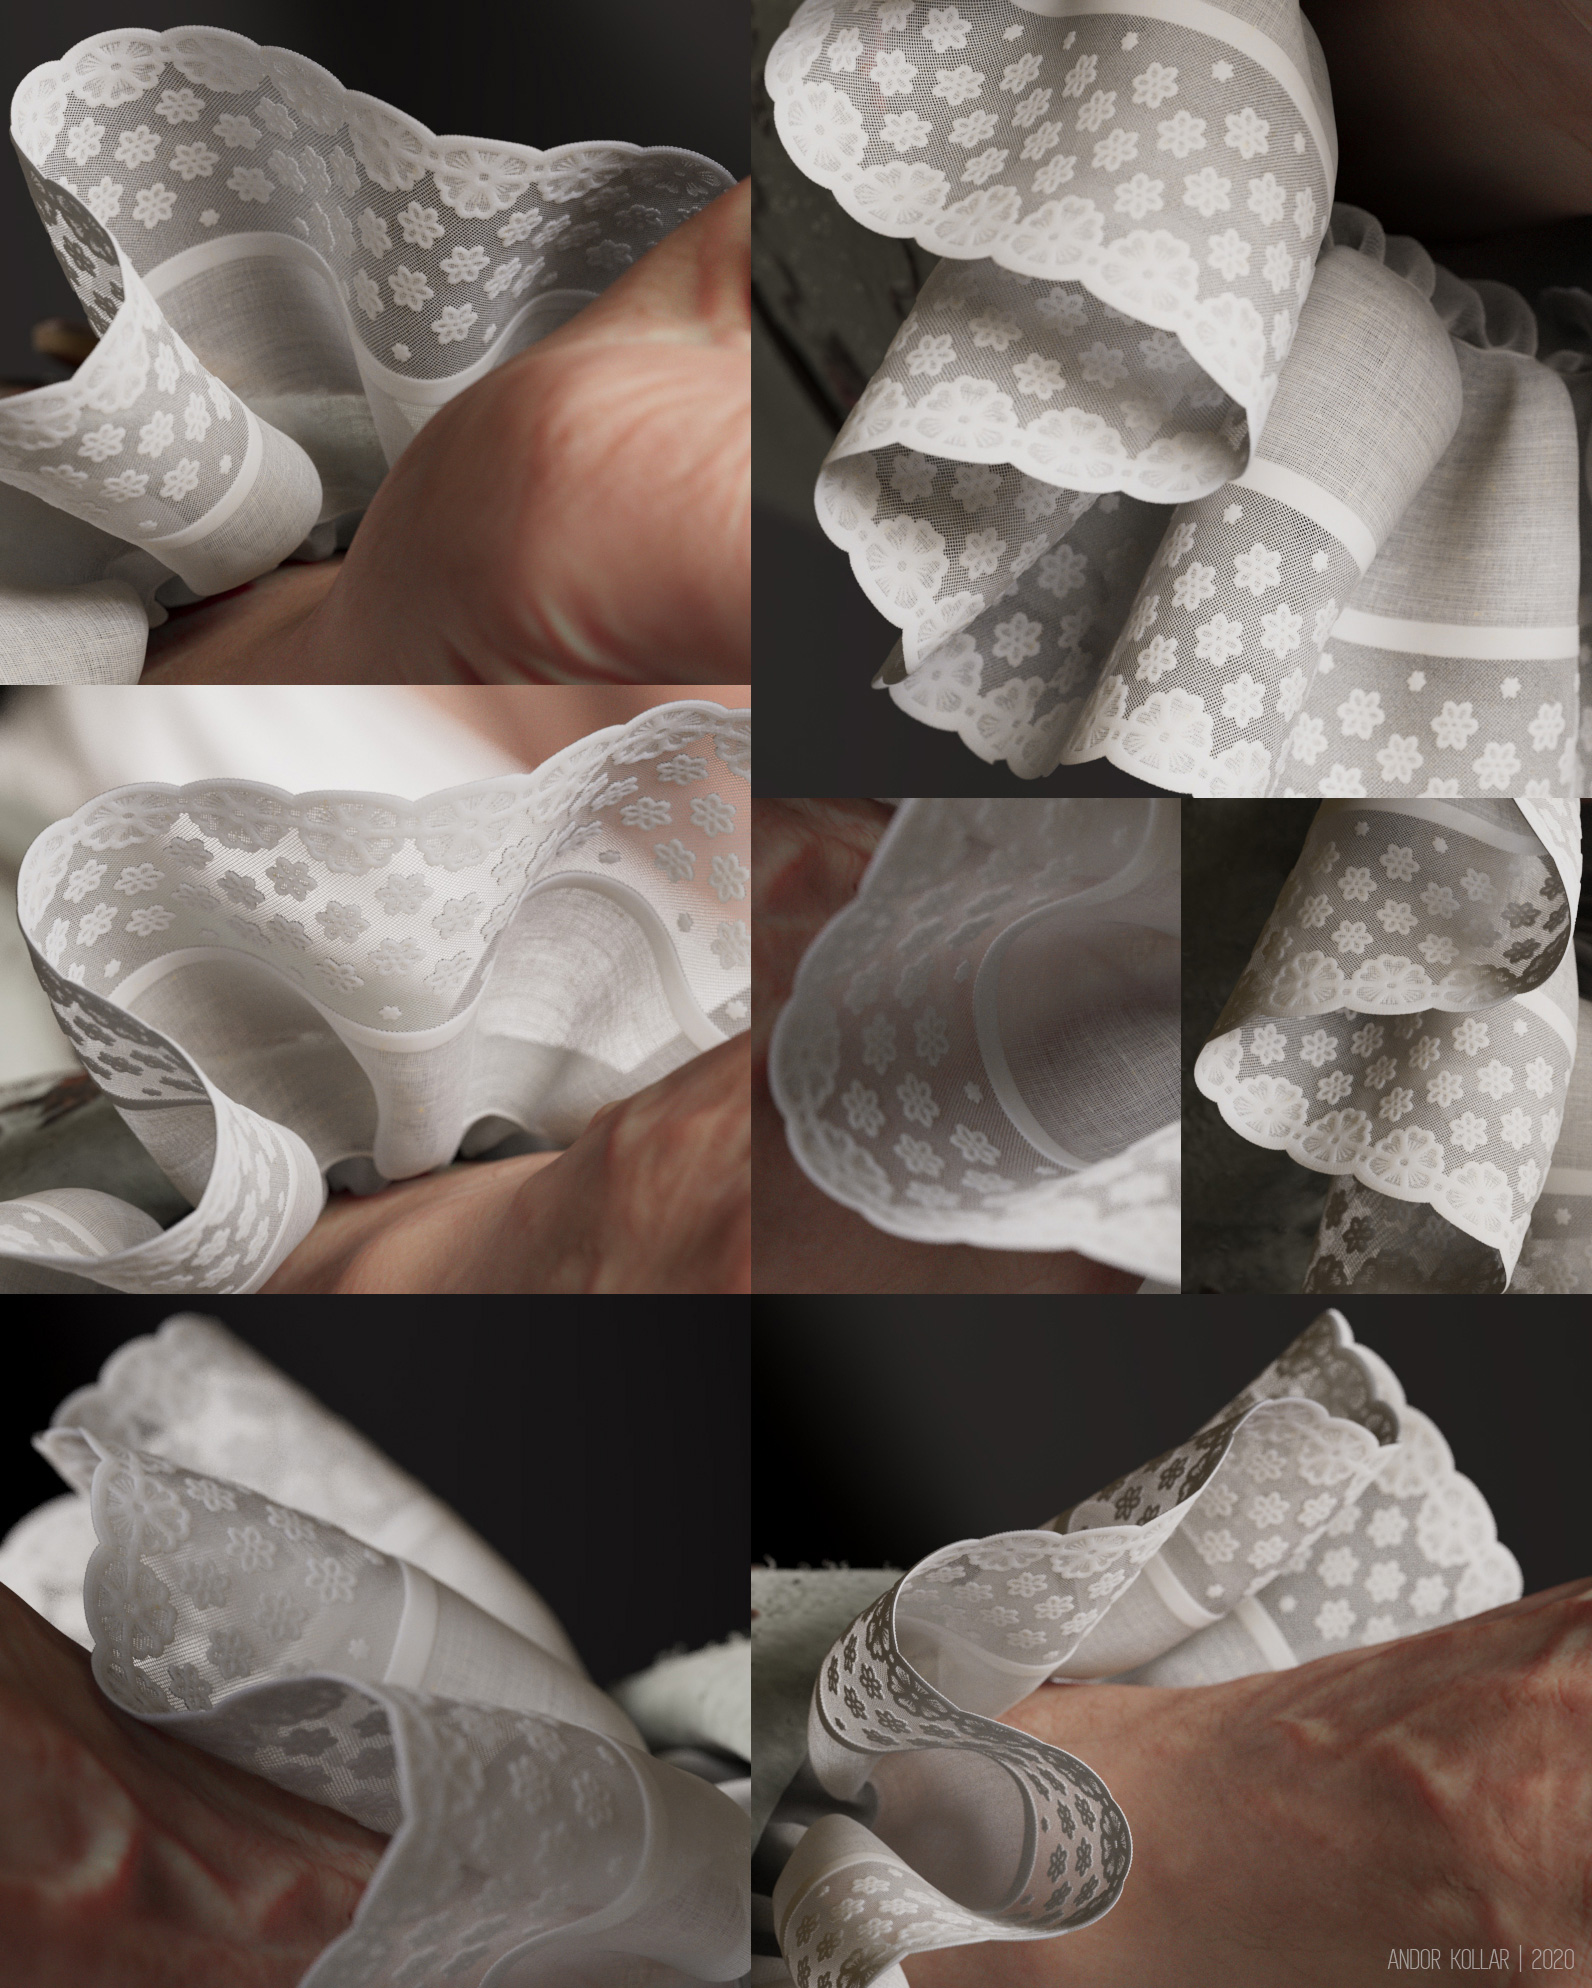
I created the 3d lace pattern in ZBrush with NoiseMaker. I painted the base black and white textures in Photoshop and I used more ZBrush layers to make different heights.
This is the height and opacity map of the tileable lace texture.
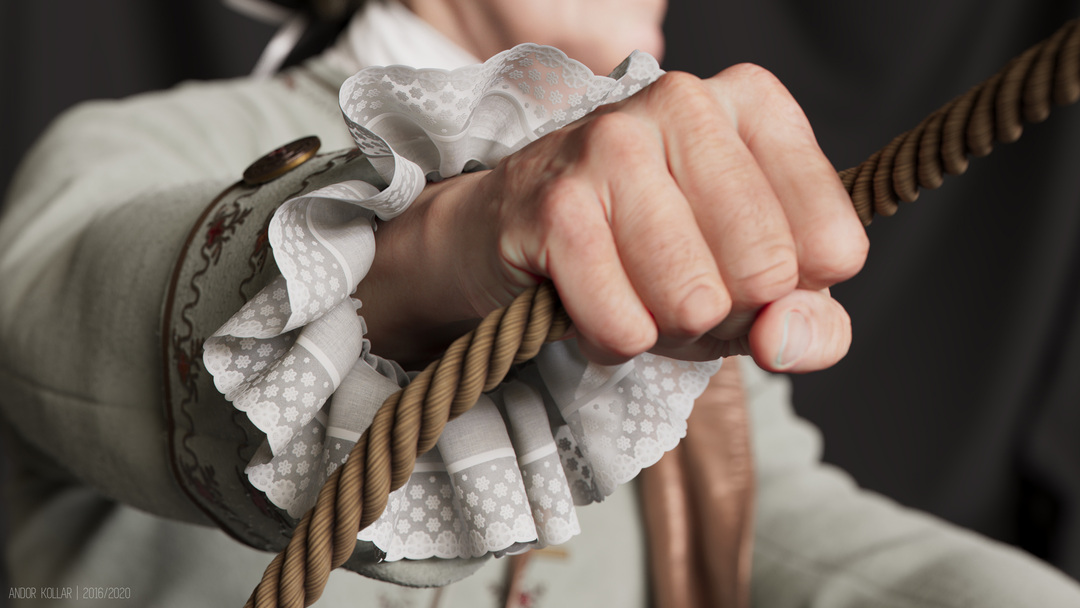
I show you close-up shots from the rendered lace. The mesh is double-sided and it has a displacement and opacity map together.
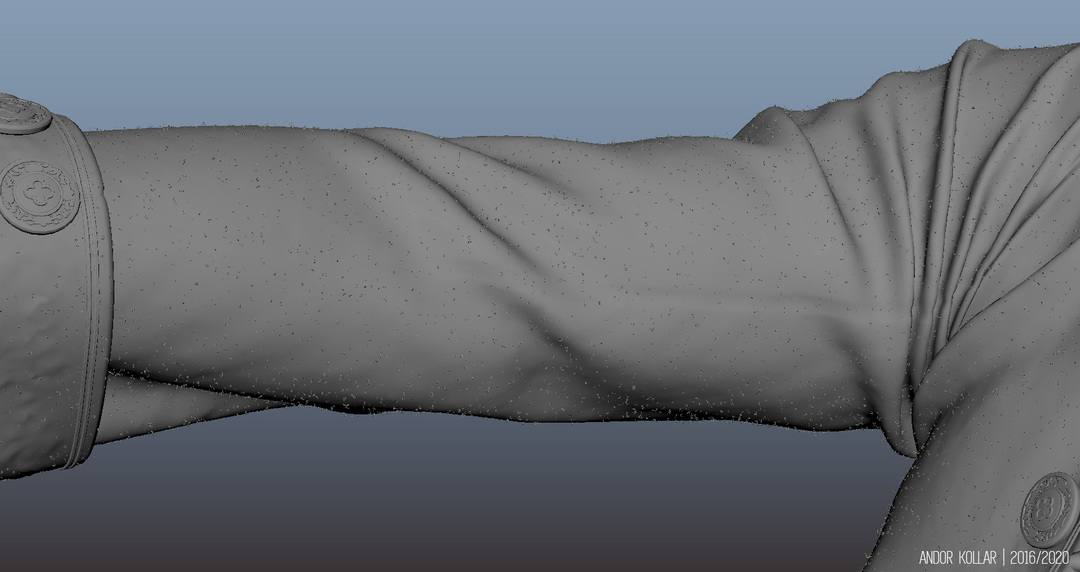
Ruffles with lace around the hand.
The final images in Maya with Arnold render, I used ACES color workflow.
Thank you for reading, I hope it was helpful!
2016-2020

